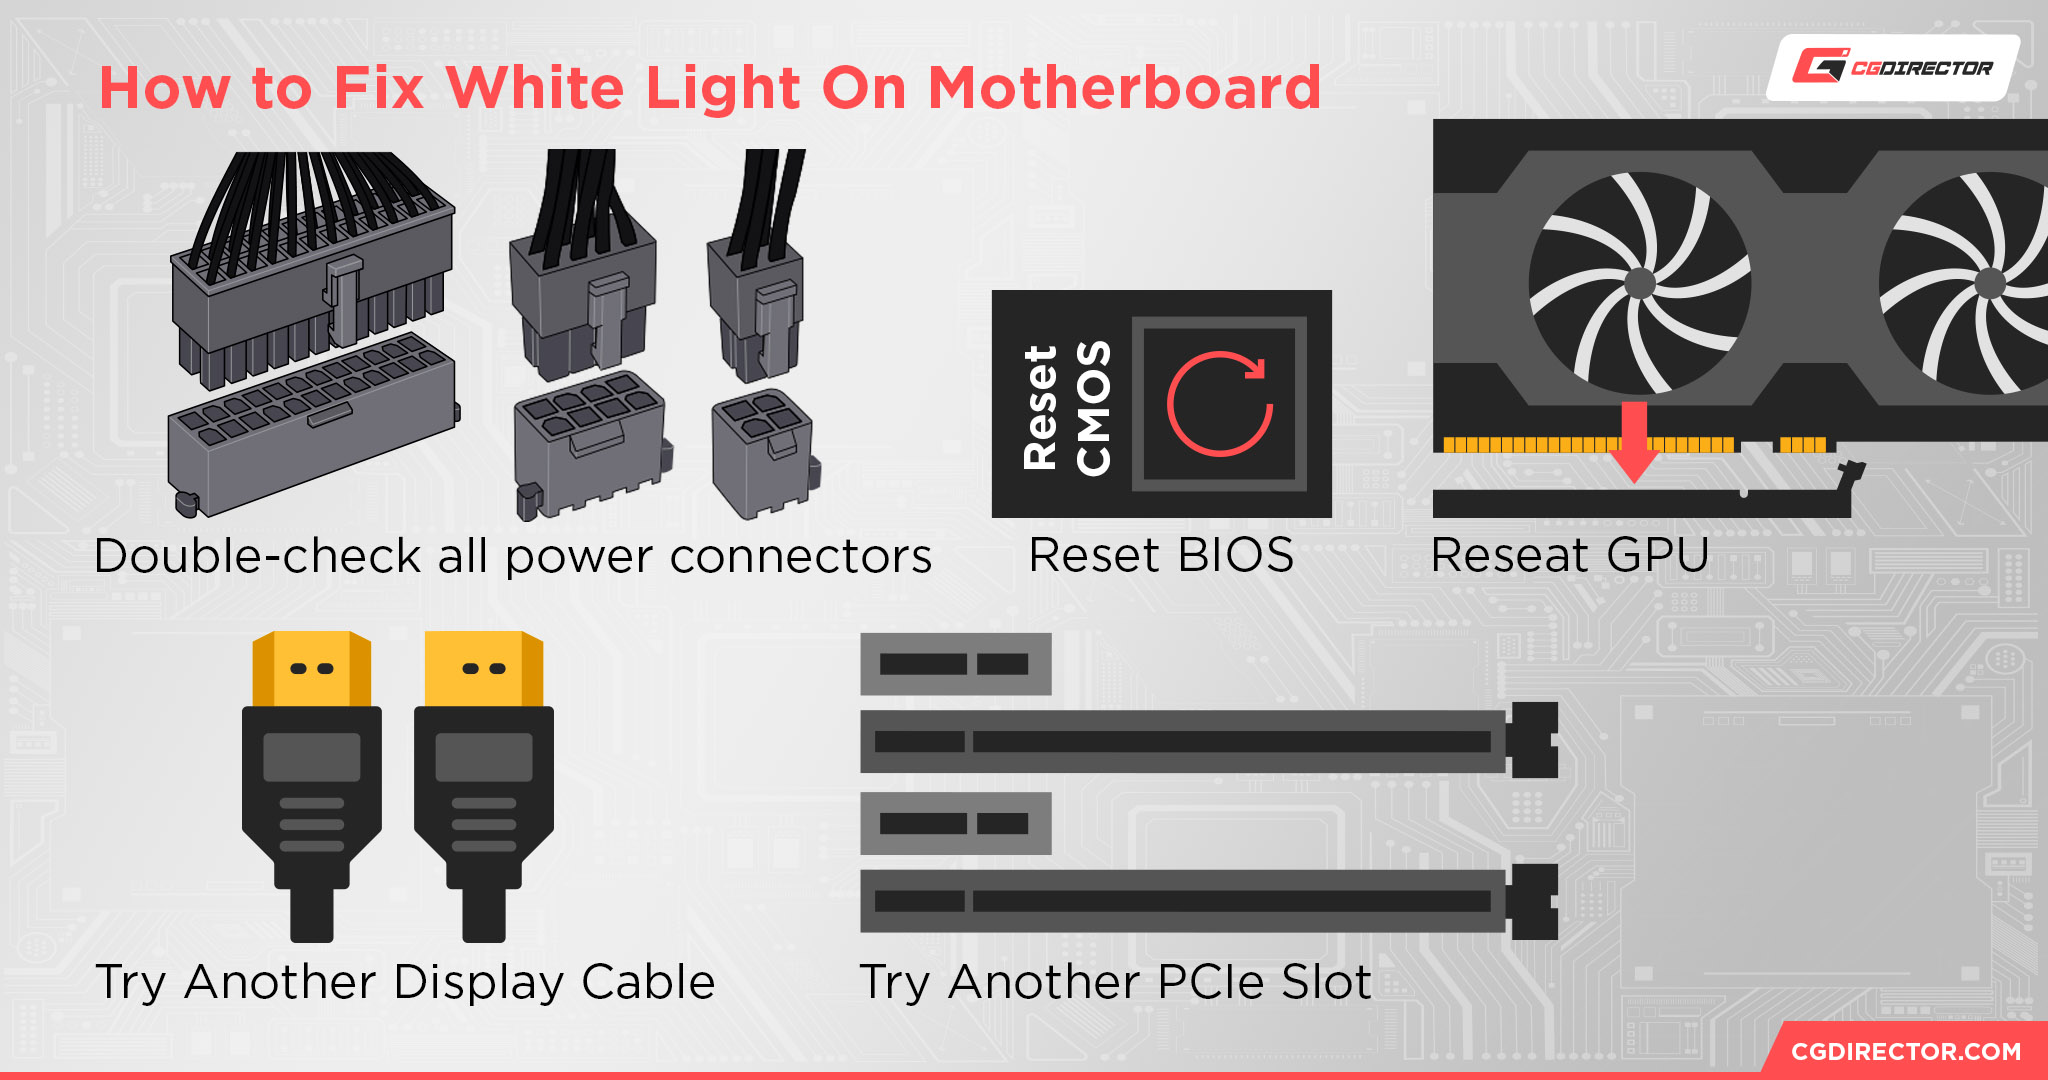
Asking yourself ‘What does the white light on my motherboard mean?’ You’ve come to the right place for help!
Stick around and I’ll walk you through the most likely causes of this issue, and my recommended solutions to attempt for fixing it.
Besides what’s present in the article, you can also hit me up in the comments section below if you think your motherboard white light issue is different from what’s covered here since I know it can be a bit of a wild west with PC manufacturers.
Let’s get into it!
What Does The White Light on My Motherboard Mean? Potential Causes

Usually, a white light shining on your motherboard is a white (sometimes labeled VGA) LED indicating problems with detecting your graphics card.
However, this white light could also mean that your CPU is improperly mounted, or even have bent/damaged pins (CPU pins are possible but difficult to fix), which could be a serious problem.
While these are the most likely issues, motherboard manufacturers don’t tend to standardize these things well, so a white light could possibly mean something else on your motherboard, especially if it’s labeled something else (if it’s marked to a component like DRAM, for example, you probably related to that).
Please let me know your motherboard model in the comments after reading this article if you can’t identify your white light issue so I can try to help.
Note: If the white light on your motherboard is simply there but your PC is otherwise booting and working fine, you likely don’t need to worry about it and have simply identified an innocent indicator light of some kind. Congratulations!
How To Fix The White Light on Your Motherboard: Solutions To Try
Author’s Note: Be sure to completely shut down and power down your PC before attempting any of the following tips.
The first thing to do when you’ve noticed a white LED on your motherboard, is to get in close and see if you can discern any printed writing next to the LED that might help figure out what it’s supposed to indicate. Most motherboards come with warning and troubleshooting LEDs that can be red, orange, or white, depending on your motherboard’s brand and model.
So, if your LED is labeled (usually either VGA, CPU, DRAM or BOOT), this will already narrow down the cause of your potential issue. If you can’t find any labels printed onto your motherboard, consult your motherboard’s manual to figure out if the LED in question indicates problems within one of these four areas.
Consulting the motherboard’s manual will also clear up if the white LED you’re encountering may just be informational instead of indicating a problem.
After reading our steps to try and alleviate any issues below, also make sure to take a closer look at our other troubleshooting articles that should help in fixing your problem:
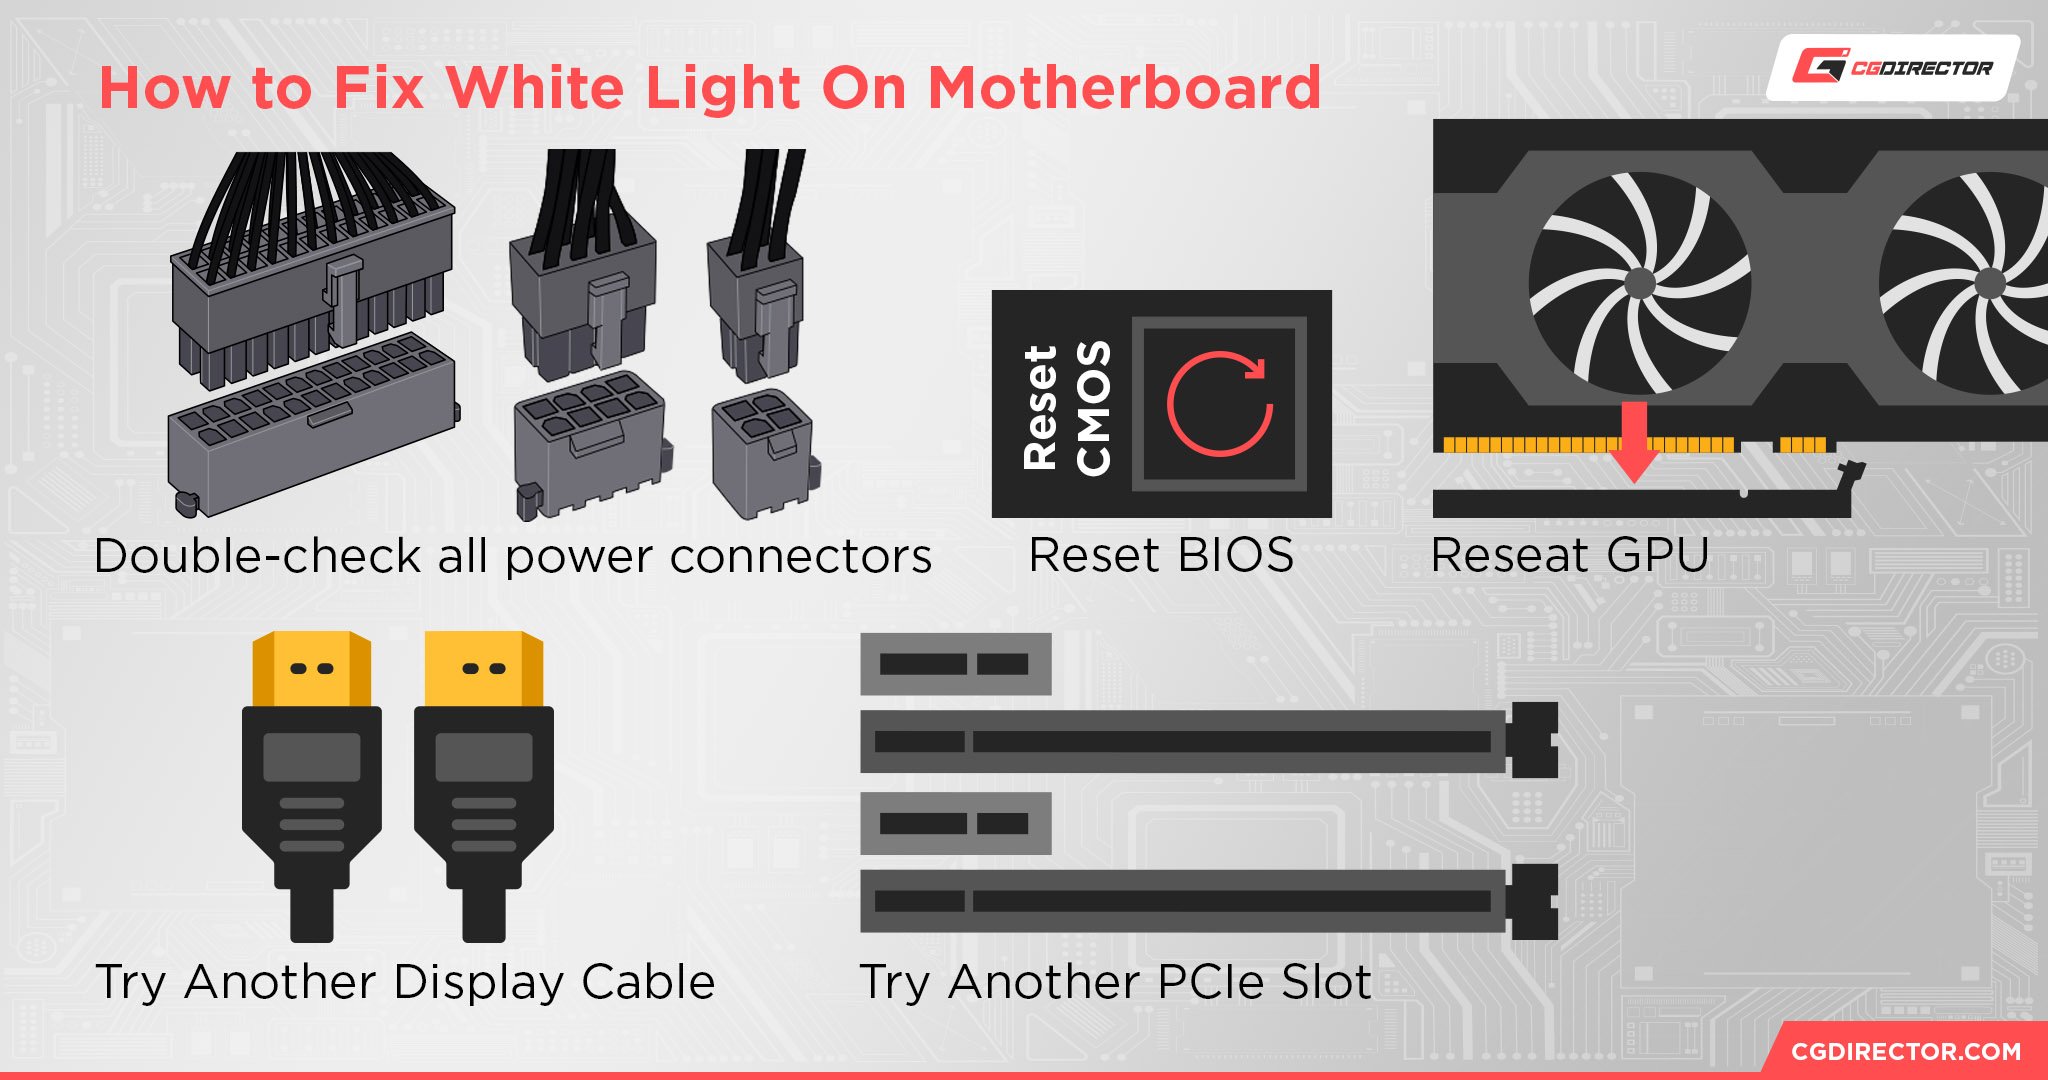
Double Check All Motherboard Power Connections
Before getting too deep into diagnostics, look around your powered-off PC and verify that all power cables are running where they should be, especially to your GPU and CPU.
Reseat Your Graphics Card
The first and most obvious solution to what is most likely a GPU detection issue is to just reseat your graphics card.
Removing your GPU and re-installing it while being sure to properly screw it in and align it with your PCI Express slot should help if it was an alignment issue. This is also a good opportunity to make sure your slot isn’t obstructed or damaged and to double-check your GPU power cables are firmly attached.
Try Another Display Cable
Another potential cause of a GPU detection issue can be caused by the cabling, not just the GPU or display themselves.
Try another HDMI or DisplayPort cable (depending on what you have, of course), and see if that helps!
Try Another PCIe Slot, If Available
If there’s an issue with your GPU detection, it could be related to the PCIe slot instead of your GPU. If your motherboard has another PCIe slot for you to install your GPU into, try seeing if that one fixes the problem.
Reset Your BIOS
Sometimes, issues like these boil down to settings changes in your BIOS that you shouldn’t have made but can no longer change because you can no longer get into your BIOS.
Fortunately, motherboards have backups built-in for scenarios like this, and if you’re particularly lucky, it may even be available in a clearly visible Clear CMOS button on the back of your motherboard.
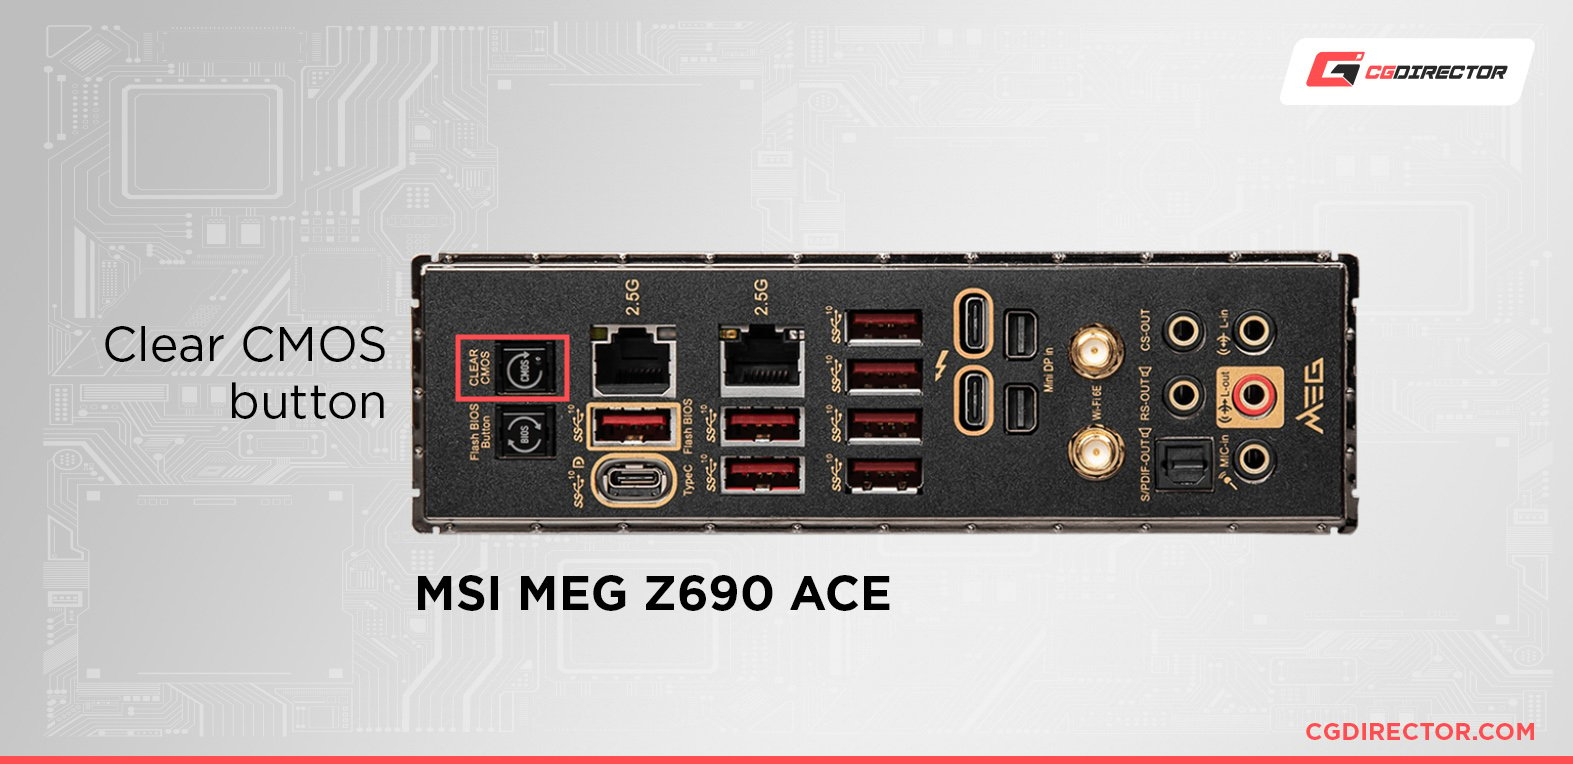

Source: MSI
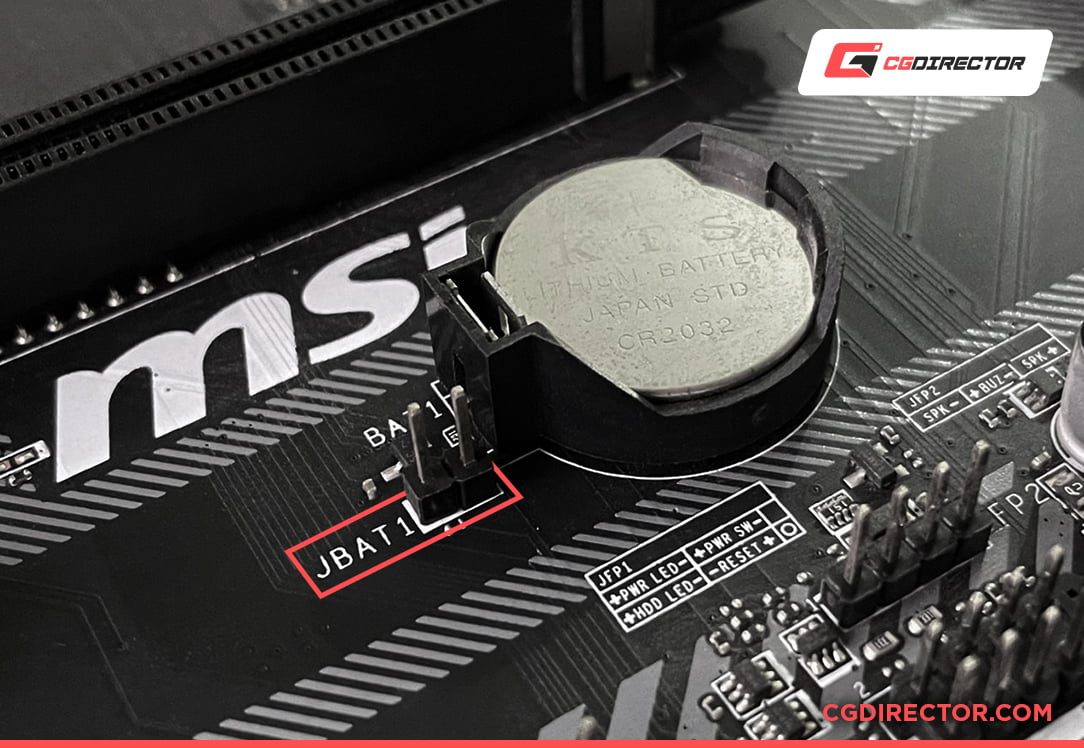
If you don’t have a Clear CMOS Button on your motherboard, you may instead need to do a manual removal of the CMOS battery to clear your BIOS settings, which is pictured below.
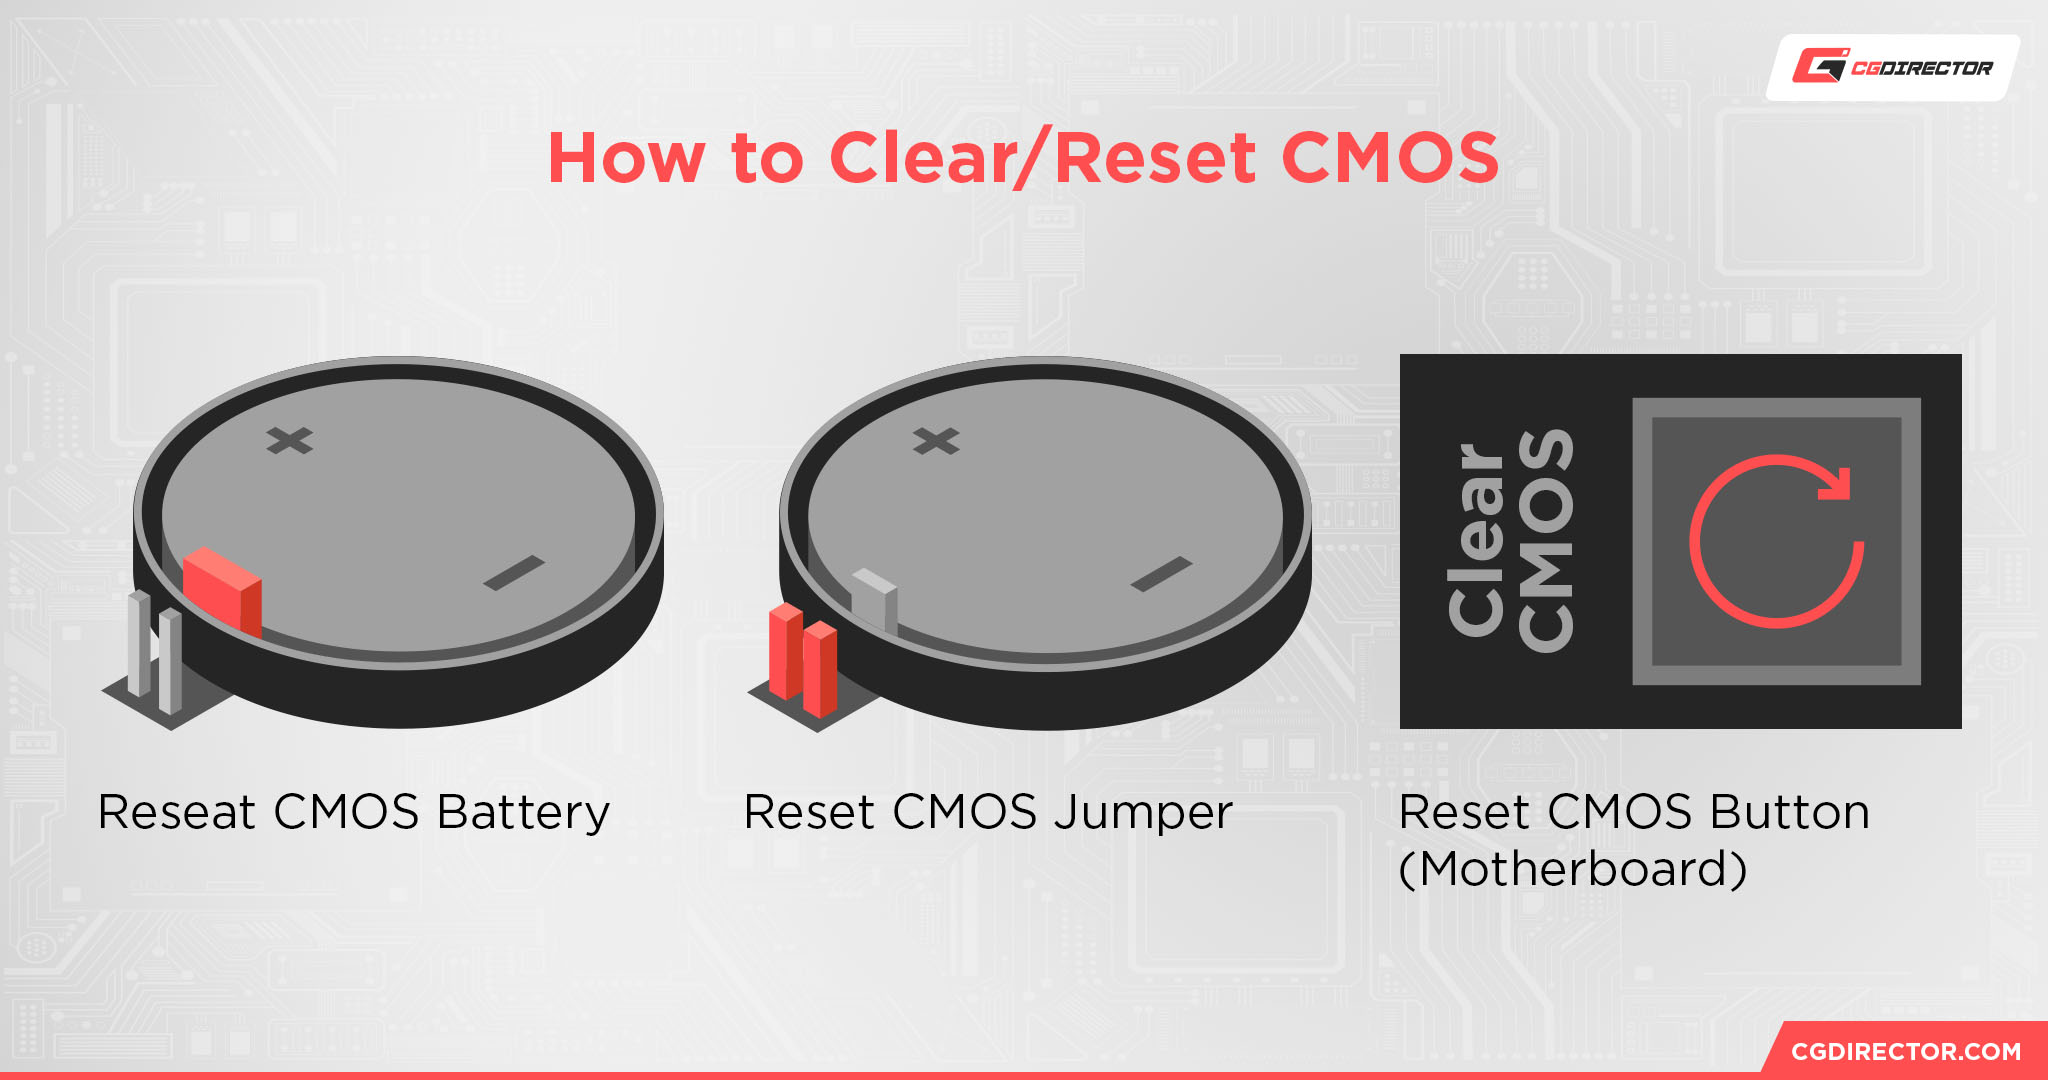

Alex has written a Guide to Clearing CMOS that I recommend putting to use if you think your BIOS settings are what’s causing the problem here.
(Important note: Clear CMOS can only reset settings. Whatever BIOS you have installed will remain, not revert to the factory BIOS.)

Inspect, Clean GPU and Motherboard
If your GPU still isn’t being detected after taking the previous steps, it may be best to thoroughly clean and dust your PC and GPU.
Inspecting your PC while doing this should help you visually identify any issues that may be at play. If you’re particularly unlucky, your GPU issue might be due to expired GPU thermal paste causing overheating.
You can replace GPU thermal paste, but doing so is a lot harder than with CPU thermal paste since GPU coolers are more complex and their removal instructions are very GPU-specific.
Remount CPU and CPU Cooler
If you think you’re dealing with a CPU issue rather than a GPU issue, it may be time to remount your CPU and CPU cooler.
This is also a good chance to check for bent or damaged pins on your CPU or CPU socket, which could also be causing the problem (but will require more precise steps to attempt fixing than simply remounting the CPU and cooling installation).
Provided nothing is damaged, remounting your CPU and CPU cooler can still be a good thing to do.
Expired or improperly applied thermal paste between a CPU and CPU cooler can result in system overheating, so it’s good to redo it from time to time, especially if you prepare in advance with better thermal paste.
Check your RAM Modules
If your white LED refers to a DRAM issue, there are a couple of steps to take to make sure everything is in order:
- Make sure the RAM modules you’re using are compatible with your motherboard (Here’s how)
- Make sure you’re placing the RAM modules in the correct slots (Here’s how)
- Make sure you’re not mixing RAM modules of different brands, frequencies, capacities, latencies (Here’s why)
- Reseat your modules, and make sure they click into place
- If none of the above works, try just one RAM module at a time to see if one of them may be damaged
Over to You
And that’s all, for now!
I hope this article helped clarify the meaning of the white light on your motherboard, and hopefully fix it so you don’t need to worry about it anymore!
If you still need help, though, me and the rest of the CGDirector Team will be around in the comments and will be willing to try. You can also try our Forum for longer-form questions and tech discussions with other Experts.
Until then or until next time, happy troubleshooting! Hopefully, this article helped you fix the issue, and not identify a problem that will force you to replace your hardware.

![What Does The White Light (LED) on My Motherboard Mean? [Updated]](https://funtechnow.com/wp-content/uploads/thumbs_dir/Vintage-meets-modern-with-Tokinas-new-Vista-P-cine-lens-lineup-qgwmcd3u30rupblffojts9yninssmpmpju8cdanjgc.jpg)


