
You know the drill; you’ve got a pile of scanned color negatives. All you need to do is convert them into digital color positives (prints) to upload to your social accounts. After you “invert” them using your fave image editor, each print is covered with a disgusting cyan veil. Ugh! Now what?
A quick online search yields 101 different solutions that vary from “too many steps” to “too confusing.” This just isn’t going to work. There must be a better way.
Luckily, there is a better way…a much better way. How does making just five mouse clicks sound to you? Oh, you like that idea? You betcha, it couldn’t be any easier than using the online Lomography Lomo DigitaLIZA Lab as shown in Figure 1.

It only stands to reason that the same cool cats that bring you crazy film emulsions named “Metropolis,” “LomoChrome Purple,” “Color 92“, and “Redscale XR,” should also have a method for easily converting negatives into picture-perfect prints. Right? And they do.
Ideally, you would make your negative scans using the Lomography scanning solution called DigitaLIZA. This is a suite of handy masks and tools for taking anything that’s a film negative and converting it into a final digital print. You can even use this system to convert 35mm film sequences into an Oscar-worthy movie.
Regardless of how you create your digital negatives, the first step towards achieving digital prints is to point your browser to Lomo DigitaLIZA Lab. You don’t need an account, there isn’t an annoying subscription fee, nor do you need to use the Lomography DigitaLIZA system for making your digital negatives, it’s just click and go.
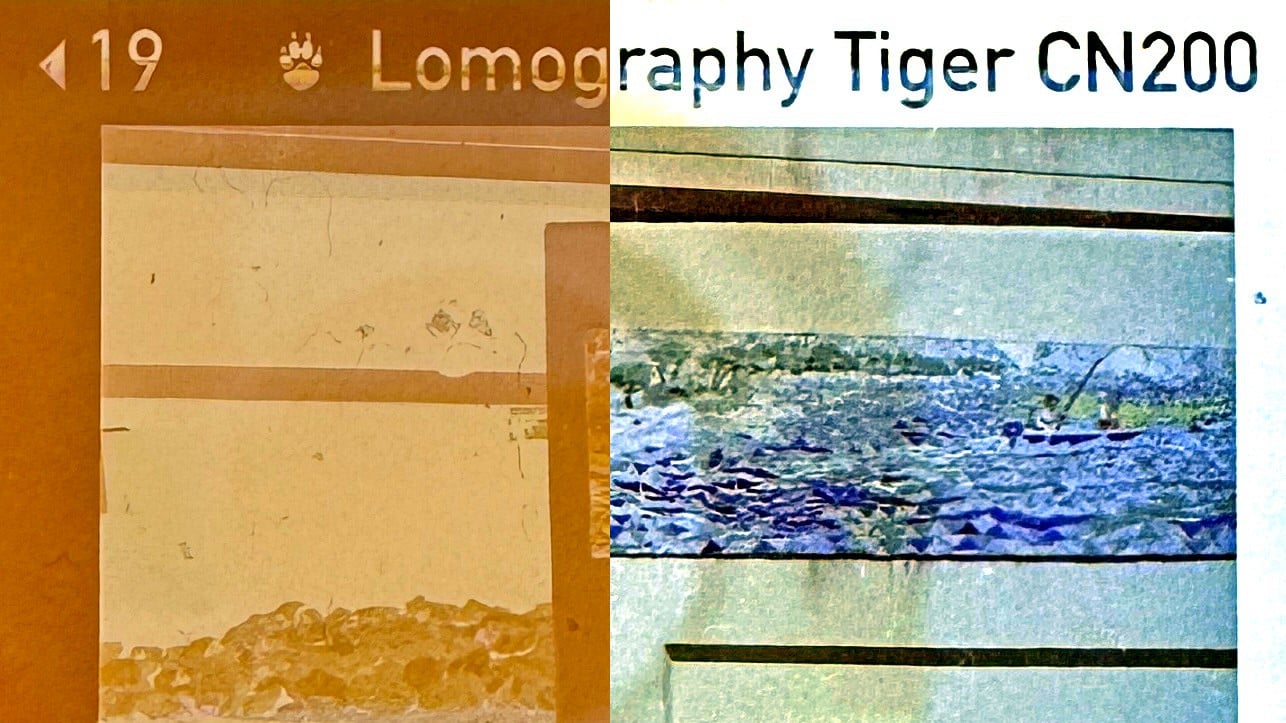
In an attempt to NOT over-complicate this dead-simple process, here is a sample walkthrough of the entire print production process. Let’s begin by looking at the subject of this presentation in Figure 2.

Step 1. Your first click is to upload your scanned digital negative. That’s the first icon in the tool bar located at the bottom of the Web page. The smart Lomography software will recognize your negative type (e.g., black & white, C-41 process, etc.) and display the result (see Figure 3).

Step 2. Convert this negative into a positive image by selecting the second, “image invert” icon (see Figure 4).

Step 3. Click the Black Circle for selecting a “black point” from your negative/positive (see Figure 5). Generally, just click inside the darkest shadow on your photograph.

Step 4. Click the White Circle. This is used for selecting a “white point” from your negative (see Figure 6). Pick the brightest highlight in your image.

[Note: In both Steps 3 and 4, an optional slider is displayed for manually adjusting the shadows and highlights.]
Step 5. Does everything look good to you? If so, you’re done! Just click the download icon for saving your completed print to your computer (or, smart device). This downloaded print will be labeled with a name containing “converted-” along with a 13-digit number (see Figure 7).

It’s worth noting, also, that Lomo DigitaLIZA Lab retains your conversion settings between each subsequent image upload. Therefore, after you upload a new negative, you might want to press the revert/undo button (that’s the seventh icon on the Lab’s tool bar) for resetting all of the controls back to zero.
And that’s it, people. No complex formulas, no ridiculously long key sequences to memorize, and no costly software to purchase. Just upload, click, click, click, click, and you’re done. Now you’re ready for hitting your social media circuit and tagging your masterpieces.
Enjoy.


