The Outside
The thing that initially grabs you when you see the fully assembled case is that it looks pretty damn good. This tempered glass model is the better looking of the two variants in our opinion, but that really depends on your personal tastes and what you have going on inside the case.
The front & sides
Previous
Next
Roughly 2/3 of the front and almost the entire left side (as you face the device) are both tempered glass, and there’s no separating pillar between the front and the side so you get a nice continuing transparent view into the computer’s internals within the main chamber which is very nice indeed. If you don’t put effort into your cable management or select components that don’t look great together, this would obviously be a drawback, but then again you likely would not be opting for a glass case were this so!
The metal portion of the front of the case covers the secondary ‘back’ chamber, and has a smallish Corsair logo towards the bottom, which looks quite tasteful. This, along with the top panel above it, can be replaced with optional 2500 Series ELITE panel kits that are available to buy in a variety of colors (including Satin Grey or Obsidian metal panels, plus wooden options like bamboo, teak, and walnut) on the Corsair website, should you wish.
The right side of the case is covered with a mesh panel that improves cooling for the back chamber that houses the power cables, PSU, and the hard drive cage, which can be taken off fairly easily by removing a couple of thumbscrews (specifically ‘one-twist Quikturn screws’). Upon closer inspection, the mesh actually incorporates the signature Corsair triangles as the air gaps, which is a nice aesthetic detail.
Underneath the case there’s also a removable mesh filter that you can slide out.
The top
Previous
Next
Previous
Next
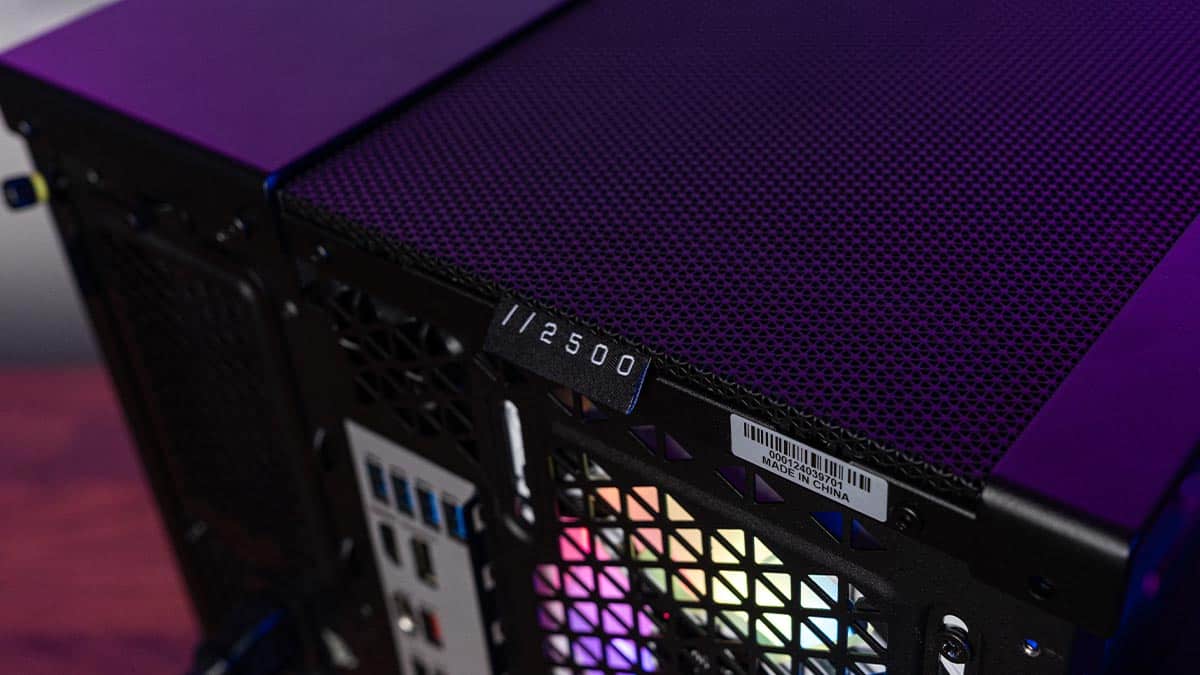
The top of the case is largely covered by a removable panel with the same triangular mesh design as the right side, allowing good airflow if you opt for including top and bottom mounted fans. This panel can be easily removed using a fabric pull tab towards the back of the case.
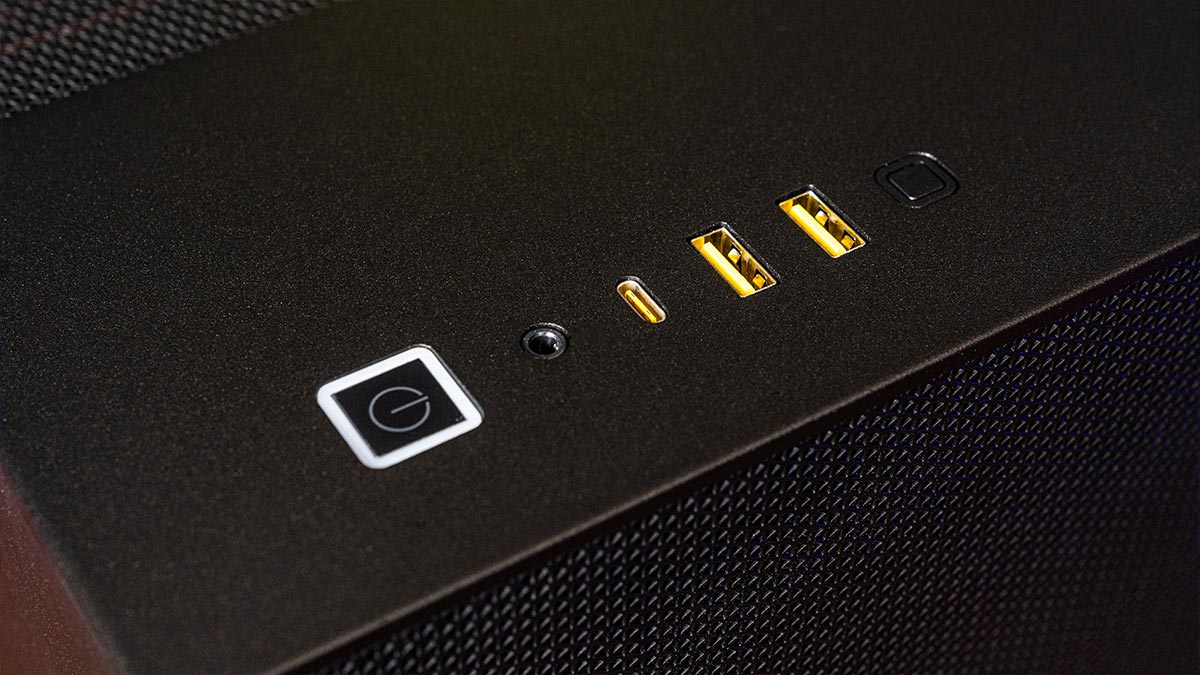
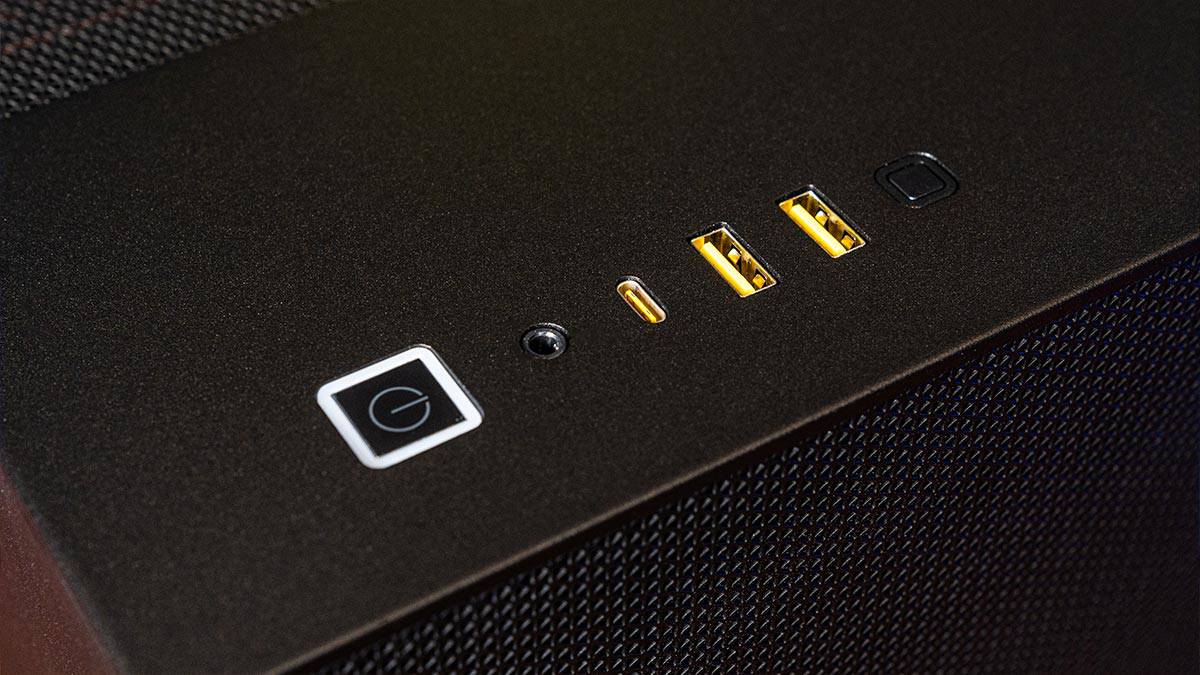
The solid metal portion of the top covers the secondary chamber and houses the power button, combo audio jack, USB-C port, two USB-A ports, and the reset button. The USB slots have yellow internal detailing and the power witch illuminates when switched on. As mentioned this section can be replaced with alternative accent panel kits if you buy them separately, as is the thin strip that runs on the other side of the mesh section.
The rear
Previous
Next
The back is covered with a triangular mesh but with larger gaps for improved airflow. There’s one 120mm fan mount with height adjustment. The back of the HDD cage is on the left (as you face the rear) which is attached with thumbscrews and can be easily removed to get access to the drives without having to take the full side of the case off.
Below the HDD cage is access to the PSU shroud, with an easily removable plate section so again you don’t have to take off the side panel to remove it; as standard this plate is the SFX (Small Form Factor) size, built to fit PSUs around 125mm x 63.5mm x 100mm, however this ‘insert’ can be removed to accommodate the larger ATX (Advanced Technology Extended) size, that typically measures 150mm x 86mm x 140mm.
There are four expansion slots towards the bottom right, which will accommodate larger graphics cards and/or one or two other add-in cards. All of these expansion slots are held within a single plate which can be rotated onto its side if you’re going for a vertical graphics card setup.


