

The wealth of electronic components available to the general public today, along with 3D printers and appropriate software, means we can make pretty much anything we can think up.
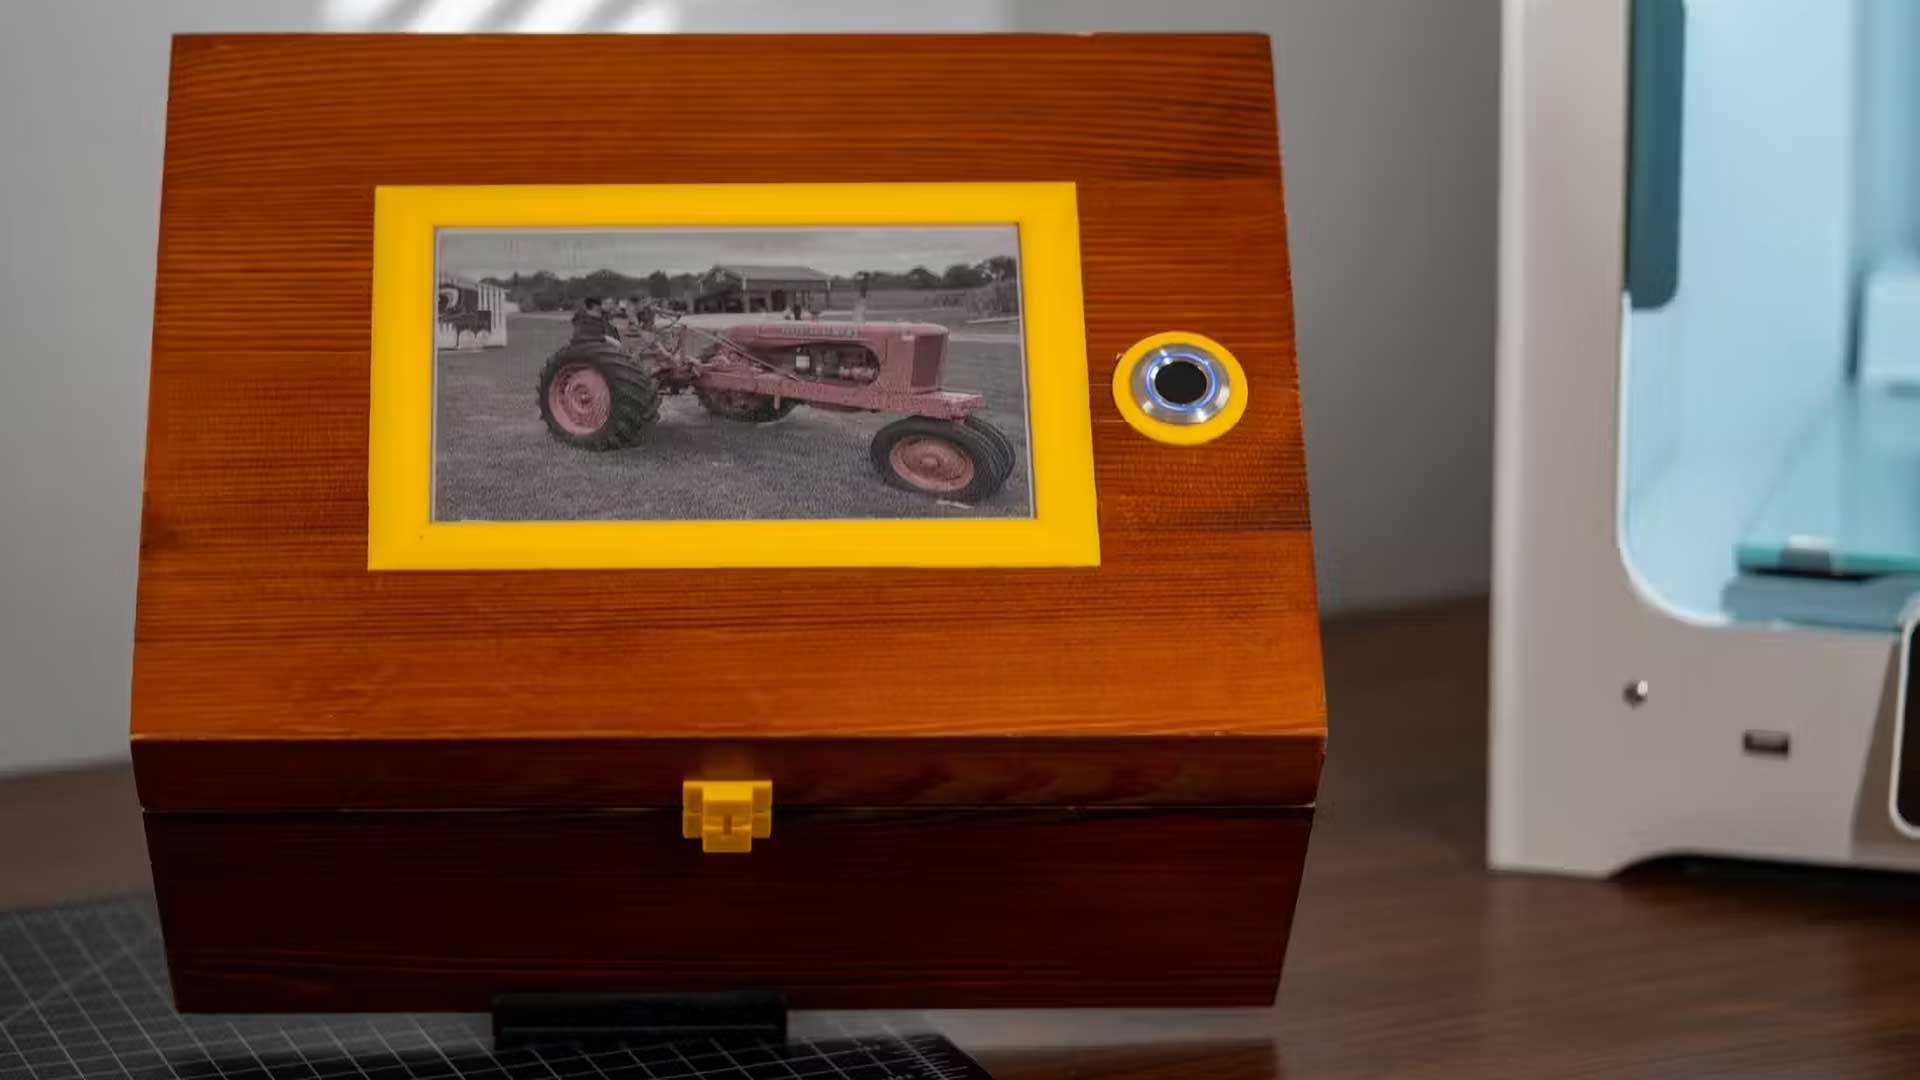
Mike Buss thought up a “memory box” for his son. So, he figured out how to make one. On its top, it contains an e-ink display that shows photos, with a fingerprint scanner to recognise the user and show photos relevant to them.
What’s in the box?
Mike built the box for his three-year-old son. It’s a way for him and his wife to document their son’s development and growth, capturing all of the happy memories along the way. Hence the name, “memory box”.
We can see on the top surface that there are two devices surrounded by yellow bezels. One is a fingerprint scanner so that the box can display the right images for whoever’s using it. The other is the e-ink display that shows the photographs.
It’s similar to the displays used in Amazon Kindle devices. E-ink displays have come a long way over the last few years, and while they still don’t compare to TFT, OLED and other displays, they can show photographs very well.


Mike chose a Waveshare 7.5″ e-ink display (buy here) for his box that shows black, white or red. So, you’re dealing with a monochromatic image, but you can still see exactly what it is. Inside, it’s powered by a Raspberry Pi Zero W (buy here).
The first prototype
The initial prototype – and personally, I find this to be the more interesting part of the project – was based on the ESP32 microcontroller. The one Mike used was built into the Waveshare universal e-Paper driver board (buy here).
He also added a real-time clock (RTC) so that it would always know what time it was. An RTC allows the device to keep time, even if it loses main power. They’re in all kinds of devices from microwave ovens to the cameras you shoot photos with.


The ESP32-based design worked well as a proof of concept, but Mike ultimately switched to the Raspberry Pi Zero W to be the brains of the memory box. It’s a logical choice. It condenses everything down to a single board. Fewer boards mean fewer potential points of failure.
The Pi Zero W also adds WiFi capability to the device. This means it’s easy to log in and update the software or upload new pictures remotely.
Make your own
It’s an interesting project that allows Mike and his wife to capture and store photos of his son’s development as he grows. And I’m sure Mike’s three-year-old son is going to love and treasure this box and its contents for many years to come.
To find out more about Mike’s memory box and to see how to make your own, Mike has detailed instructions on his website, along with all of the code and STL files for the 3D printed components.
[via Hackster.io]


