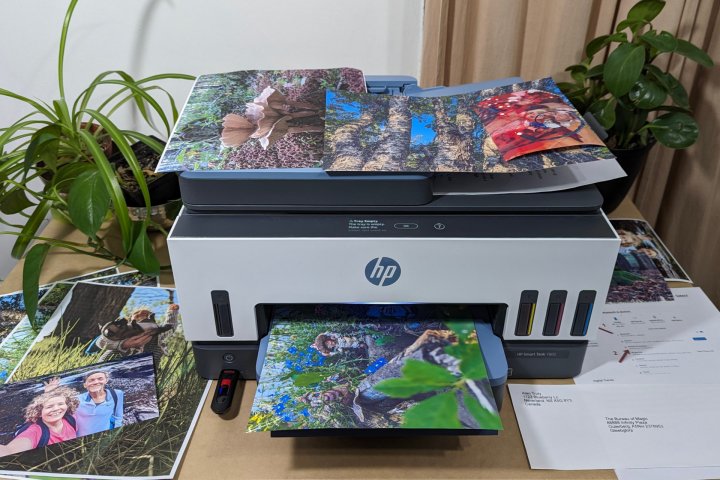
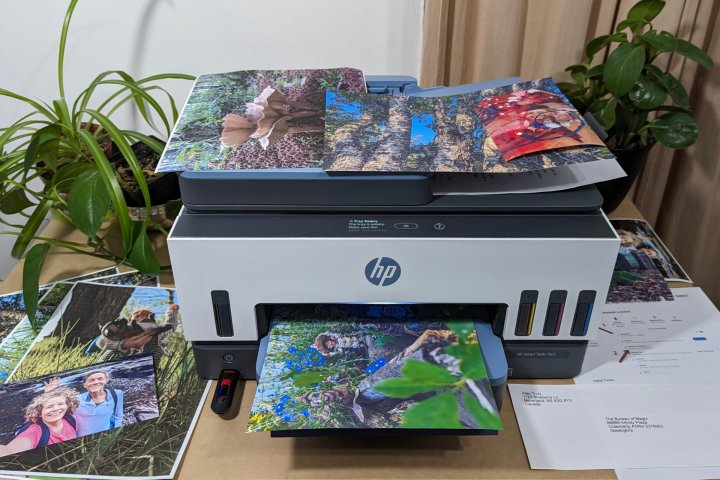
The cost of a printer can range from under $100 for some good, low-cost inkjet printers to several hundred for the best color laser printers. However, the price you pay upfront doesn’t include paper, and the included ink and toner only lasts so long.
A bargain printer can end up costing you more overall if the cartridges are small and replacements are expensive. Follow these tips to minimize ink, toner, and paper waste, reducing the ongoing expense of using your printer in the long run.
Print in monochrome
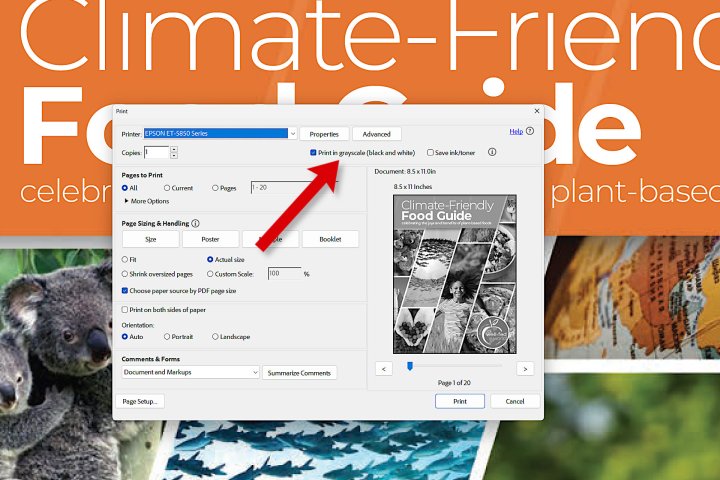
Monochrome is a way of specifying that you only want to use black ink or toner. If you don’t really need color, switch it off in print settings to save. It’s easy to do and can cut the ink and toner cost to a third or less compared to a full-color page.
Look for a switch or checkbox for color and turn it off. Some apps take a different approach to color. For example, Adobe Acrobat shows a grayscale option to print color documents in black and white.
Color is important for photos, but usually isn’t critical when printing articles, manuals, maps, troubleshooting guides, and other documents that serve utilitarian purposes. Adding color can make a big difference in reports, advertisements, and educational materials since it helps highlight important details and make the page more attractive.
Use normal and draft mode

It’s natural to want crisp, vibrant prints, but when you select the best-quality option, the printer will slow dramatically and use more ink or toner. If you own a printer from one of the best printer brands, normal quality is good enough for almost any use. Draft mode is often good enough when printing labels and other documents.
Draft mode offers the fastest speed and minimizes ink and toner use. You might notice a quality drop when printing pictures in draft. Switch to normal for photos with richer, truer colors.
Besides saving money and extending the life of your cartridges, printing in normal and draft quality reduces the likelihood of ink smearing. The best quality option layers on more ink and requires longer drying times.
Shrink and save
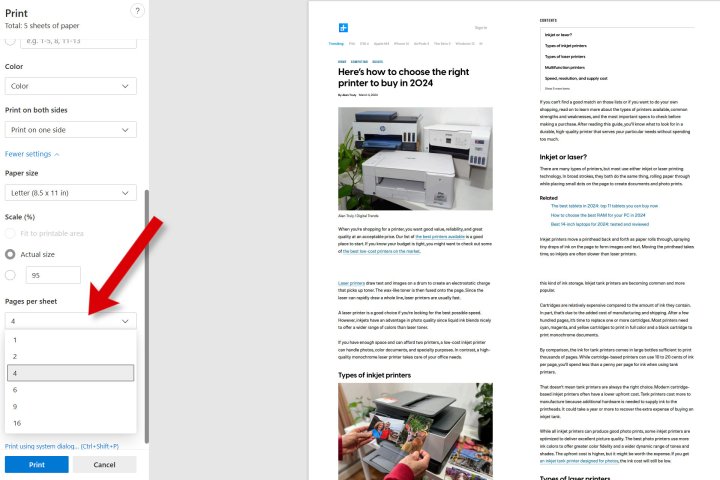
Both Windows and macOS can shrink pages so your print can fit more than one page on a single sheet of paper. The option is under More settings on a PC and Layout on a Mac.
If you shrink the pages too small, it could be hard to read text or make out fine details. Think about who you’ll be sharing the document with before choosing the number of pages per sheet.
Two pages per sheet is usually OK, but four per sheet could be too small. Reducing the print size halves or quarters ink and toner use, and cuts paper use almost that much.
Use duplex mode
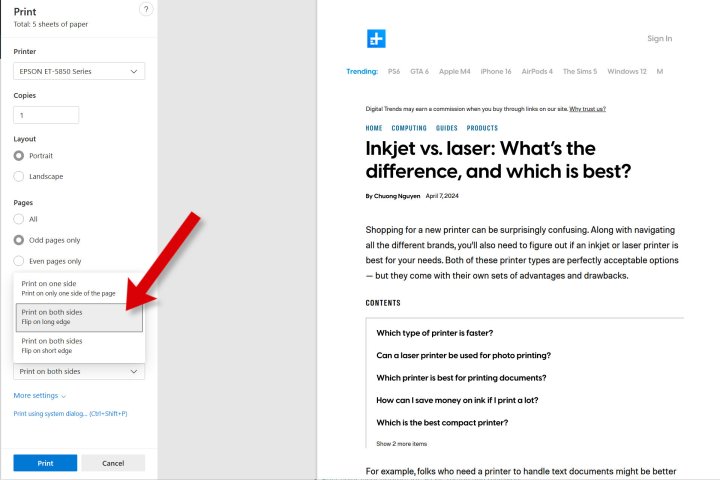
If shrinking pages isn’t appealing, you can get a similar paper reduction by enabling duplex mode. Duplex printing means both sides of a sheet are printed. Some printers lack this feature, but you can do the same thing manually.
In print settings, look for the Double-sided option in macOS print settings or the Print on both sides menu in Windows.
If you don’t see this option or if it’s grayed out, your printer doesn’t support duplex mode. Here’s how to get around that limitation.
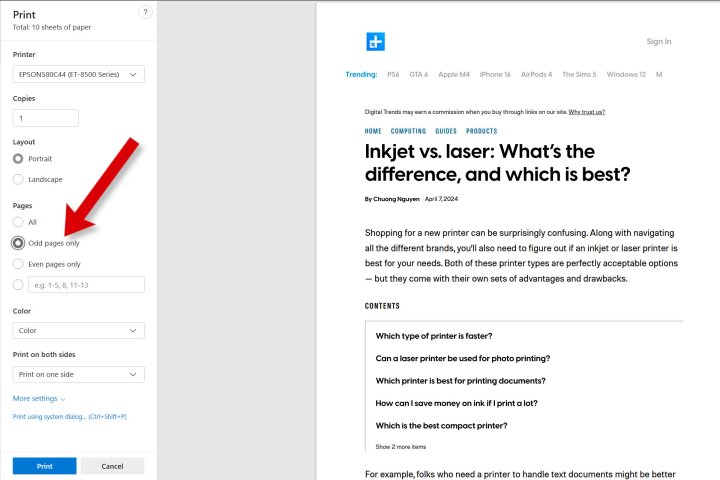
For non-duplex printers, you need to make note of which side of a sheet of paper gets printed on. That’s important because this trick prints all the odd-numbered pages first, then reinsert those printed sheets and print the even pages on the other side.
This option isn’t available in every app, and you have to be careful that you don’t print odd and even pages on the same side of the paper. Duplex printers make double-sided printing a standard feature across apps and are worth the extra cost if you need this feature.
Preview before printing
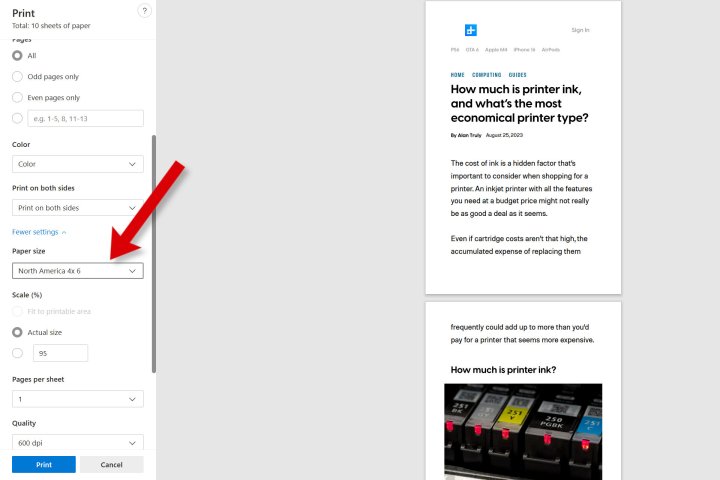
There’s an old saying that carpenters live by, and it applies here also: “measure twice, cut once.” The goal is to avoid wasting paper, ink, and toner by printing a photo or document with the wrong settings.
For printing, the carpentry adage becomes “check twice, print once.” It’s simple — examine the preview of the print on your computer or phone and double-check any options you’ve adjusted recently.
Here’s a handy checklist:
- Does the paper settings match what’s in the printer?
- Did you set the color or monochrome option?
- Are you printing from the right input tray?
- Are Double-sided and Pages per sheet set correctly?
- Are you printing odd, even, or all pages?
- Is the paper facing the correct way to print on the side you want?
- Do you have the correct printer selected?
If you’ve ever printed a black-and-white document on expensive glossy photo paper, you’ll understand how painful it can be to overlook these details.
Modify your document
If you’re printing in volume and need to cut expenses for particular documents, some modifications can significantly lower the amount of ink toner and paper used.
- Remove or scale down pictures that require lots of ink or toner.
- Make images monochrome since color costs more.
- Set narrower margins so a document fits on fewer pages.
- Choose smaller font sizes to shorten documents.
- Remove unnecessary graphics, images, and text.
Buy an economical printer
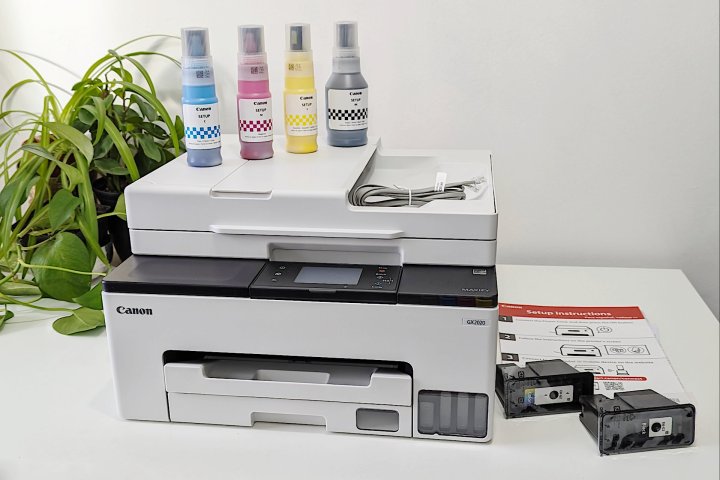
If the printer you’re using now guzzles ink or toner or mangles paper regularly, you should consider upgrading to a better solution.
The best printers are reliable and durable enough to provide long-lasting value and consistent quality. When your first print looks great, you save the waste that comes from repeated efforts to get a usable document or photo.
To reduce ink costs, check our guide to the best printers with cheap ink. You might notice inkjet tank printers high on the list since they can print thousands of pages from the included ink, and refill using bottles instead of cartridges.
Editors’ Recommendations


