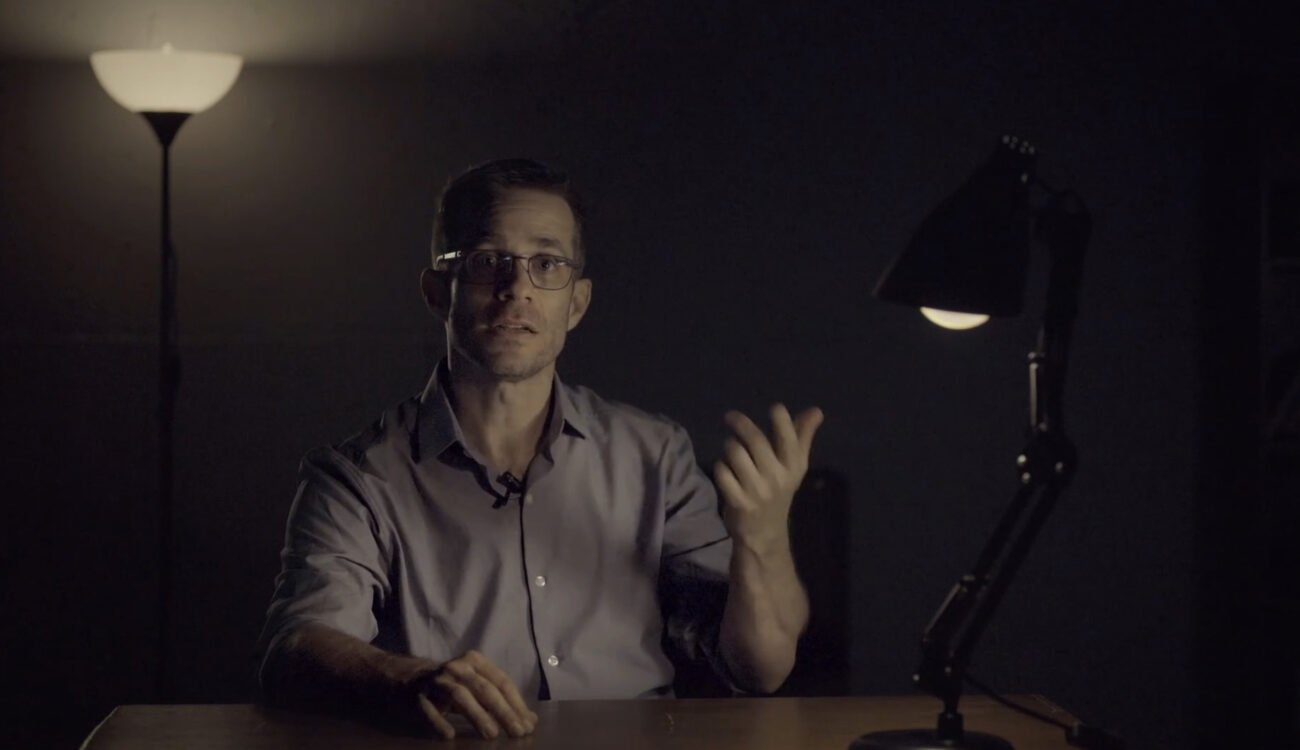
In the beginning, there was light. Without light – no shot, no scene, no film. Of course, we can also tell our stories in complete darkness, but that has little to do with movies. The visual medium needs visibility. Another question is: why don’t we just use practical lights instead of heavy lamps and bulky film fixtures? It would be so much easier production-wise! Cinematographer and educator Tal Lazar has not one, but a bunch of answers to this question in his latest MZed course “The Language of Lighting”. Let’s dive into his lesson, and establish when it’s okay to abandon movie lights and go solely for practicals.
The modern lighting convention in film is all about emulation. This means that as filmmakers, our lights should be made to feel natural and believable in almost every scene. For an industry outsider or a beginner, this process might seem crazy. Imagine seeing, for the first time, the crew blacking out windows on location to simulate soft, cloudy outdoor light using artificial fixtures!
Yet, practicals have something from both worlds. They are natural because they are totally real, and at the same time, they can bring a specific cinematic quality to the shot.
What are practical lights?
Let’s start with the definition.
Practicals – are lighting fixtures that are part of the set or the world of the characters.
Tal Lazar, a quote from his course.
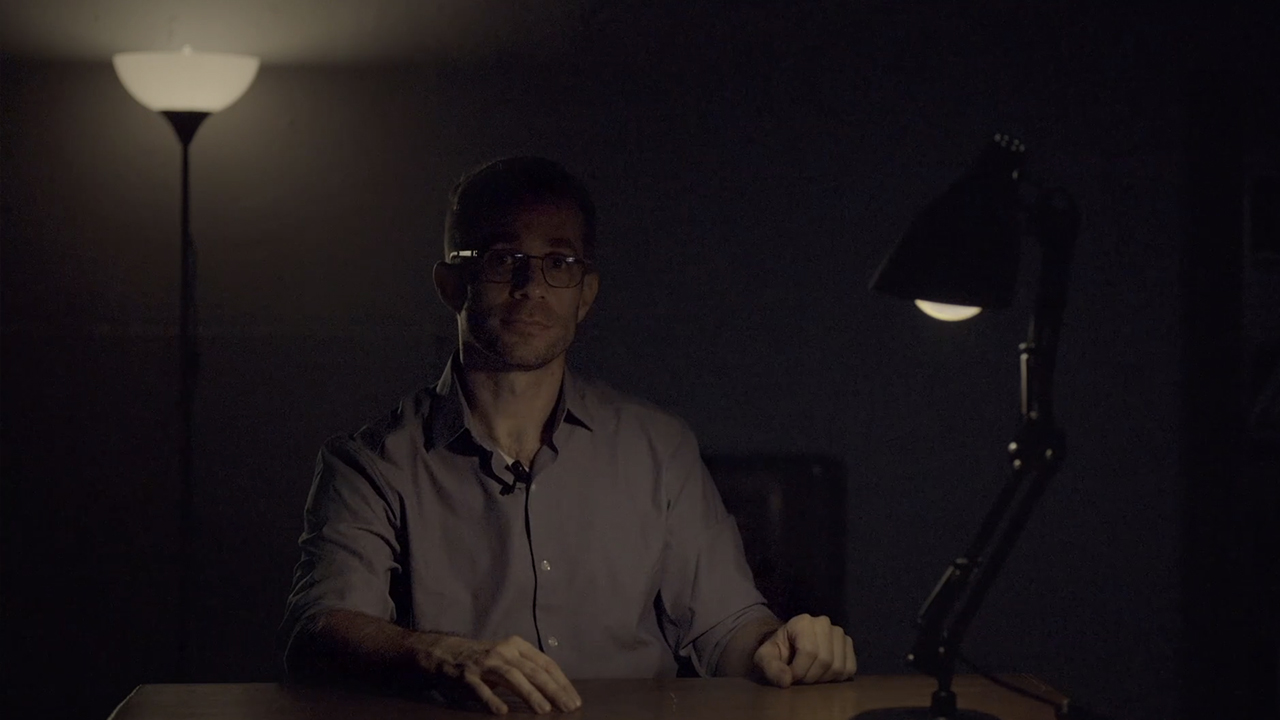
In other words, practicals are sources that you see directly in the frame, just like in Tal’s setup below:
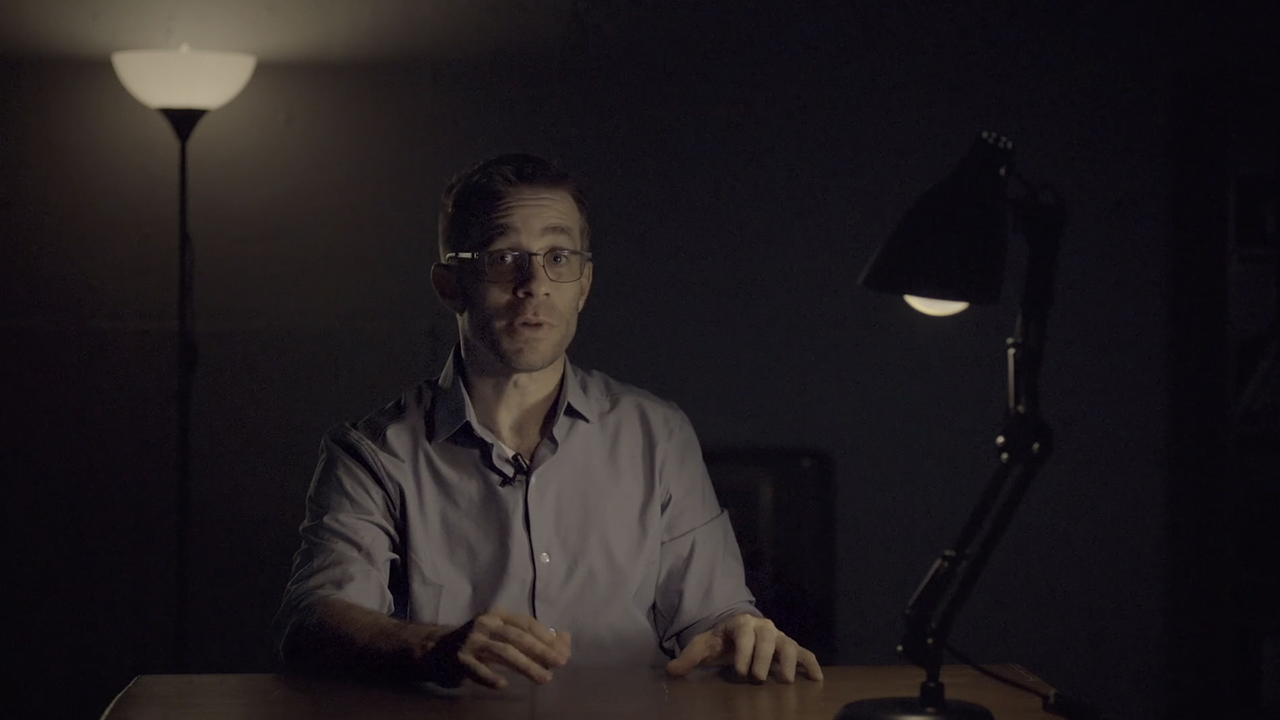
People who are not familiar with professional filmmaking may believe that Tal and the background are lit entirely by these two lamps. And why not? I would buy it as well, wouldn’t you? Of course, that’s not the case. Here’s what the lighting setup for this shot really looks like:
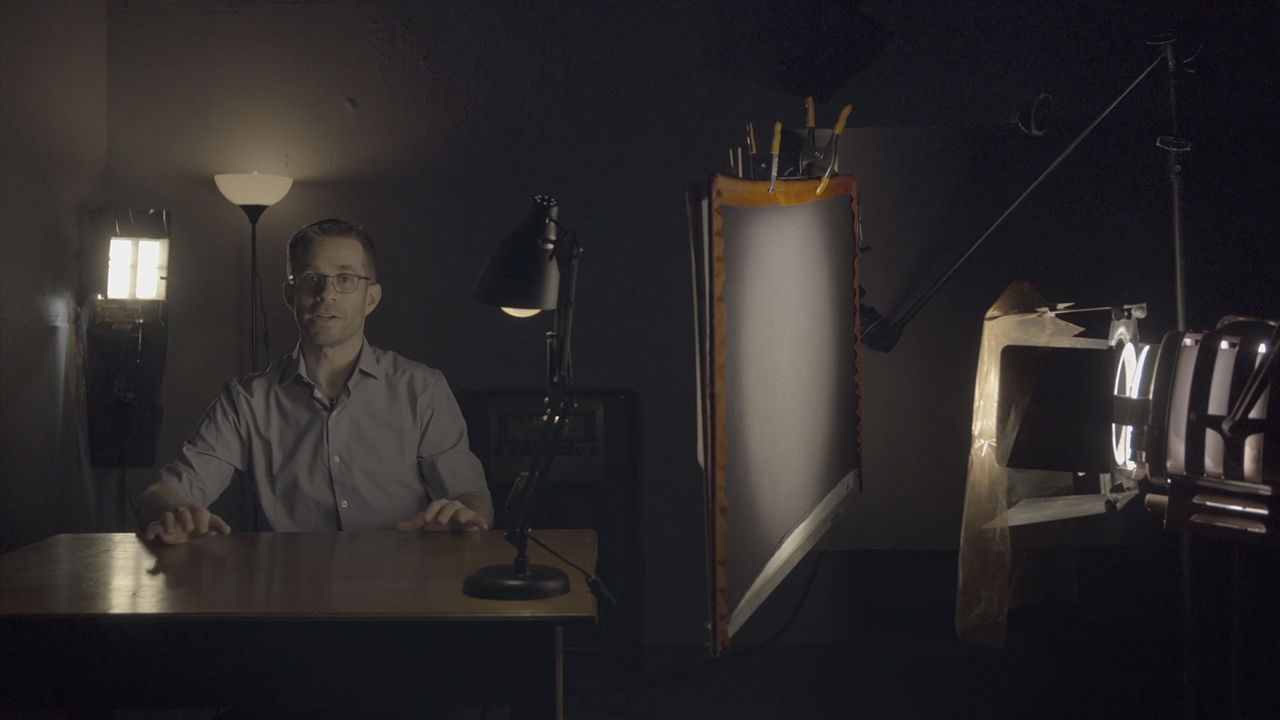
The magic happens because the creators of this shot emulated natural lighting so well. They chose the right fixtures, put them in the correct positions and directions, matched the color temperature, added diffusion, shaped the light, and cut it from the unwanted areas on set. All this effort to make our brain believe that the light comes from two practicals! (It also works the other way around, but we’ll talk about that a bit later). What would happen though, if we left it at that?
This.
Practical lights vs movie lights
Of course, there are several reasons why filmmakers use movie lights, even though some of them are too big, too heavy, and too expensive. If you’re a seasoned cinematographer or lighting designer, you know them all for sure. Regardless, let’s revisit this together with Tal Lazar:
- As we’ve seen in the example above, there is a matter of intensity. Movie lights are much brighter. A standard house bulb has around 60 watts. Compare it, for instance, to Aputure 600D with a maximum draw of 720W. If you don’t want all your shots to be dark, you either need a lot of practicals everywhere on set or you go for the right movie lights in combo with decent emulation skills.
- Using film lights gives us more control than using practical lamps. Motion picture lights are versatile: we can shape them, change color, use diffusion, and so on. Generally, they are designed to be used in many different ways and to create various effects.
- Let’s not forget that practicals are part of production design. You might also want to position them in a specific way to achieve a beautiful visual composition for your shot. However, in that case, they can’t light the actor at the same time. (If you manage to have it both ways, good for you!)
- As you probably know, some practical lights flicker or have a weird color when used with a movie camera. (However, there is a simple trick with bulbs on how to overcome this and gain more control – coming up below).
But that’s not always the case
Okay, the previous list might give the impression that movie lights can do everything, and no film can avoid them. That’s not true. Many amazing film scenes use only practical lighting. In his course, Tal Lazar shows an example from “Skyfall”. The sequence features M’s assistant, Tanner, who takes Bond to the new location of MI6. In a long, continuous take, they go through a dimly lit, narrow tunnel, and there is neither room nor need for film fixtures. On the contrary, this vicissitude of light and darkness adds to the overall suspense and anticipation.
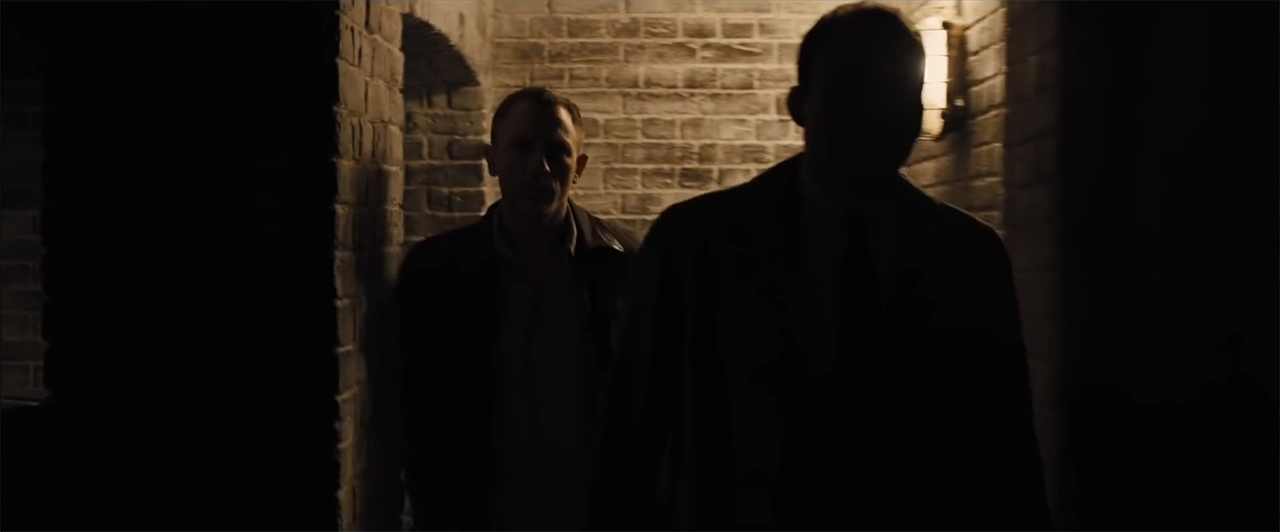
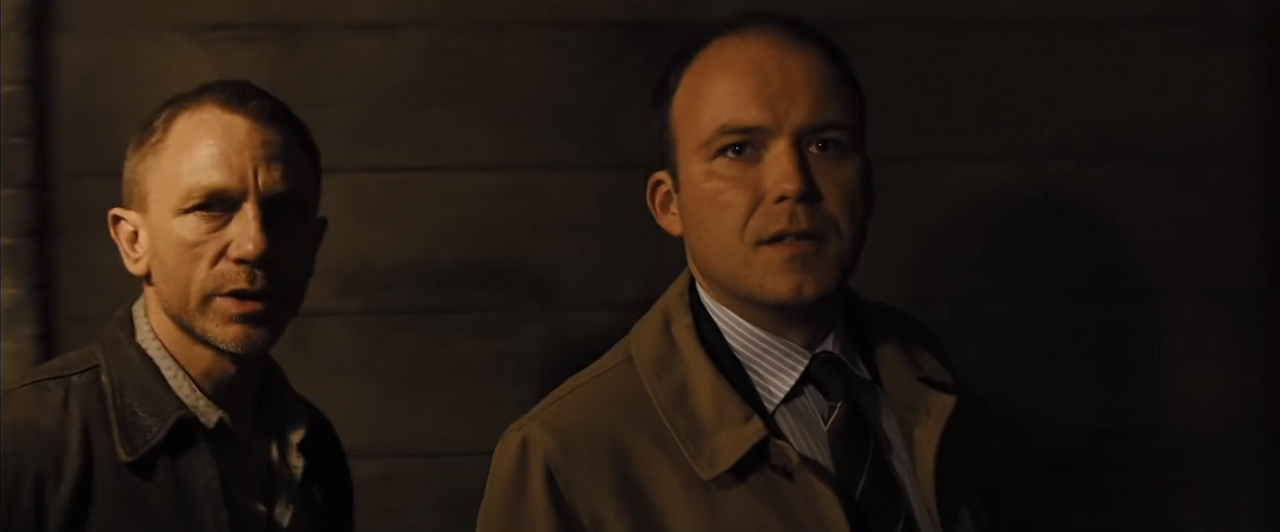
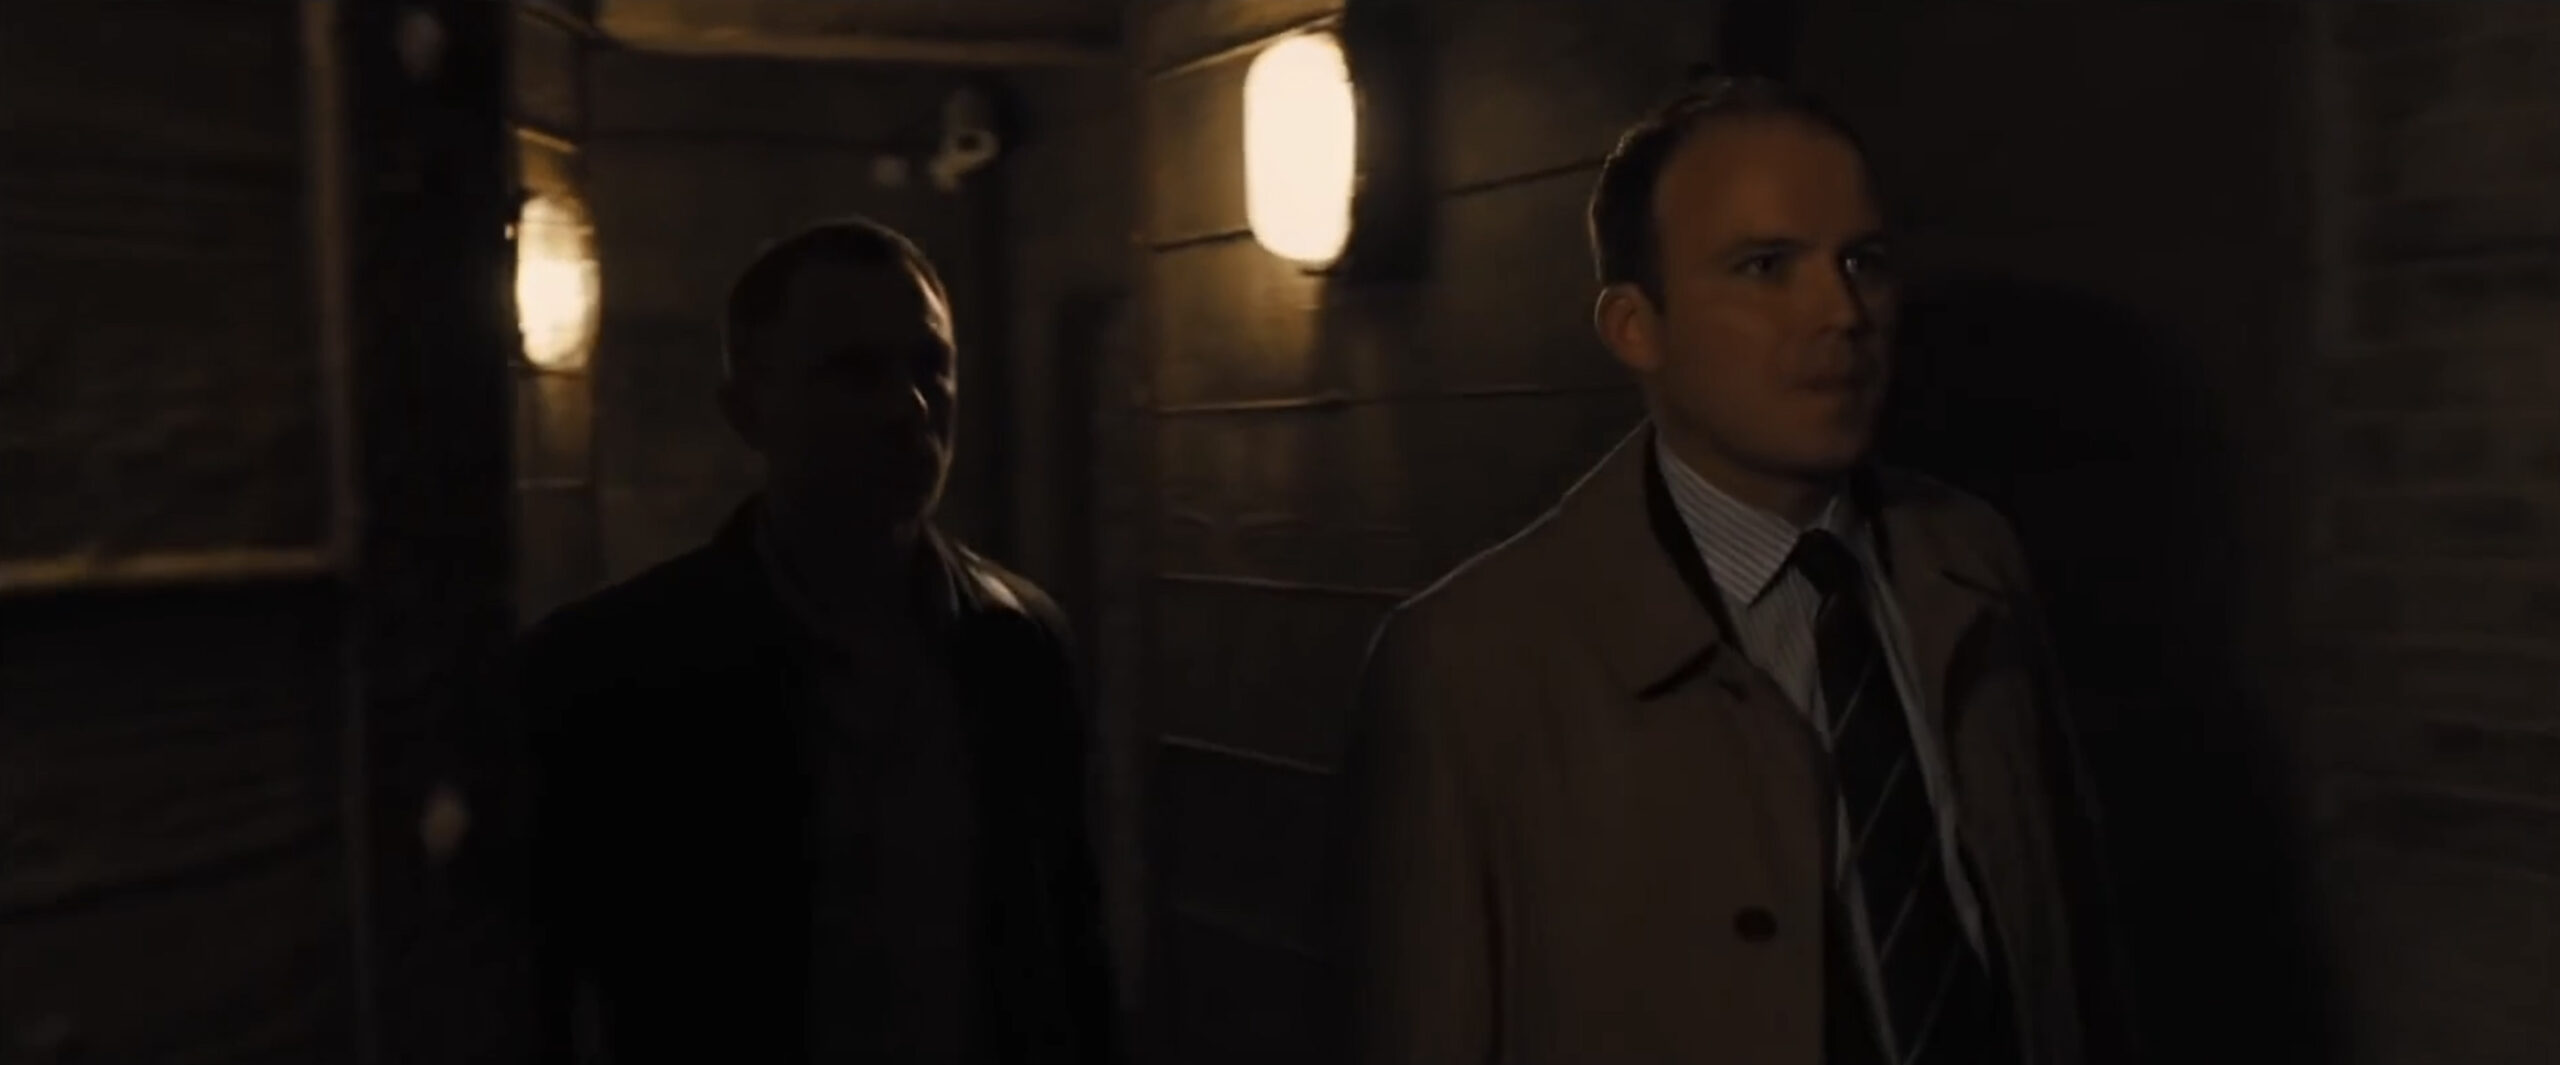
To be honest, I’m not sure whether cinematography guru Roger Deakins had to go for practicals due to the lack of space, or it was his deliberate decision in order to support the scene’s atmosphere. It’s important to understand that the lighting approach is also a creative decision, and not only technical.
Limitation is a powerful tool
Some people believe (including me) that limitations encourage creative thinking. By setting rules and boundaries for yourself as a creator, your brain starts to invent new solutions to the old problems.
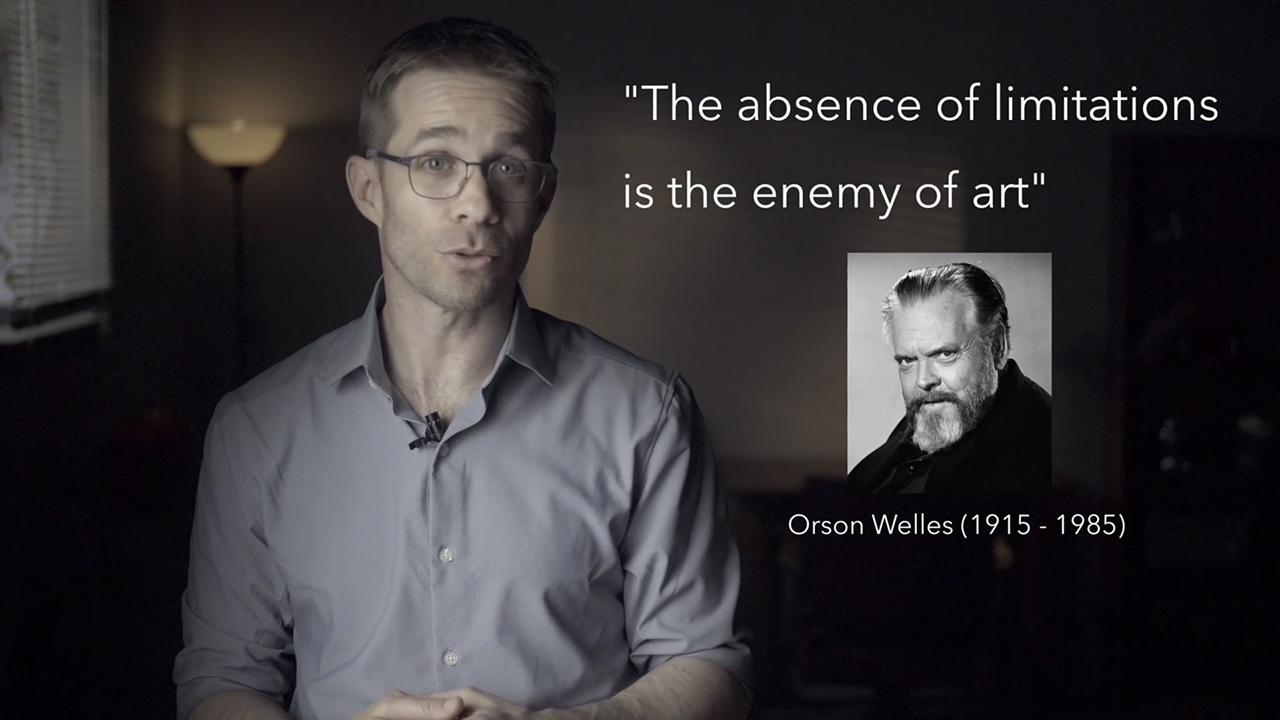
That’s why, in a sound studio where you have almost full control over your lighting and no limitations, lights can quickly start to look unnatural (and we’ve seen it a lot in sitcoms). Conversely, on location, you often will have to figure out where and how to place your sources so that they are not in the frame. If you decide to go for practical lighting only, well, that’s a challenge, but a creative one for sure! The result could be soulful naturalistic cinematography like in “Nomadland”.
There is another extreme. Maybe you have heard about Dogma 95, an avant-garde filmmaking movement started in 1995 by directors Lars von Trier and Thomas Vinterberg. They made a manifesto to create films based on traditional values and to exclude any special technology, added elements, or effects. Thus, a Dogma film was restricted from using constructed sets, external props, artificial lighting, or any camera rigs (hand-held only), and it had to follow an entire set of other rules.
Not saying that you have to go that far, but some limitations can be a very powerful tool to engage creativity.
How to make a decision?
Practical lights, movie lights, or a combination of both? There is no one correct answer as there is no right or wrong – each scene and situation is unique. What Tal Lazar urges us to take into account is that the decision on a lighting approach shouldn’t be a fast one. Whatever setup you choose, it will have consequences and imply limitations. As part of a film crew, you need to discuss these with other team members before the shoot so that everyone is on the same page.
For instance, if you go for big movie lights, then questions of budget, logistics, electricity, and crew size will come into play. Also, once they are in place for the next scene, you can’t move them around quickly and easily, especially when the actors are already on set. Using practical lights might lead to other issues. For example, an unplanned slow-motion shot might not be possible, either due to flickering or because the practicals are not powerful enough.
In my opinion, a combination of both is often a good way to go. Practical lights can add depth to your composition, create separation, or emphasize some elements in the shot. They also provide our brain with visual information: “Look! There is a light source”. Indeed, it helps to trick viewers into believing that emulated light comes from lamps in the frame (remember our previous example with Tal’s setup?)
A tip for enhancing practicals
Last but not least, a quick tip to gain more control over your practicals. My team and I always have a couple of spare smart LED bulbs in our lighting kit (we use Aputure Accent B7c). This gives us a bit of flexibility on set if we decide we need another practical light in the frame. What the DP or lighting technician does is install these controllable bulbs instead of ordinary ones, like in my example below.
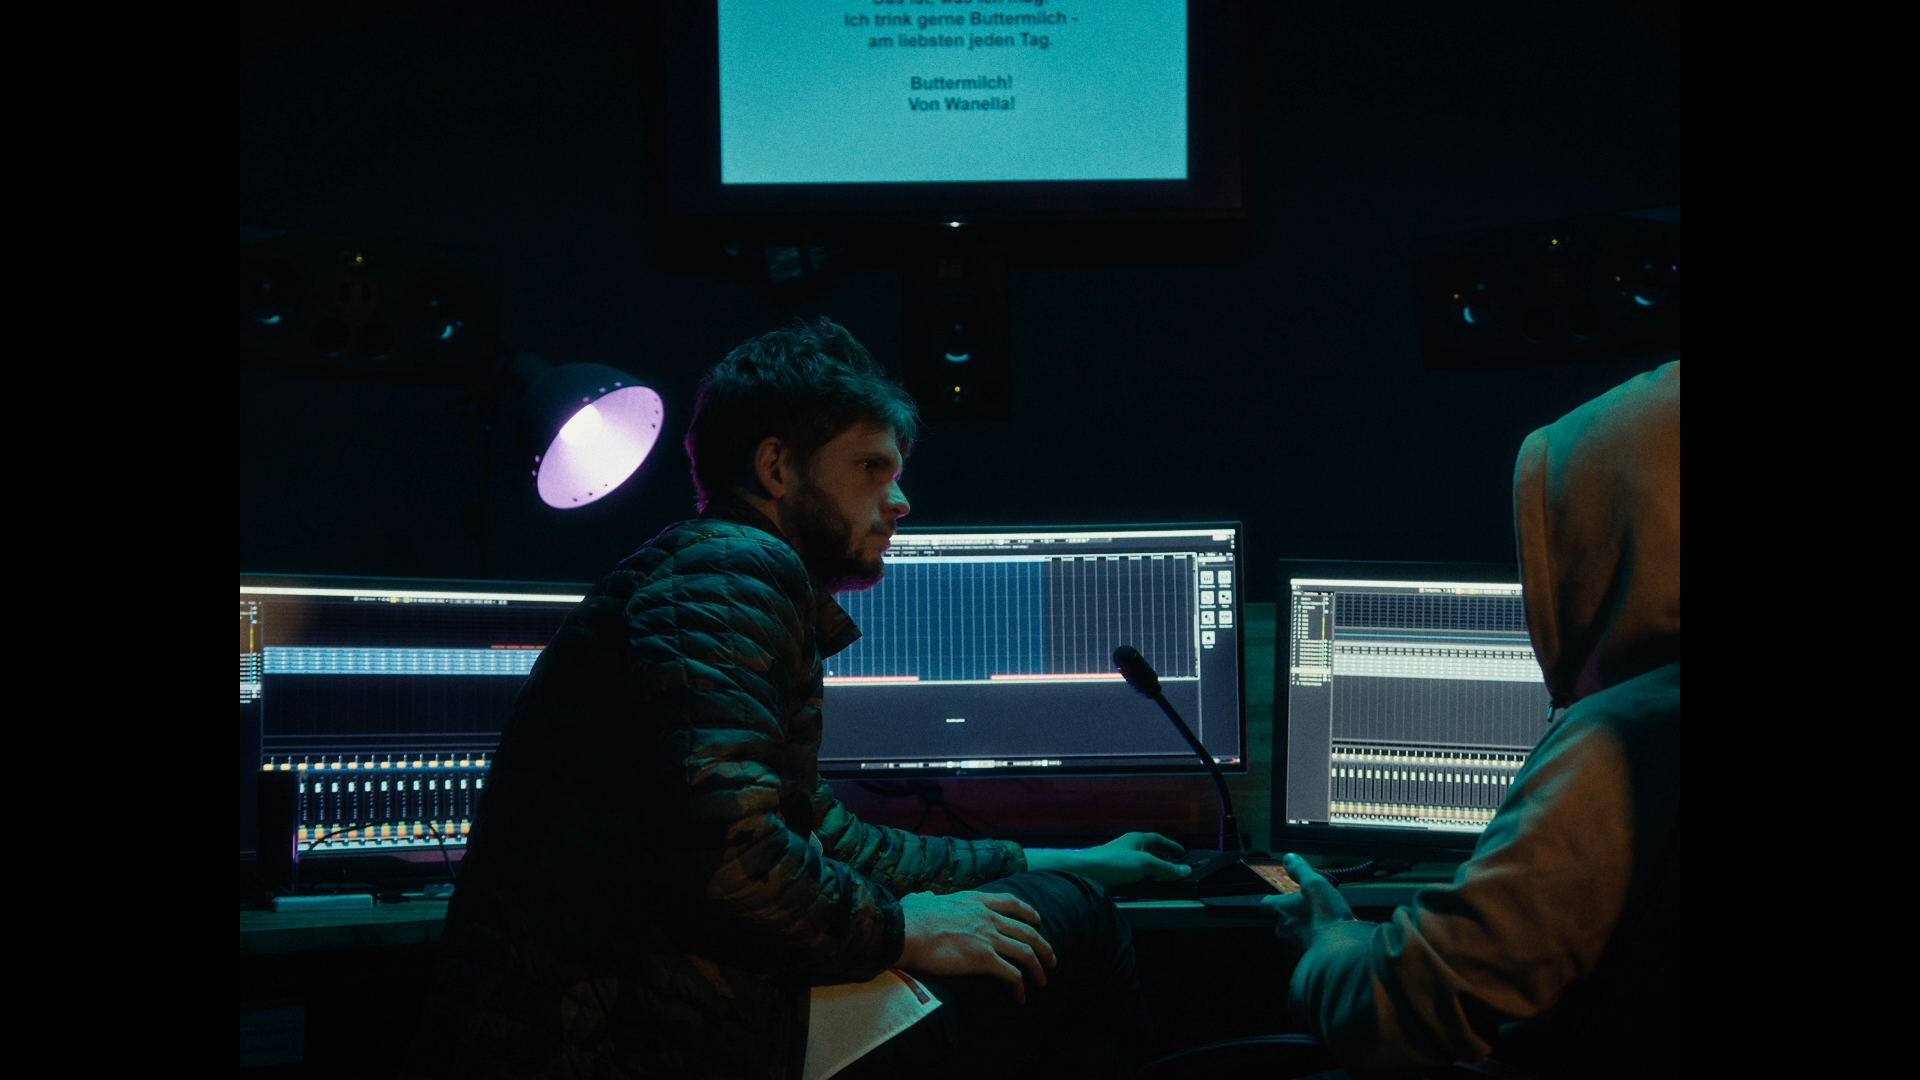
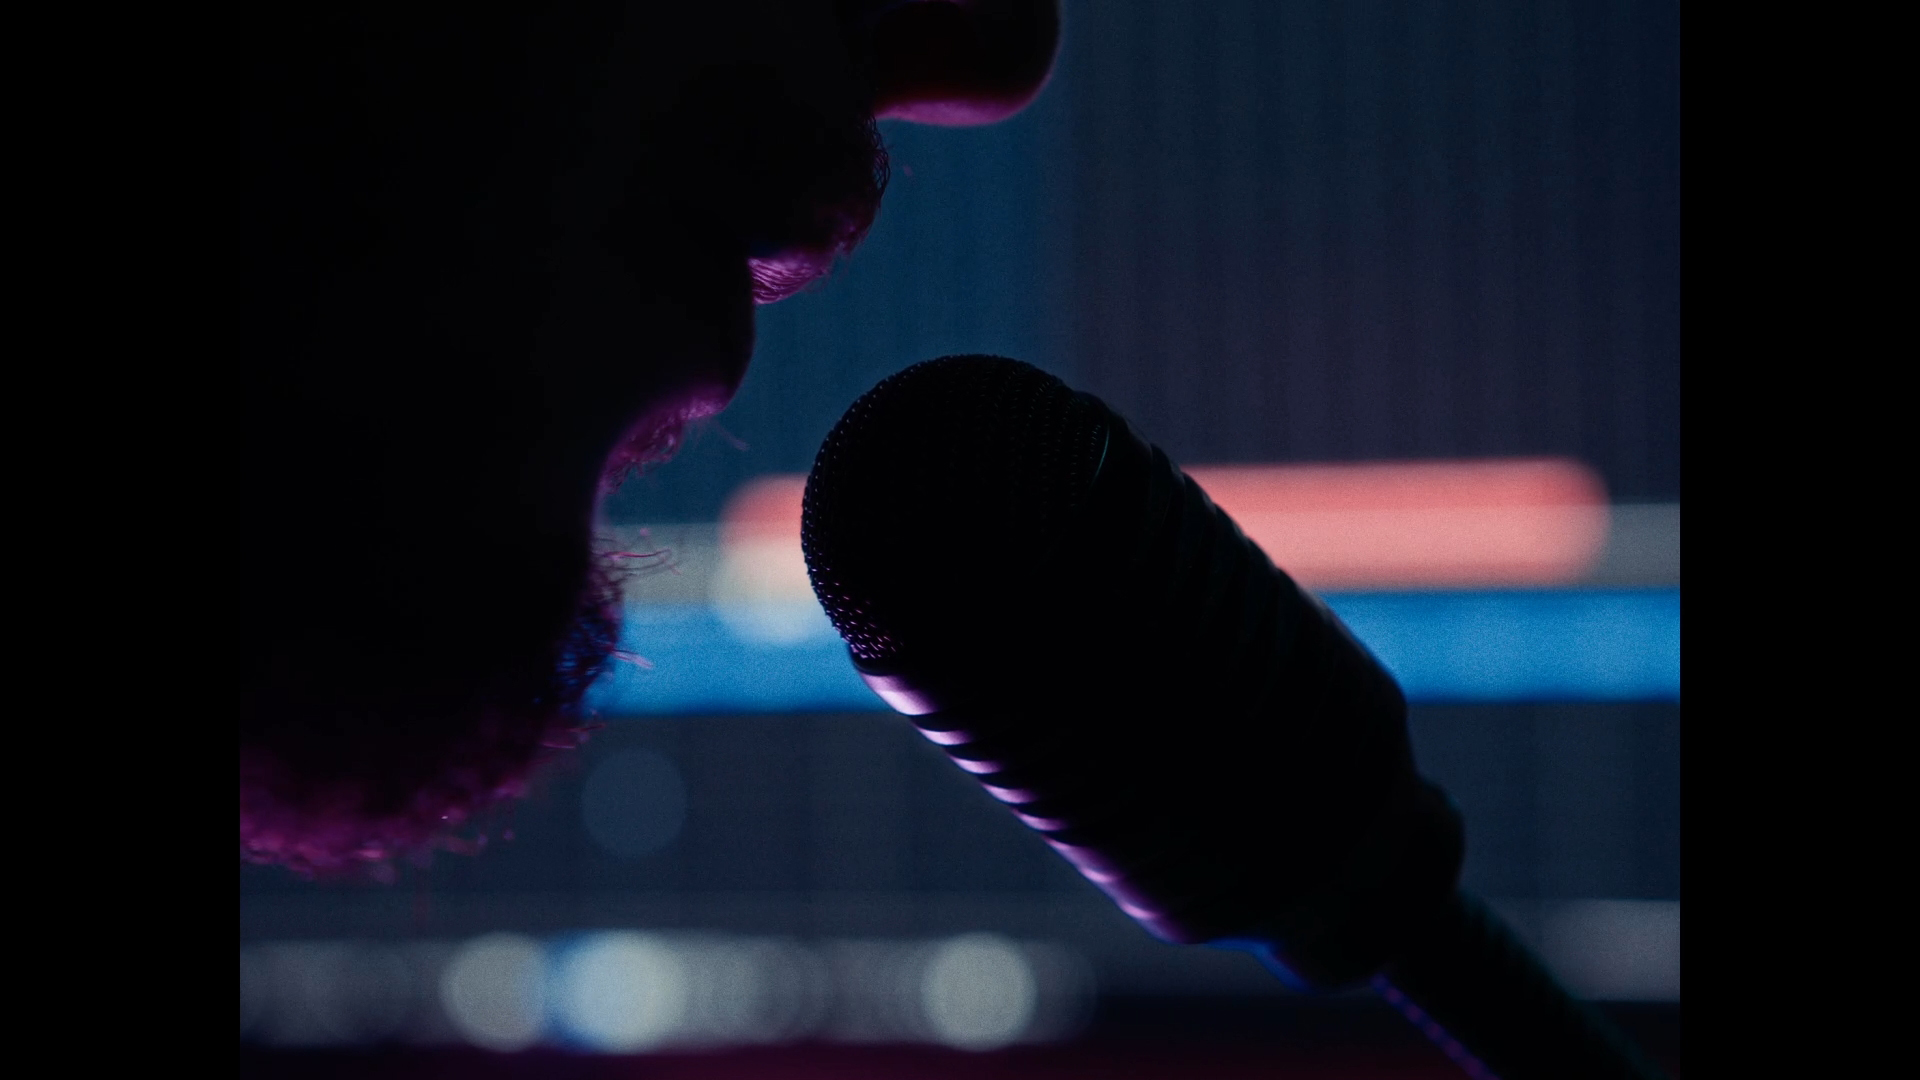
With special LED bulbs, you can avoid flickering, and easily change the color and brightness of a practical. As you can see, it allowed us to create an interesting studio atmosphere in the wide shot and even gave enough colorful output to light a close-up.
In ‘The Language of Lighting’, you can also learn…
Practical lights or not, if you want to create beautiful engaging shots, you should also understand how to design light to support your story. This is one main focus of Tal Lazar’s course, “The Language of Lighting” on MZed.com. He analyzes classic film examples, showcases what effect different lighting has, and dives deep into all the technical questions (how to use diffusion, calculate the correct color temperature, or work with reference images, to name a few).
What else do you get with MZed Pro?
As an MZed Pro member, you also get access to over 465 hours of filmmaking education, plus we’re constantly adding more courses (several in production right now).
For just $30/month (billed annually at $349), here’s a breakdown of everything you’ll receive:
- 50+ courses, over 800+ high-quality lessons spanning over 465 hours of learning.
- Highly produced courses from educators who have decades of experience and awards, including a Pulitzer Prize and an Academy Award.
- Exclusive access to ARRI Academy online courses.
- Unlimited access to stream all the content during the 12 months.
- Offline download and viewing with the MZed iOS app.
- The majority of our courses provide an industry-recognized certificate upon completion.
- Purchasing the courses outright would cost over $9,000.
- Course topics include cinematography, directing, lighting, cameras, and lenses, producing, indie filmmaking, writing, editing, color grading, audio, stunt cinematography, wildlife filmmaking, and more.
- 7-day money-back guarantee if you decide it’s not for you.
- After the first year, the annual renewal price goes down to $199 per year.
Join MZed Pro now and start watching today!
Full disclosure: MZed is owned by CineD
What about you? Do you often use practical lights? What do you use them for, and which tricks do you use to include them in shots and emulate them correctly? Looking forward to your tips and opinions in the comments below!
Feature image source: Tal Lazar/MZed.


