
Many of us who shoot film have either developed our own film or have wanted to try it at some point. And for basic black-and-white film development at home, the process is quite simple. Involved, but simple.
OpenAutoLab takes away much of the tedious work, though, thanks to the Arduino acting as its brain. But not just for black and white. It lets you develop C41 colour negatives, too. And it’s completely free and open source.

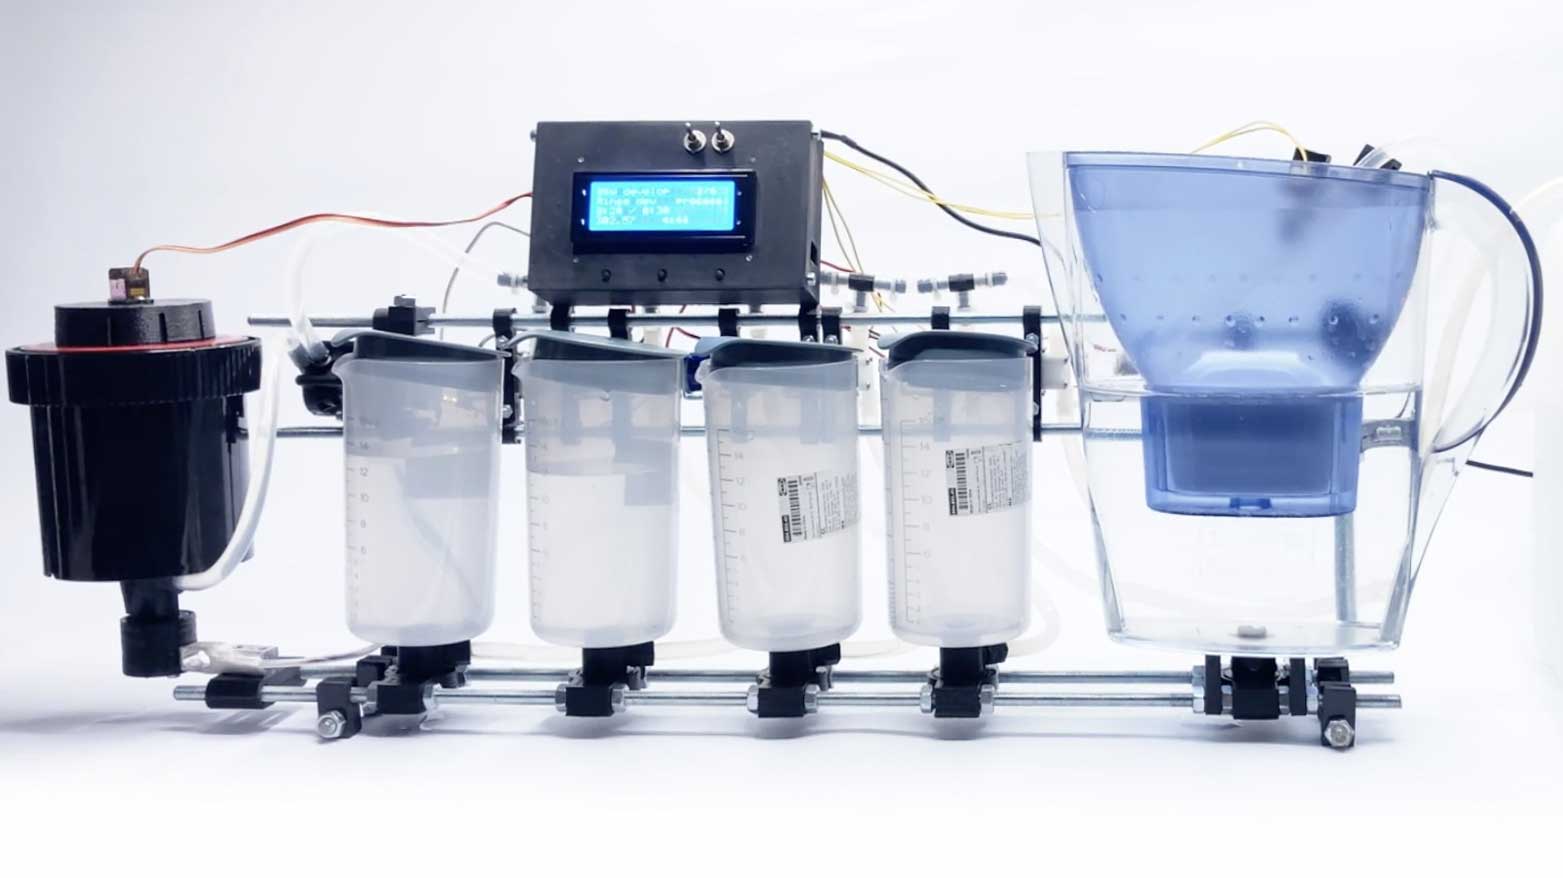
OpenAutoLab – Open Source Film Developent
OpenAutoLab was created by somebody who goes by the name Kauzerei. It’s a fascinating machine. Its appearance isn’t that of a finished machine at all. In fact, it looks a bit like a science experiment. But it seems to work very well, and there’s no reason why it shouldn’t.
It uses the Arduino Nano to set the timings for pumping various chemicals in and out of the development tank. It also automatically agitates the tank to ensure consistency and repeatability from one roll to the next. A custom circuit board controls communication between the Arduino and the rest of the components.
You do still have to load and unload your liquid containers. And you’ll need to give them a good wash after each use. But, it takes all that chaos out of the development process itself. You can get it all prepared beforehand, hit a button and wait til it’s done.
Even if it ultimately doesn’t save you time (it should, though), it’ll at least make the most annoying part bearable.
A DIY Alternative to Jobo
OpenAutoLab is essentially a DIY alternative to many of the Jobo units that used to be readily available. But Jobo aren’t as prevalent as they once were. Many older units don’t work anymore, and modern units (they still sell the CPE-3) are quite expensive.
While building your own solution like OpenAutoLab might not look as neat on your shelf, it will do the job just as well. You can even use it submerged in a heated water bath for developing C41 and E6 film, too. Ultimately, though, its appearance will depend on you.
The code and components will still work, even if you move a few of the components around. Or swap them out for other components completely. So, if you build one, customise it to your own needs and aesthetic.
Build a DIY film scanner, too!
Once you’ve developed your film, you’ll want to scan it in. After all, you’ll probably want to share them with your friends and family. Or at least save a digital backup in case anything ever happens to the negative.
There are a number of options from film-oriented flatbed scanners like the Epson Perfection V850 (buy here) to shooting them with your camera. But as you’ve got the Arduino Nano anyway, you could always automate your scanning process, too.
If that sounds like the route you want to go, be sure to check this guide from Seckin Sinan Isik on how he built his automated film scanner.


