
Developing your own film at home, especially black and white film, isn’t difficult. Don’t get me wrong, it’s still a pain, but it’s not difficult. There are things we can do to make our lives easier, though.
A person going by the name packetandy decided to make his life easier by automating some of the process. He built his own automated developing tank, and he’s made it available for all of us, too.
Getting back into film photography
The beginning of packetandy’s post on Instructables reads a little like my own return to film photography. Except, I did it in 2012. Even twelve years ago, though, the expense of having my film developed in the high street was already far more than I was willing to accept.
And I very much relate to his description of the tedious nature of black-and-white film developing at home.
Developing your own black and white film is not hard, but it is tedious. One has to agitate or stir the film every 15 to 30 seconds, watching the clock for many minutes – not a great task for someone fundamentally lazy and distractable.
How much or how little you need to agitate depends on a number of factors. The developer you’re using, the dilution (strength) of that developer, the film stock you’re using, the temperature you’ve got the chemicals at, etc.
Keeping track of all those combinations and then doing it manually each time we want to develop a roll – a process which can last up to about 15 minutes if we’re pushing the film – is a real pain.

I never thought to automate it in the way that packetandy did. Even though I had automated lights on the enlargers. Of course, 3D printers weren’t a thing back then, either. Not for me, anyway.
The simplest solution – With caveats!
Right at the beginning of the development process, packetandy asked himself some questions. He wanted to determine all the pros and cons of different agitation implementations. He came up with a number of specific design goals.
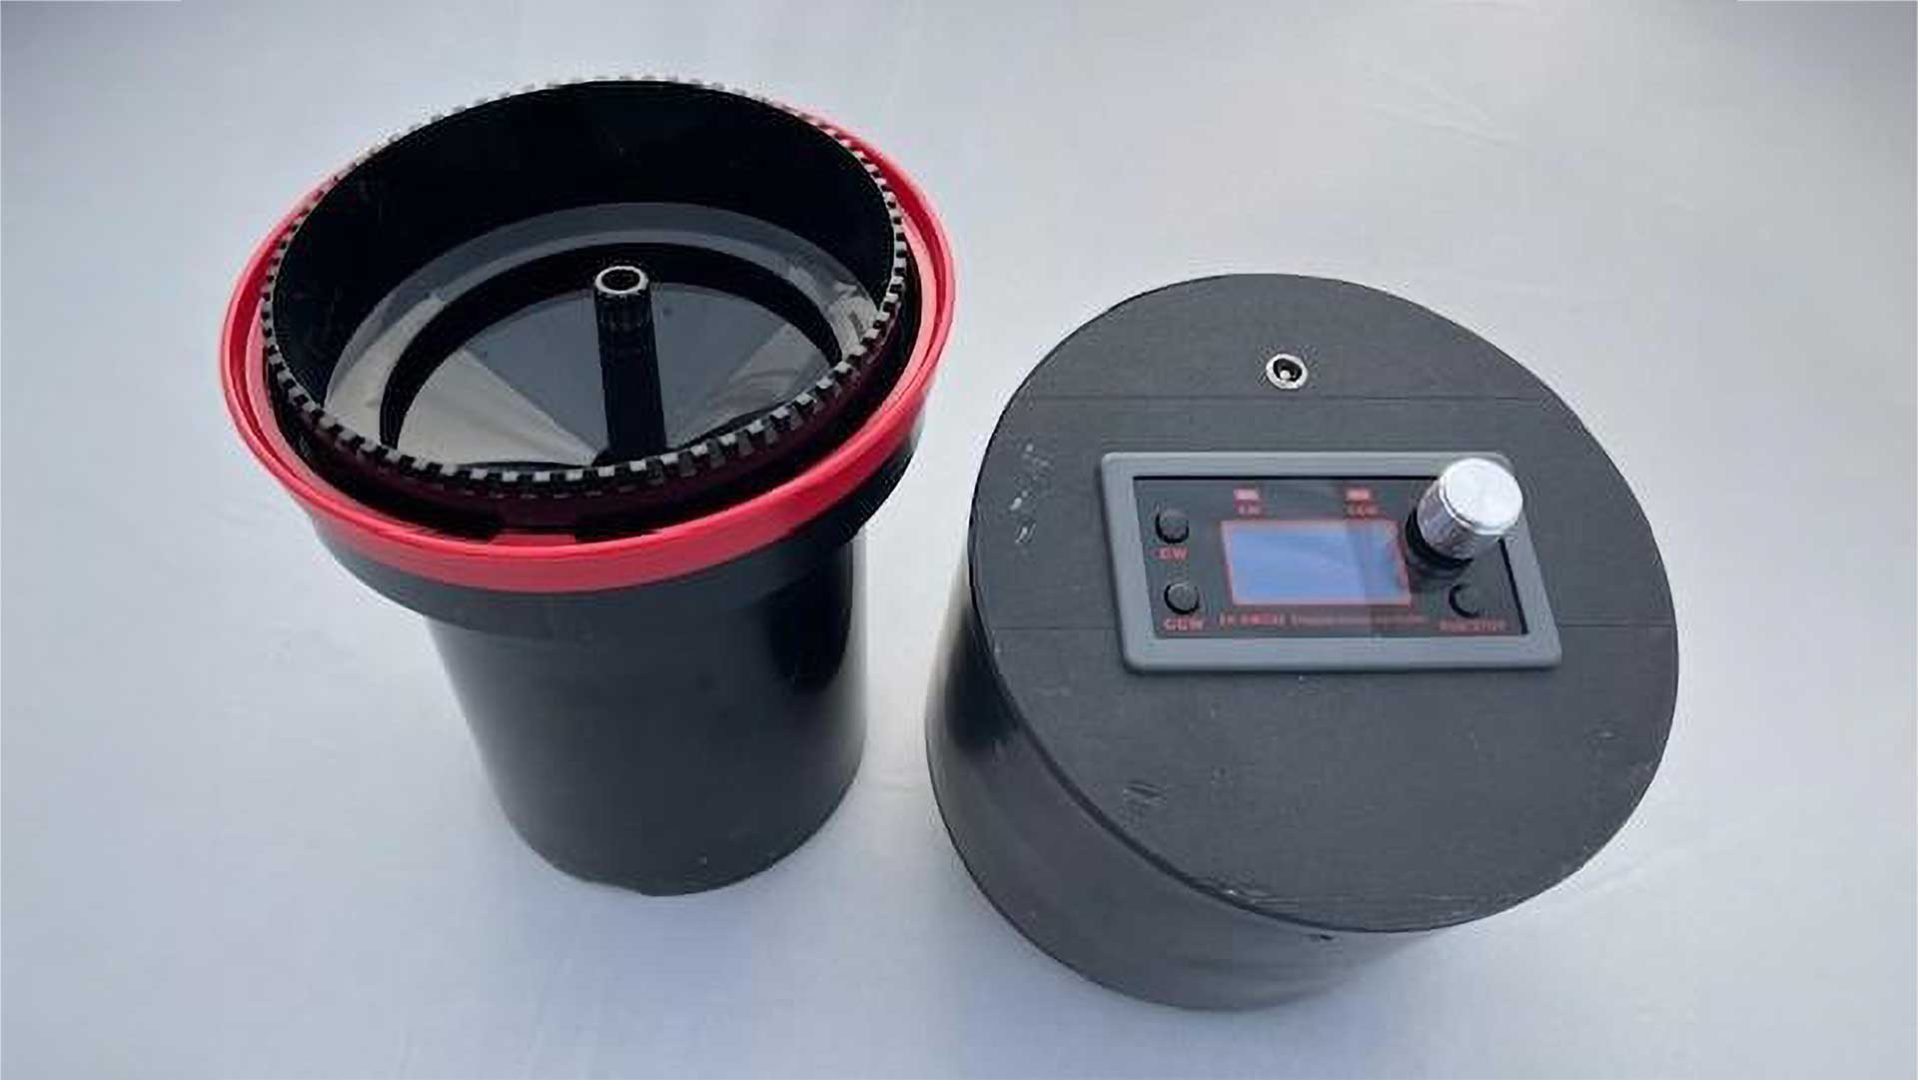
It had to work with multiple sizes of developing tanks from a particular manufacturer. In this case, Paterson. It needed to provide both continuous and intermittent agitation. It had to be simple to design, develop and build. It also had to be inexpensive.

Thanks to 3D printing, he was able to come up with his own housings and iterate quickly. He wanted to use as many off-the-shelf parts as he could, making it accessible to more people. And the motor controller he found doesn’t even require any programming abilities. It’s pre-loaded with the required capabilities.
It looks like he ended up with a final design that pretty much meets all these needs.
Be sure to check out the complete build process on Instructables, where you can also download the required files.


