You’re a sensible, responsible adult, which is why you want to know how to set parental controls in Windows. Because while the internet is one of the greatest inventions of all time, there are a lot of devious and nonsensical things littering its vast domain, and you want to do your best to limit all the bad stuff as best you can.
Thankfully, setting up parental controls in Windows is a rather straightforward affair. Below, you’ll find everything you need to know. Oh, and feel free to check out our guide to the best mid-range laptops, if you need budget-friendly device to get you started.
How to set up parental controls in Windows 11 (and 10)


The instructions below will see you in good stead for both Windows 11 and 10. There’s a little bit of setup required in the form of creating new Microsoft accounts, but it’s smooth sailing after that. And before you do anything, make sure you’re logged into your own Microsoft account — Start, Settings, then click Accounts on the left.
- Right-click the Windows icon on the taskbar and cllick Settings
- Click on Accounts on the left sidebar
- Click Family
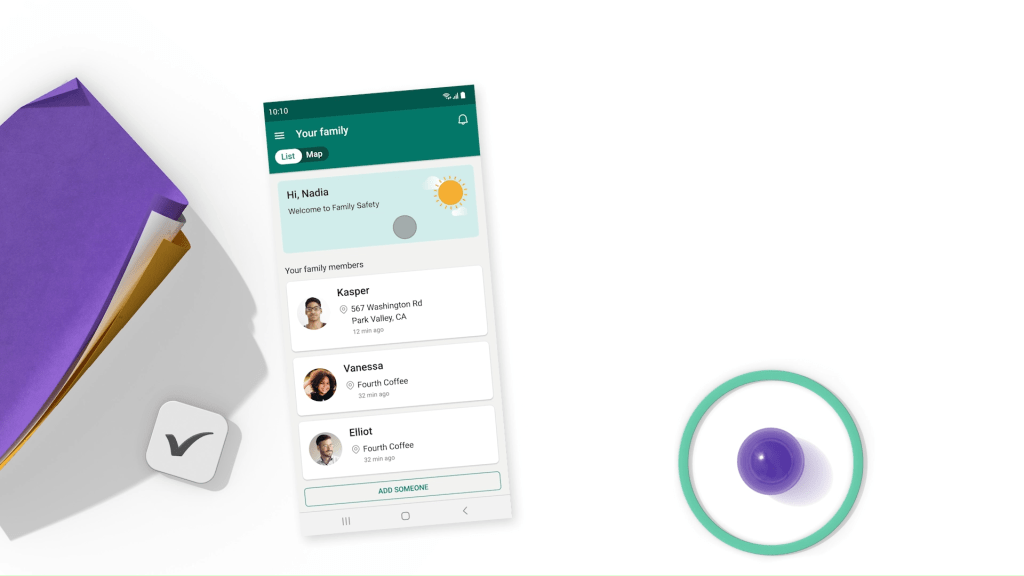
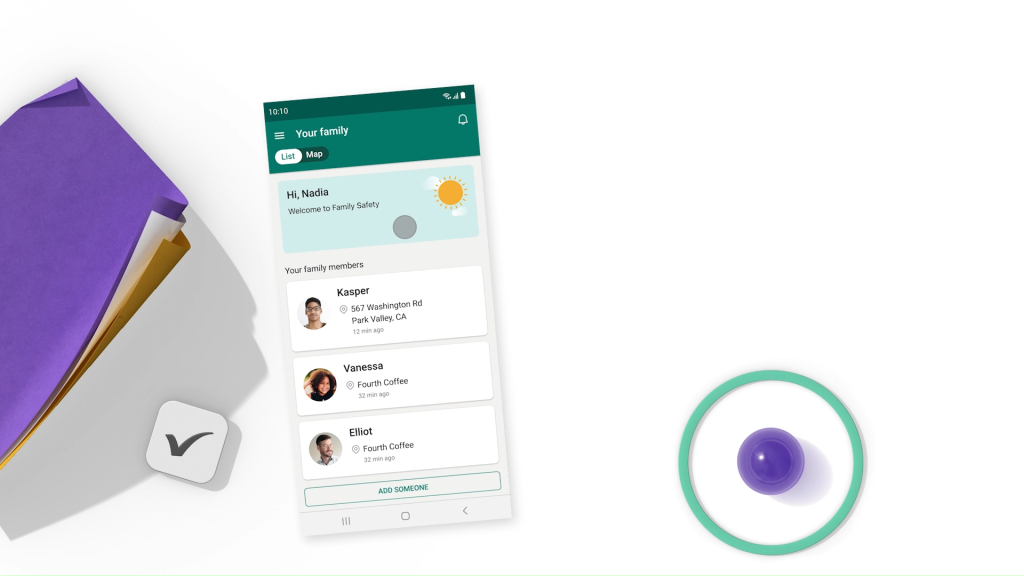
- Click Add someone
- Enter an email address for your child to create a Microsoft account for them, and click Next
- Choose a password for your child’s account. Click Next
- Enter a name, and hit Next
- Put in your child’s birthdate. Note that Windows will automatically generate restrictions based on your child’s age.
- That’s it! You’ll see a pop-up which confirms that your child’s Microsoft account is now linked to your account
How to use parental controls in Windows 11 (and 10)


Now that you’ve created and/or added your child’s Microsoft account, here’s how to set up various restrictions and controls:
- Right-click the Windows taskbar icon and click Settings
- Go to Accounts on the left sidebar
- Click on Family
- Click Open Family Settings
- You’ll be taken to a webpage. Click on your child’s account icon. It should be next to yours underneath the Your family section
- Welcome to the Windows 11 parental control settings page!
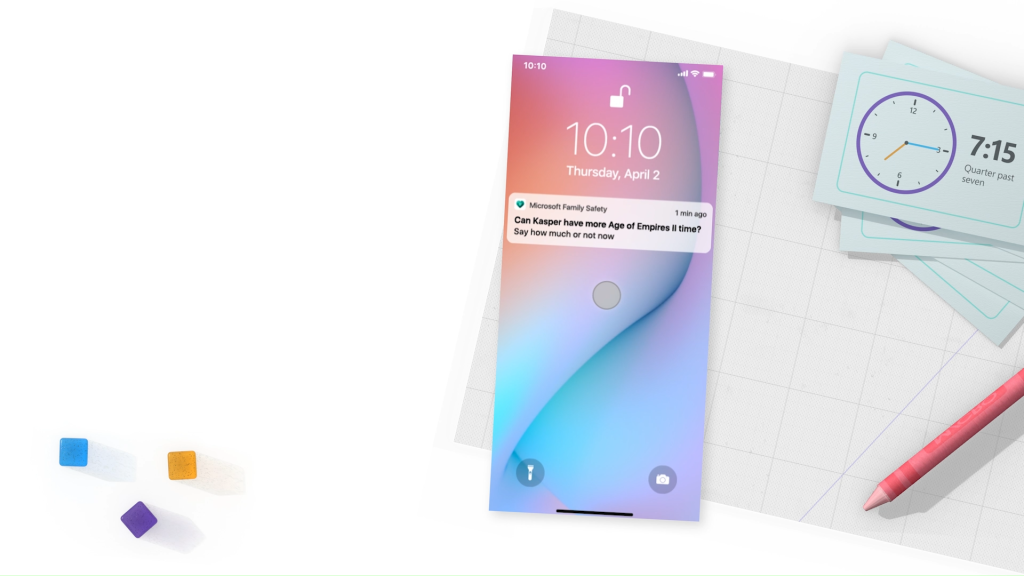
From here you’ll be able to tweak various settings as you see fit. On the left, you’ll see all the different tools available. Screen time will let you set screen time limits, and these can be applied to multiple devices, including linked Xbox consoles. You can set screen time limits for individual days, allowing for longer sessions on weekends, for example.
Clicking Content filters on the left lets you turn on a filter for inappropriate websites, and you can also manually add sites if you wish. You can also make it so that only sites that are approved can be accessed. Note the Apps and games tab — clicking this will let you limit apps up to certain age recommendations. There’s also the option to whitelist specific apps, and be notified when your child has requested access to an app.
Clicking Spending on the left-hand side lets you set limits to how much your child can spend, or block them from making any purchases at all. You can also set it so that you receive notifications to approve any purchases they may wish to make.
Read more: How to clear your cache on Android (and why you’d want to)


