Secure Boot is an important security tool that ensures only trusted software runs at when your Windows PC starts up, and not any sophisticated malware that can do significant damage to your computer. In addition to its security features, Secure Boot is also required to run many modern games, like Valorant
On new laptops and Windows 11 desktops, Secure Boot is enabled by default. However, it’s possible to accidentally install Windows 11 without enabling Secure Boot or disable it while messing with other settings. If you need to enable Secure Boot on Windows 11, the process is pretty simple, but you’ll need to go to your PC’s BIOS, so make sure you double check that it’s disabled before starting.
How to see if Secure Boot is already enabled
Enabling Secure Boot isn’t a complicated process, but it’s worth checking whether the tool is already enabled first to save yourself some time.
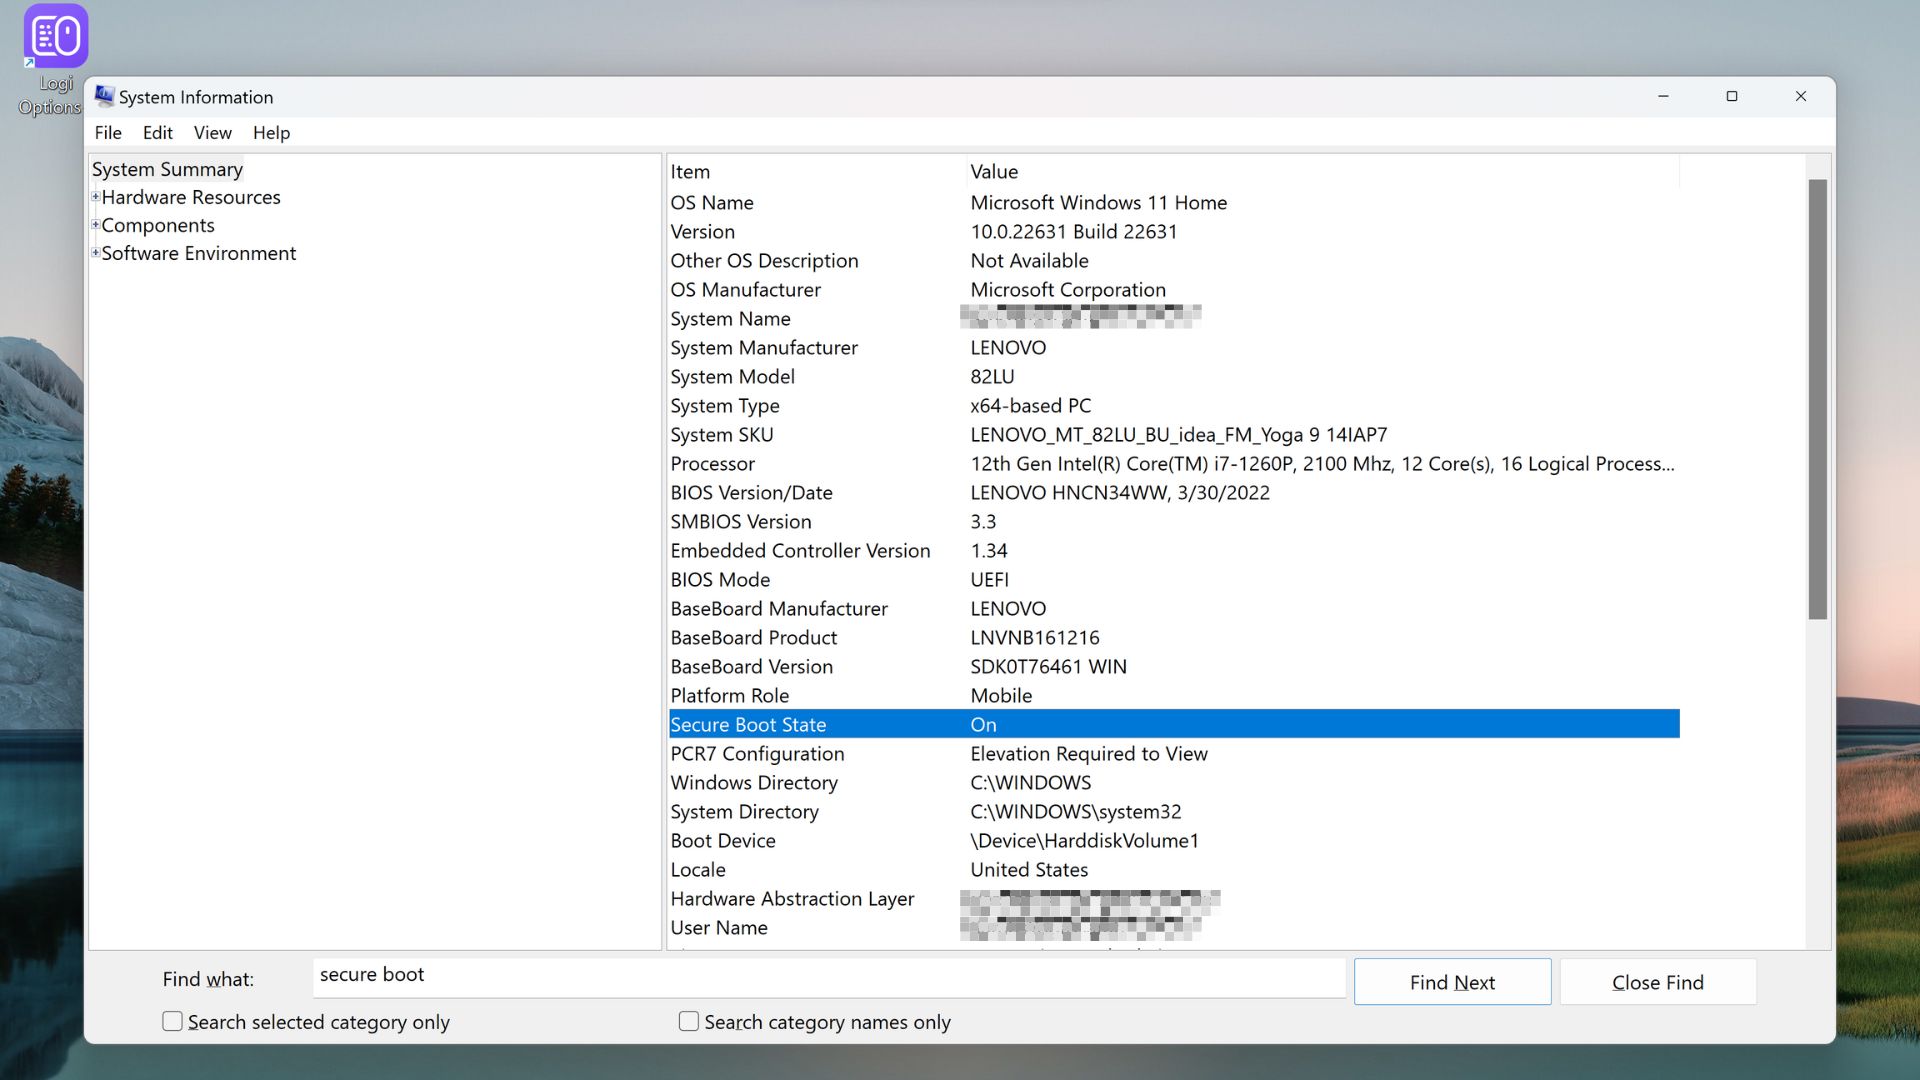
1. Type “System Information” in the Search bar at the bottom of your screen and press Enter to bring up the System Information pop-up.
2. At the bottom of this pop-up window, type “Secure Boot” into the box next to Find what and press Enter.

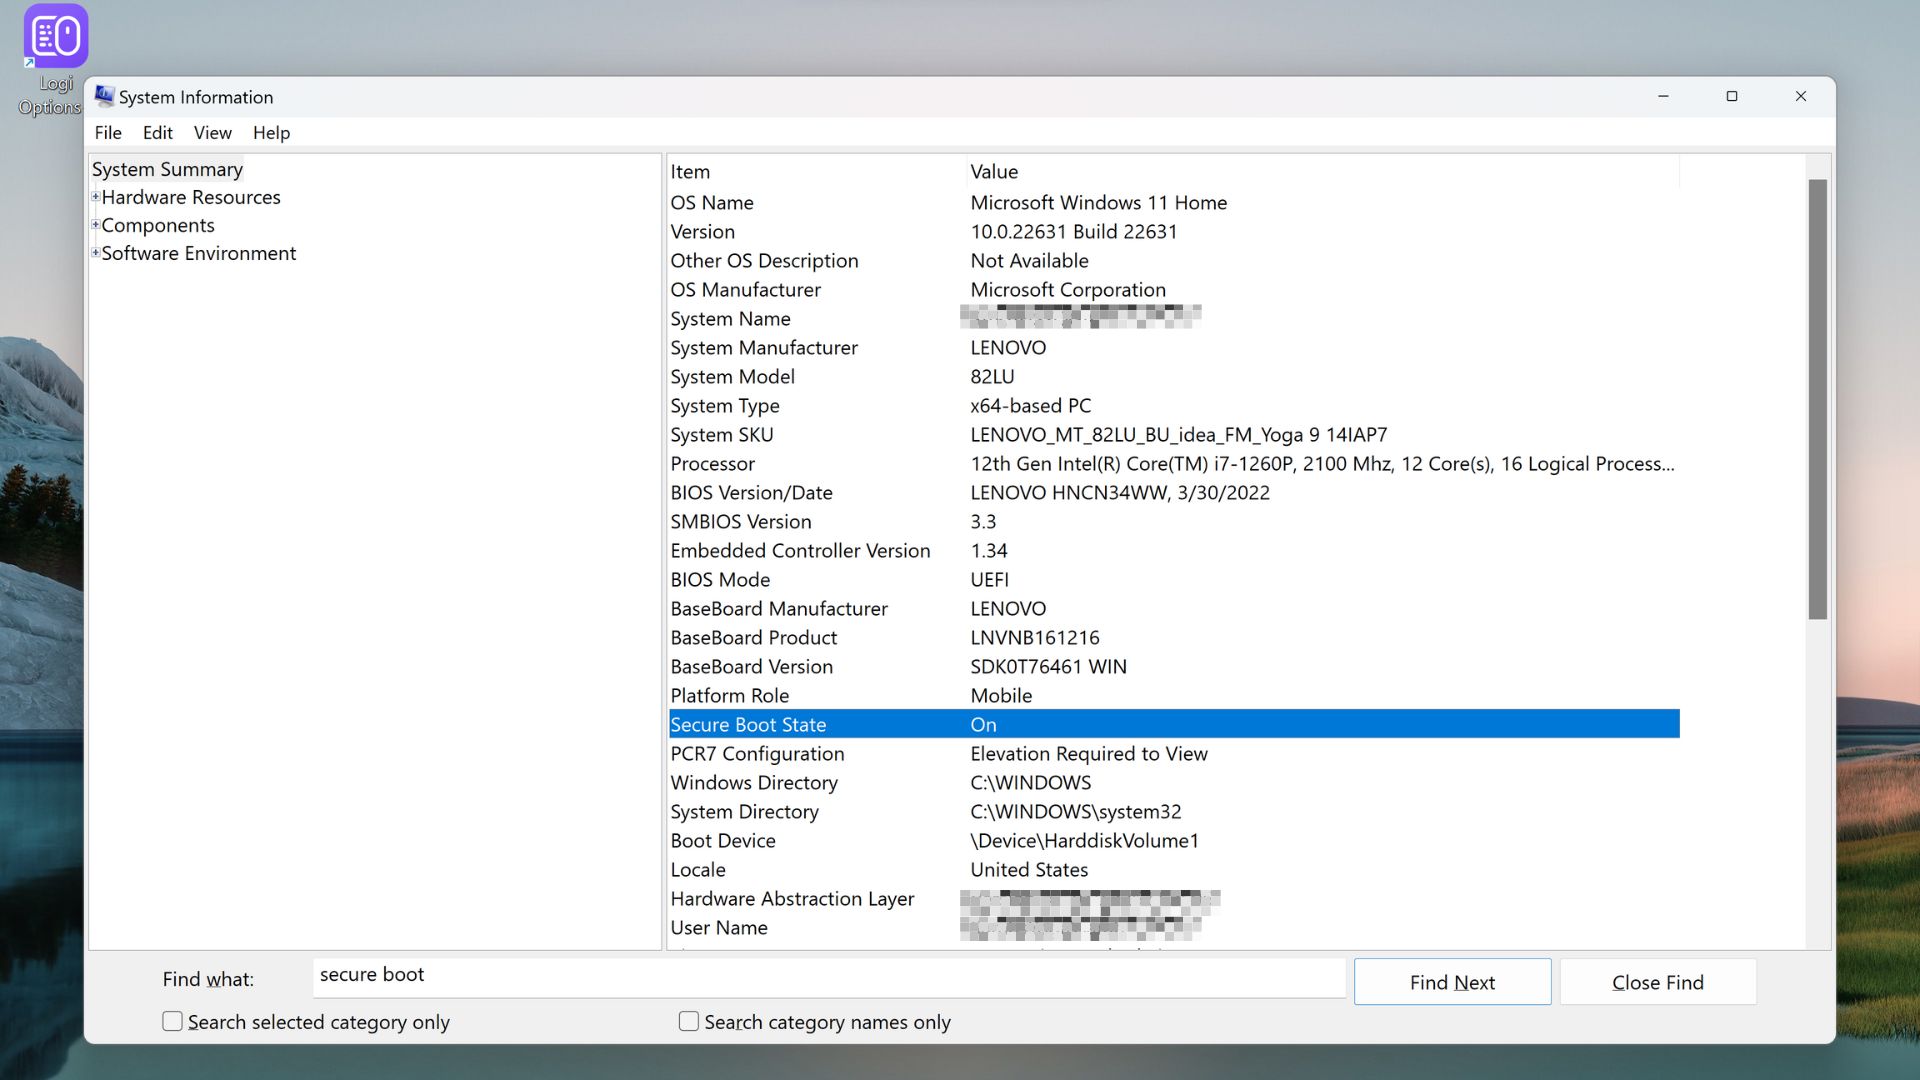
3. Next to the Secure Boot entry, you’ll see On if the tool is enabled and Off if it’s not.
How to enable Secure Boot in Windows 11
If you’ve confirmed that Secure Boot isn’t enabled on your Windows PC, it’s important to turn it on as soon as possible to keep your computer secure.
To enable this security tool, you’ll need to head to your PC’s BIOS. Your computer’s BIOS might look different from someone else’s because of differing motherboards, but many of the menu options and basic functionalities are the same.
1. Click on the Start button at the bottom of your screen. While holding down the Shift key, click the Power button at the bottom right of the Start Menu and select Restart.
2. When your computer restarts, choose Troubleshoot.
3. Select Advanced Options.
4. Click UEFI Firmware Settings, and restart your PC when prompted.
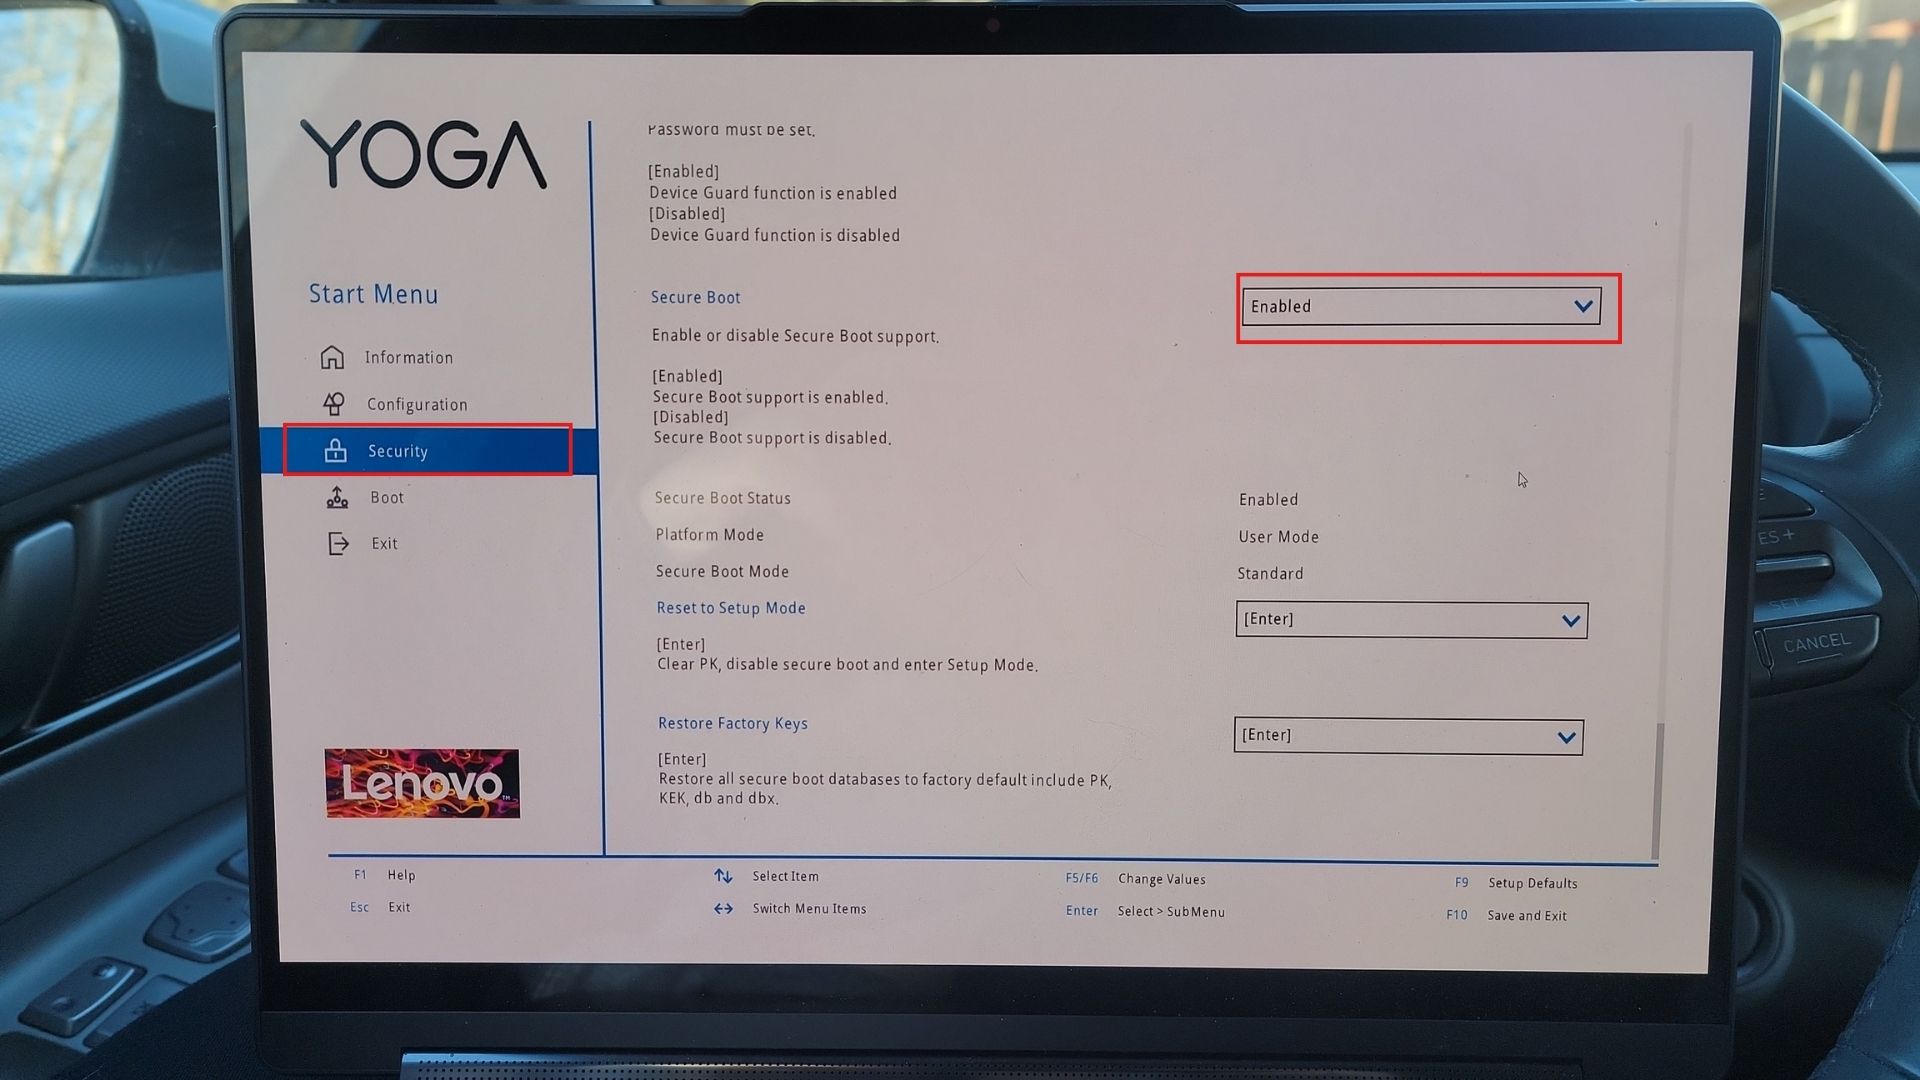
5. Look through either a Boot or Security tab to find the Secure Boot option in your PC’s BIOS. In my Lenovo Yoga 9i, I found Secure Boot within the Security tab after scrolling down a bit.

6. Once you find the Secure Boot option, you can use the dropdown menu beside it to switch it from Disabled to Enabled.
7. Press F10 (or do whatever your BIOS is telling you to do) to save and exit, and select Yes when prompted.
If you ever need to disable Secure Boot, you can follow the same process listed above and simply change the dropdown menu option back to Disabled.
Once you’ve enabled Secure Boot, check out these handy Windows 11 tricks that’ll make your life easier and help you get the most out of your computer.


