Great news for all the anamorphic lovers! We just added the second part of the “Anamorphic Cookbook” course on MZed.com. This time around, filmmaker Tito Ferradans talks about everything related to rigging. What is the best setup when you use adapters? How to deal with the weight distribution at the front when shooting on a gimbal? Which solution will help against the keystone effect? Let’s peek behind the curtain of Anamorphic Cookbook Part 2 together!
Tito Ferradans is not only a passionate filmmaker, he’s also a tech guy. Since 2012, he’s been studying anamorphic lenses and sharing his knowledge and insight with the community. You might know his popular YouTube channel, “Anamorphic on a Budget”, which has everything from reviews on adapters to modding instructions. For our educational platform MZed, Tito has so far put together two in-depth courses, every minute of which provides viewers with clear information, practical tips, and expert shortcuts. Now, we are happy to provide you with a new addition to this collection that concentrates on rigging and can be of use to any filmmaker, whether you shoot anamorphic or not.
Here are the courses by Tito Ferradans on MZed.com:
Anamorphic Cookbook Part 2: starting with the basics
The course is around 1,5 hours, but believe it or not, within this time, you will gain all the knowledge you need to rig a camera yourself, even if you’re a complete rookie. Never done it before? No worries! Tito starts from the very beginning, taking a naked mirrorless system and putting it on the rails. On the go, he explains that there is indeed a standard established by ARRI (see the illustration below), but unfortunately, it’s not always followed. So, he recommends going for versatility by using a base plate that can be tweaked and adjusted in height.
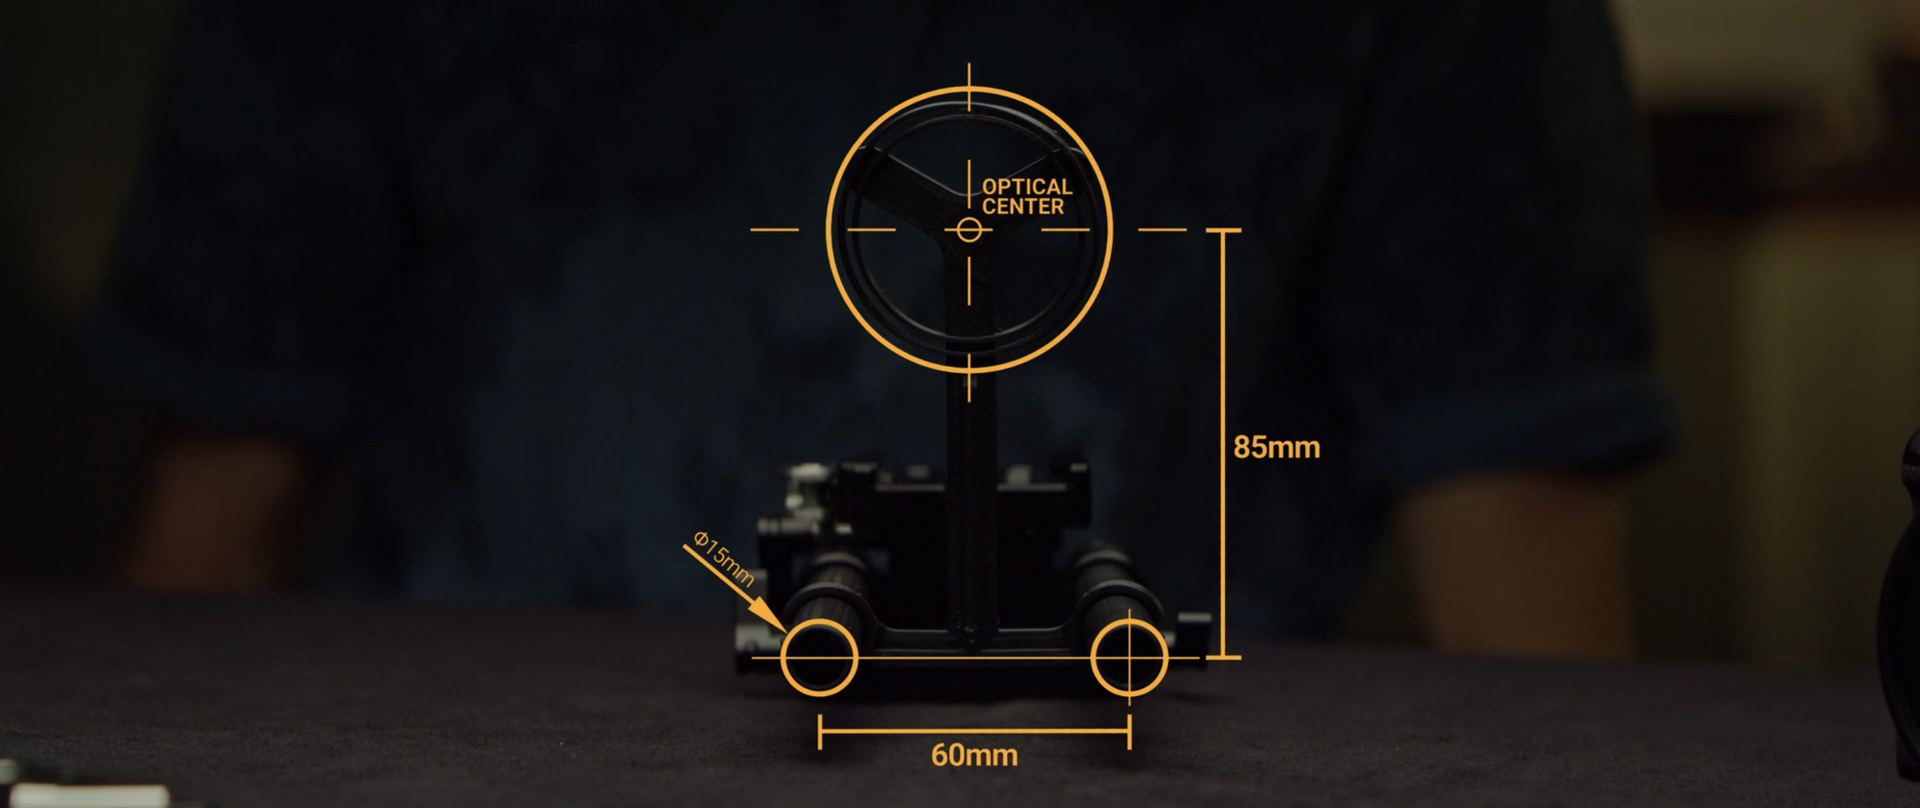
After the rails and the riser, Tito adds a cage to his setup. Make sure you choose one that offers at least two points of contact with the camera that can be locked. Otherwise, over time, your cam will start wobbling in the cage, and that’s definitely not the rigging output you’re after.
A cage offers you both protection and lots of mounting places for handles and accessories that a naked camera will struggle with.
Tito Ferradans
All set? (Or maybe you’ve been using a professional rig for years?) Here comes the tricky part with anamorphic lenses.
Putting an anamorphic lens on your rig
As you probably know, Tito is famous for making anamorphic accessible to indie filmmakers who aren’t necessarily rolling in money. In his course demonstration, Tito also uses a small mirrorless camera. So, to provide it with an anamorphic lens, he has to use an adapter (usually EF or PL). What he’s noticed over the years was that those adapters always produce a bit of play at the mount, which translates into skewing the image. A suggested workaround would be to make sure that your adapter has a foot support (good ones do) and bolt it to your base plate.
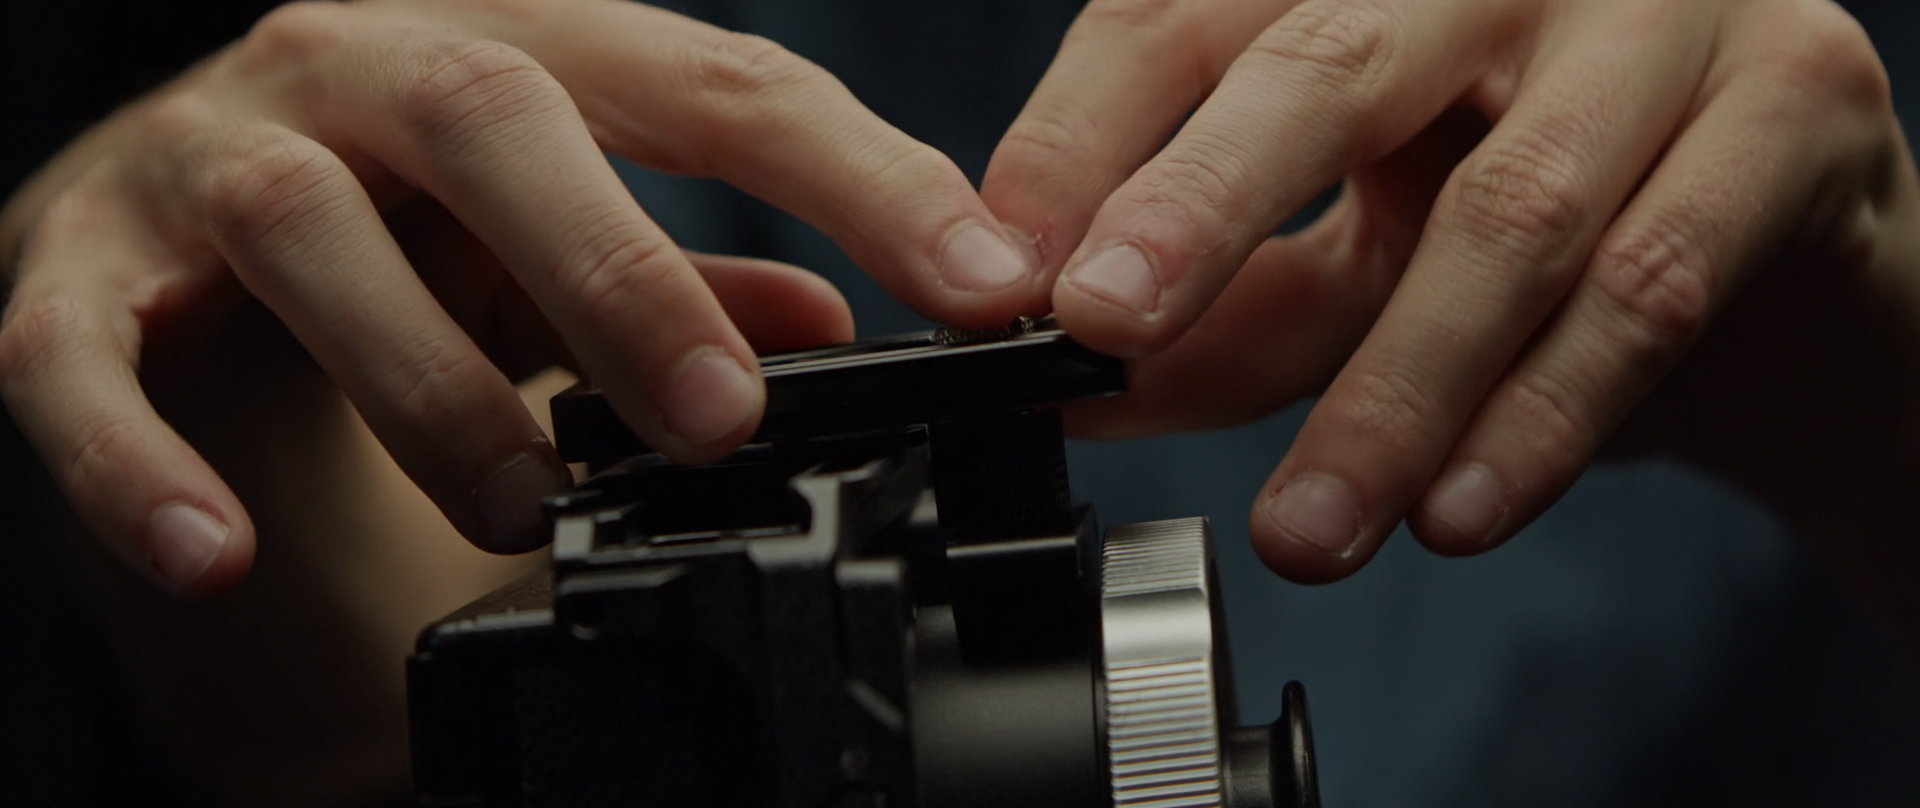
After your lens finds its place on the camera (Atlas Orion 40mm in Tito’s case), you might notice that it’s too heavy and is tilting slightly downward at the mount under the weight on the front.
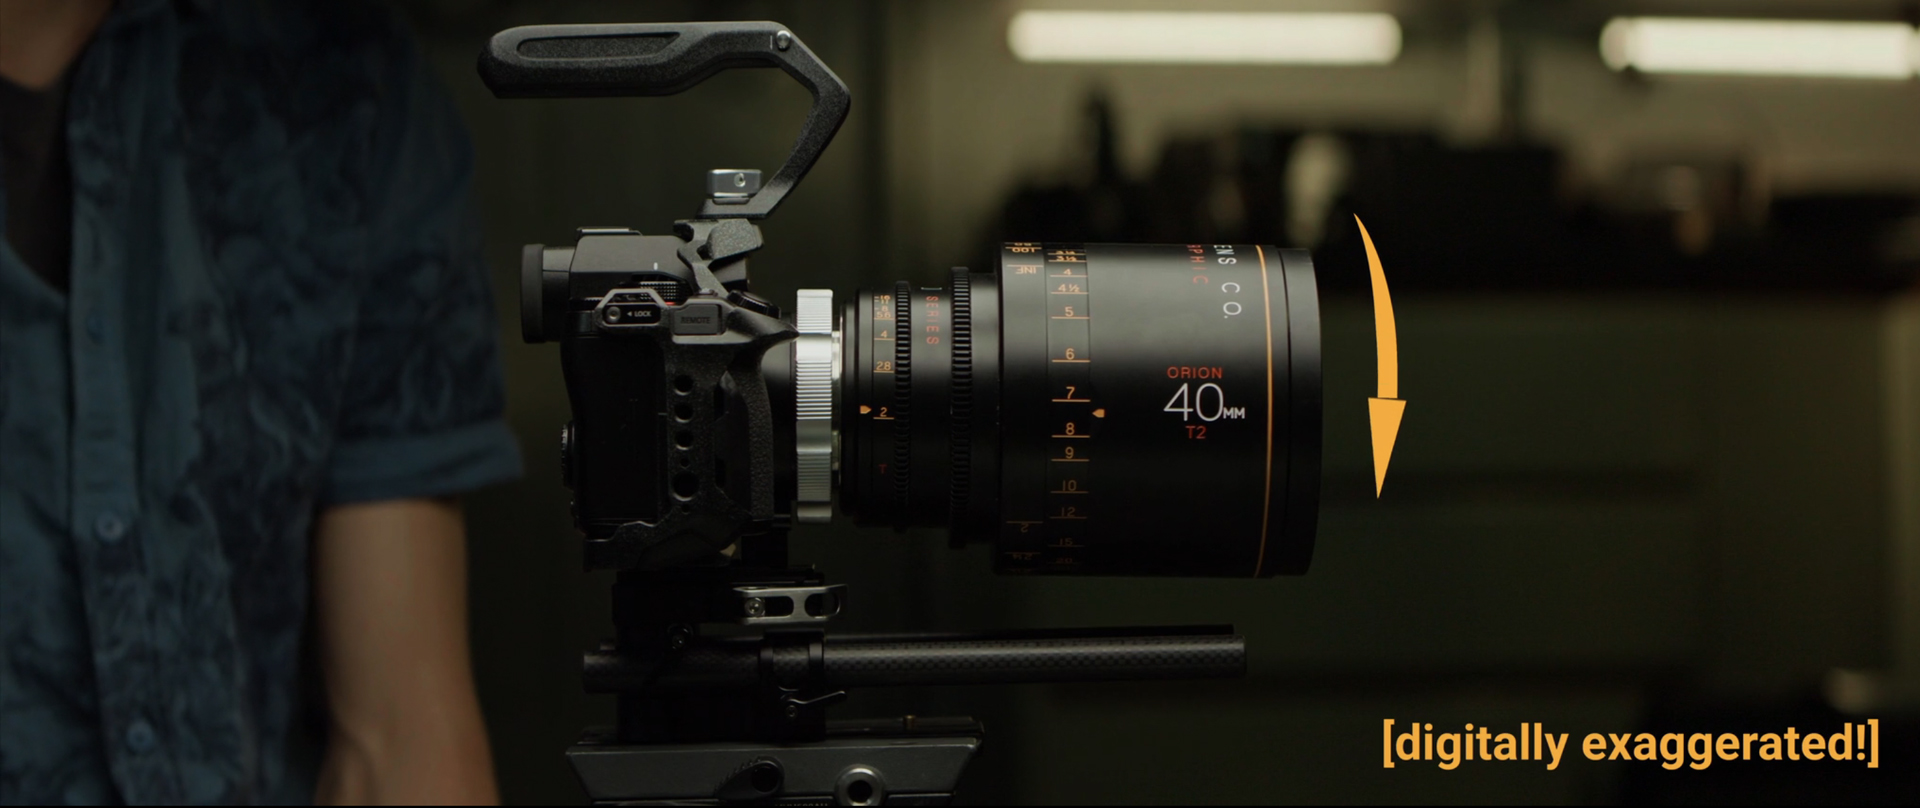
Keystone effect and how to avoid it
And that is what brings us to the keystone effect. The keystone effect is a distortion caused by projecting a flat image onto an angled surface. You might have seen it when using a projector, and the same principle applies here.
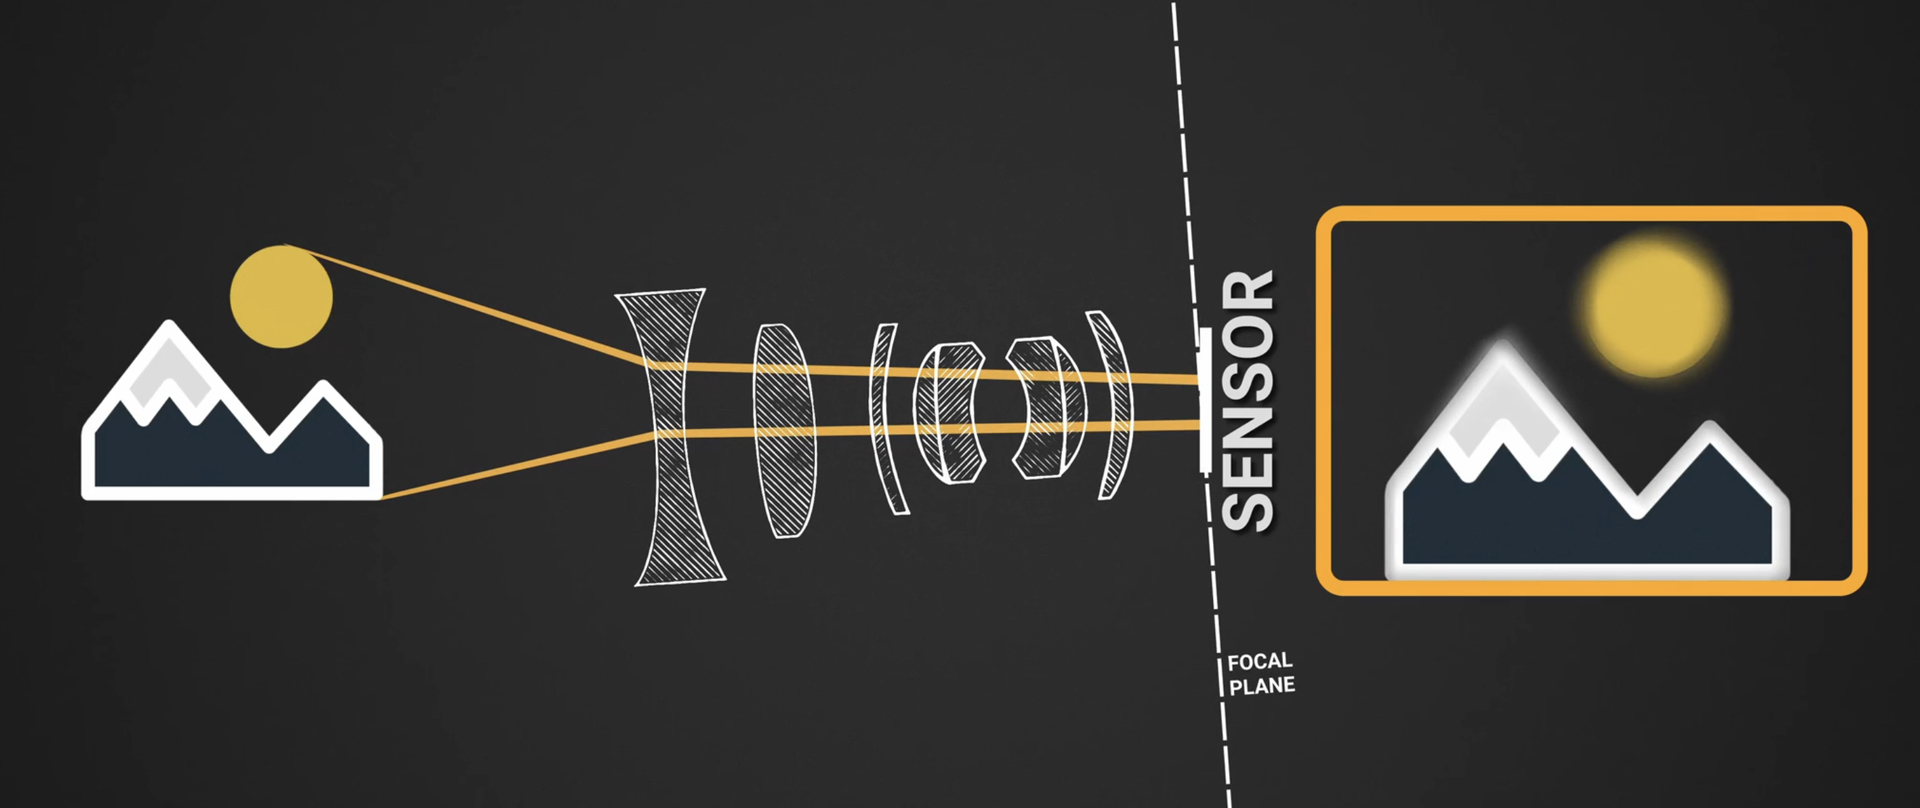
If the lens is sagging, the image that should appear flat on the sensor will instead tilt forward. The result will be the warping of the focus field and blurring in certain parts of your shot. In Tito’s opinion, the best way to address the keystone issue is through the lens support.
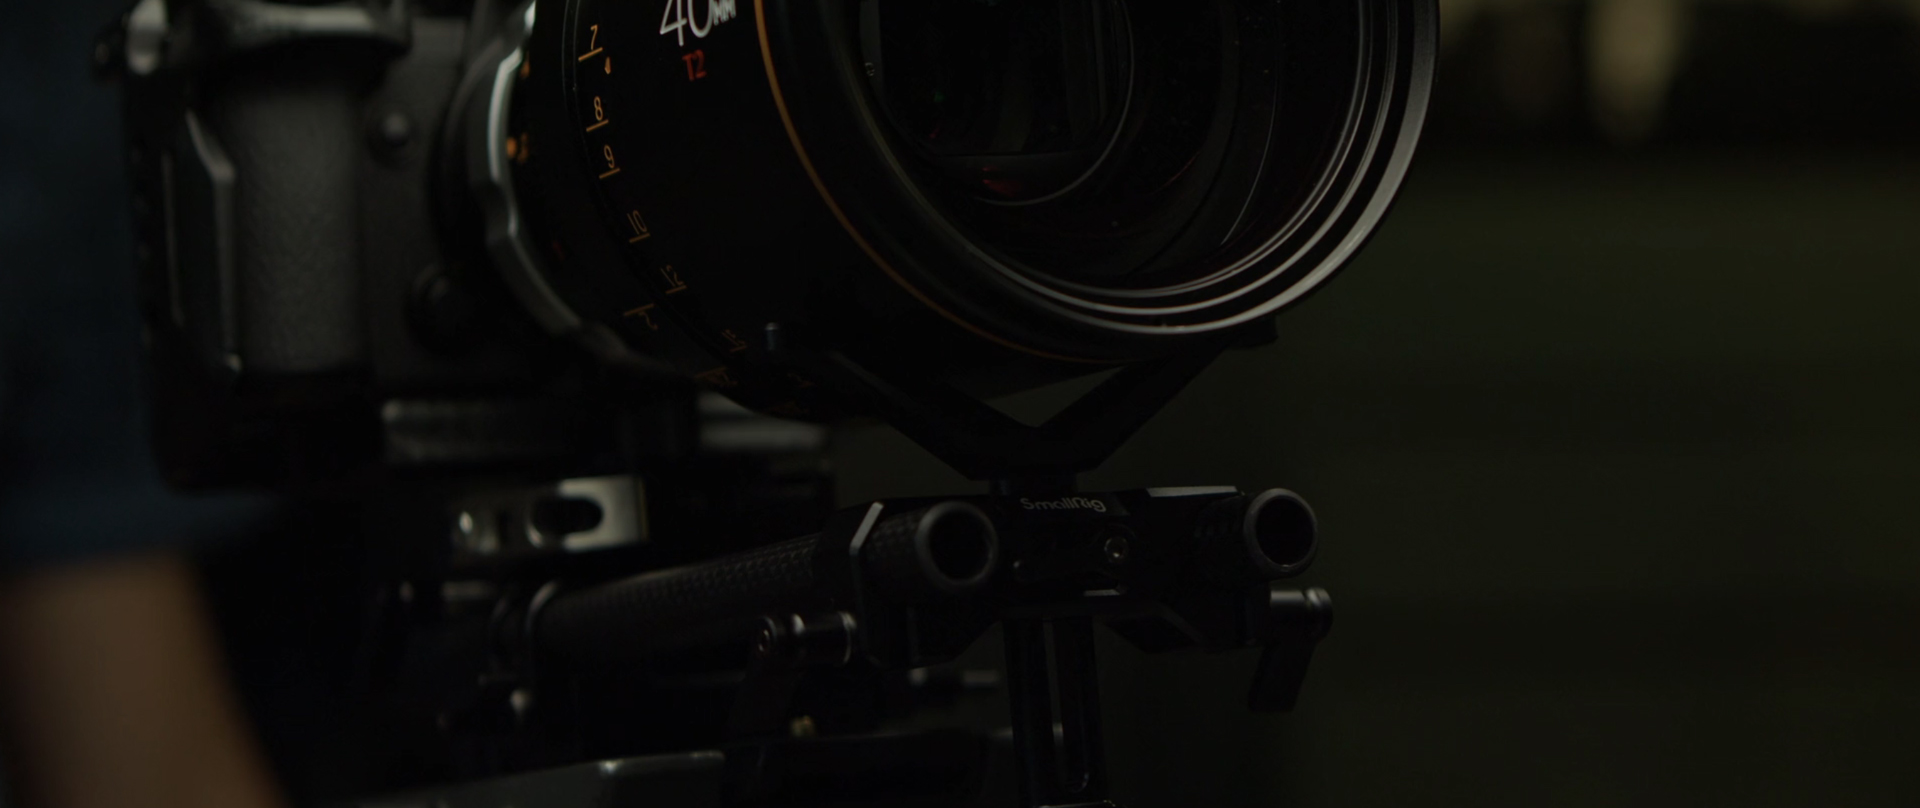
When we’re talking about full lenses, just pick a support for your lens that is long enough and place it under the non-moving parts. However, if you use anamorphic adapters, welcome to another challenge – the correct alignment.
An optimal rig for the anamorphic adapters
There are different solutions on how to put an adapter on various spherical lenses. Most people screw it onto the lens, but that’s not the approach Tito prefers. In his opinion, every time your adapter can be mounted on the rails, do that, and the alignment will be always correct. What he personally likes using is a quick-release solution that can be a DIY 3D-printed part.
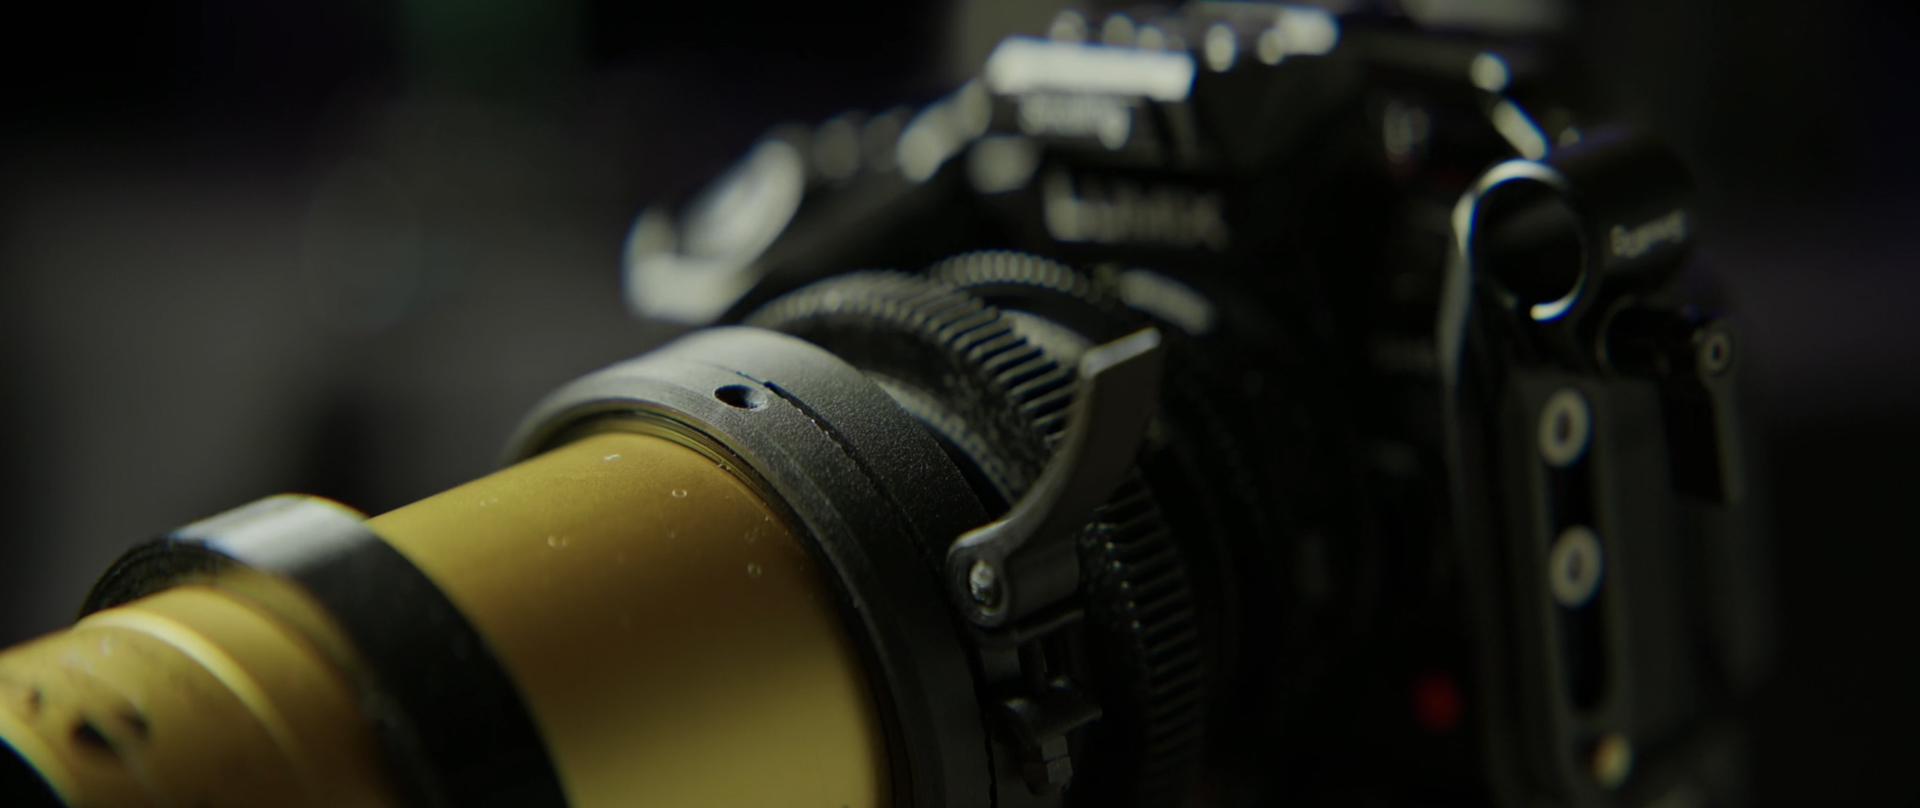
Such quick-release clamps push the back of the anamorphic block as close as possible to the front of the lens (which is significant for the image quality!), and at the same time, they are a real gem for a quick lens swap.
A quicker way to swap lenses
Imagine you use an anamorphic adapter and have to switch from a narrower to a wider field of view. This process might become a pain in the neck if you screwed the adapter to the lens, taking several minutes (or more if the new alignment is tricky). So what should you do? Don’t go for the lens change at all, or choose to waste everyone else’s time on set?
Tito Ferradans offers another solution. First, with the rig we described above you can easily undo the quick release and slide the scope forward on the rails (for that, make sure it is not locked to the rail position while setting up). Next, take the other lens, – the best is if you prepped it for a quick swap before the shoot, which means you’ve affixed its quick-release ring, fine-tuned it for optimal focus performance, and secured the focus ring with tape. Put the lens in place, slide back the anamorphic block, and lock it. Three easy steps to follow, right?
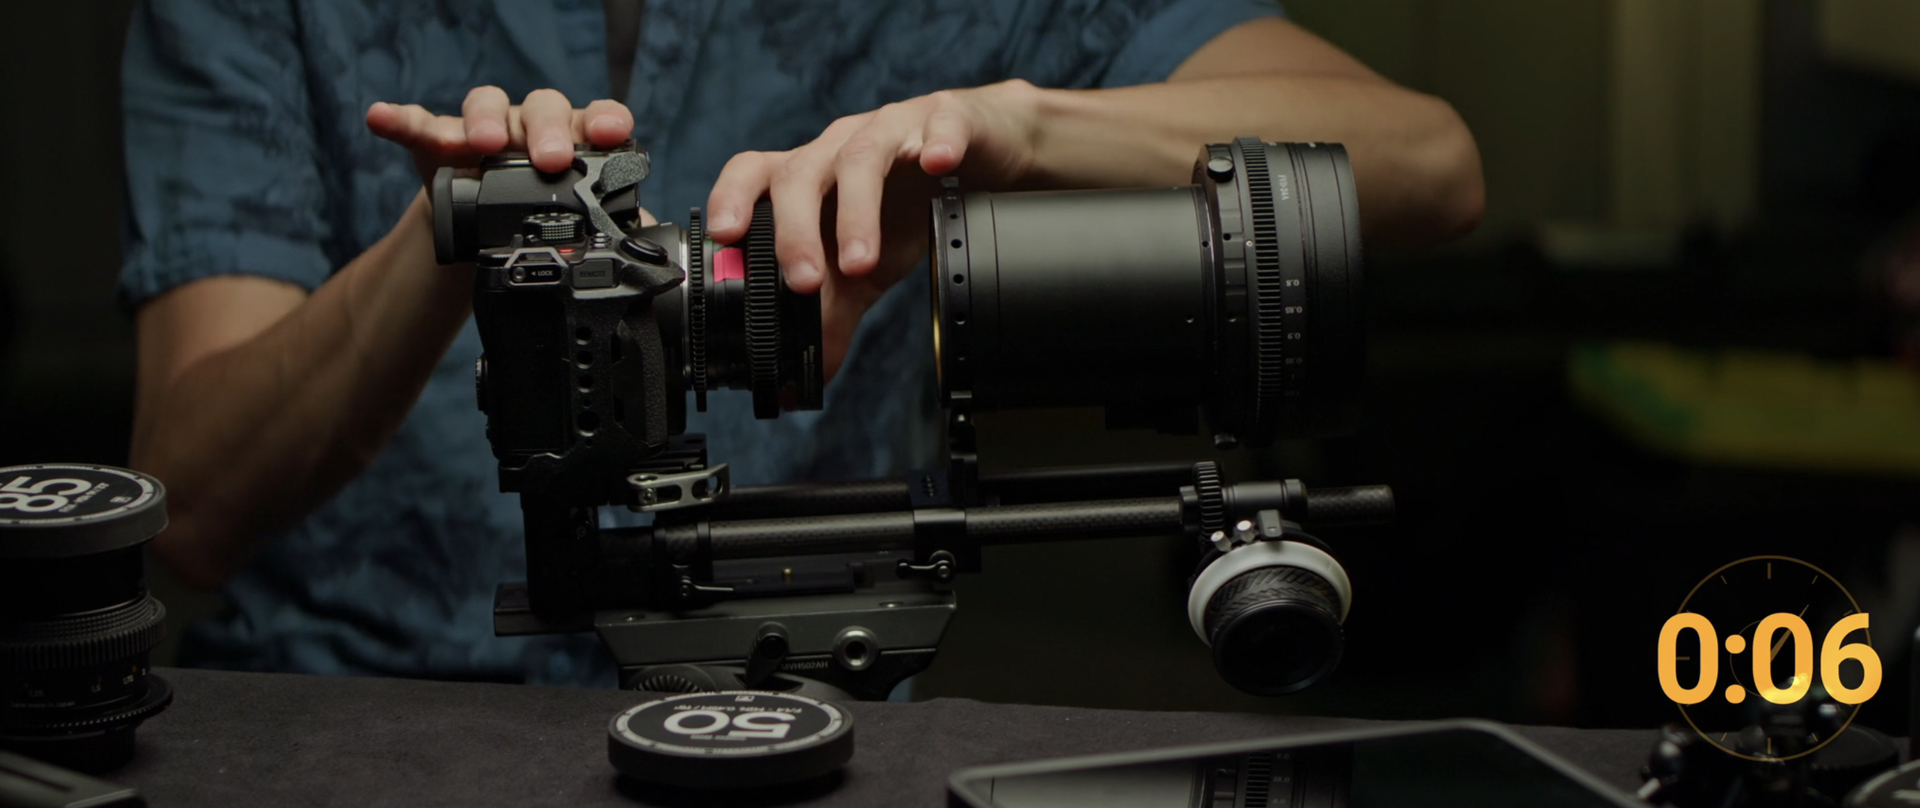
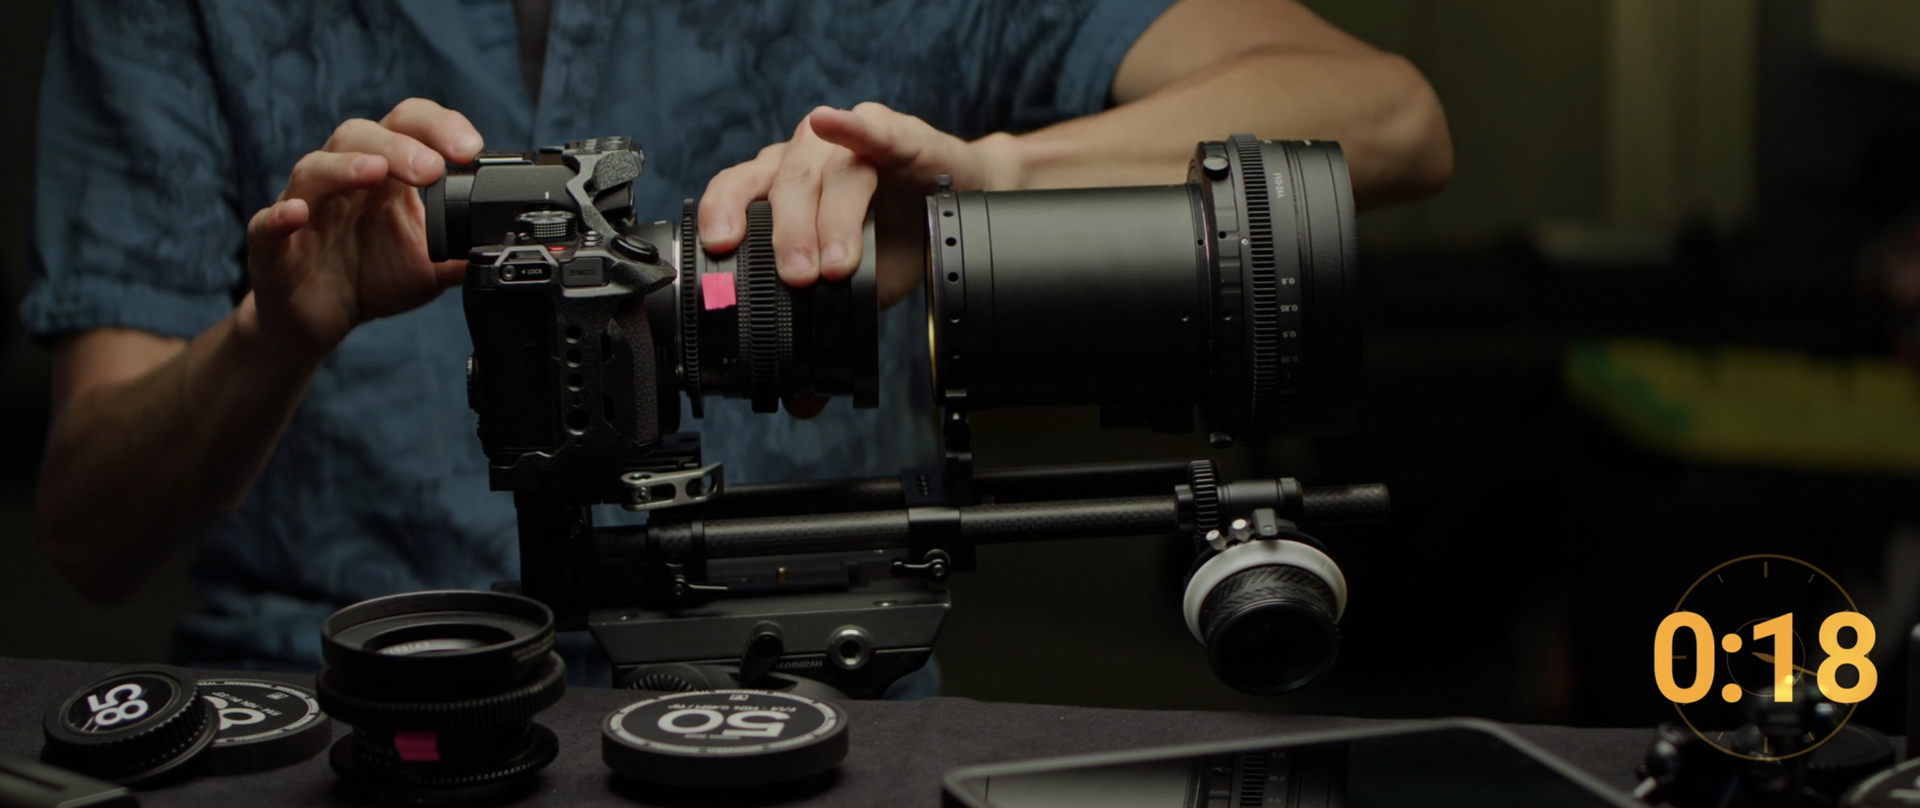
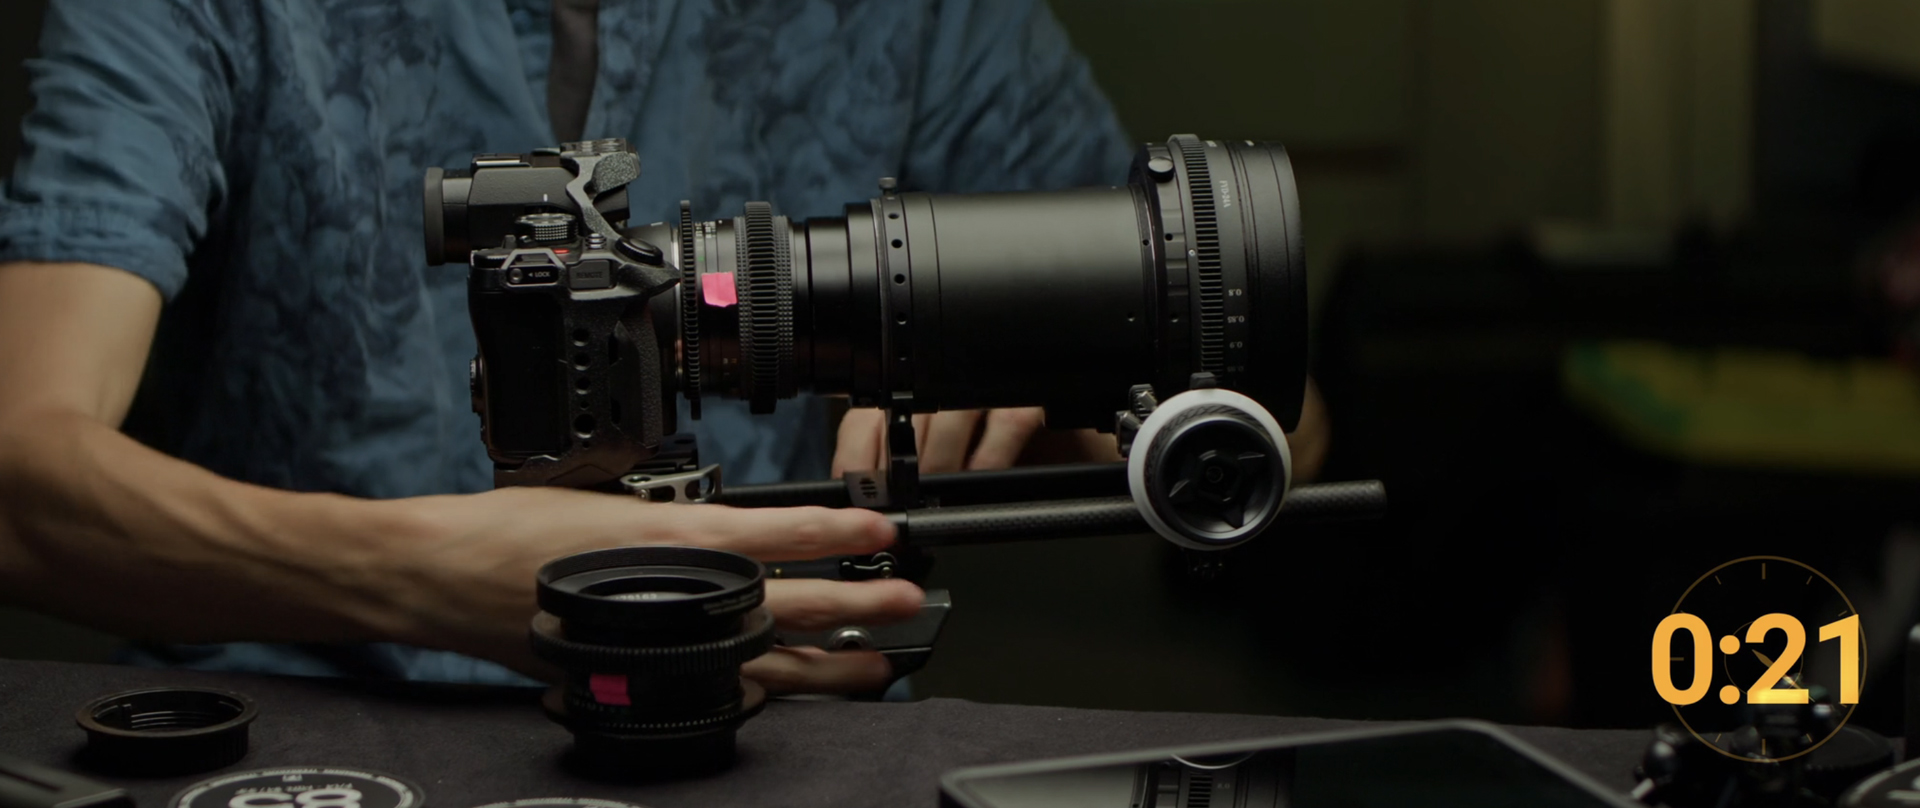
The only thing you have to do now is adjust the follow focus. However, here you can use another shortcut and rig an extra third rail, like in the illustration below, that has the sole purpose of holding a follow focus controller. This will move along with your anamorphic adapter and save some more time during lens swapping.
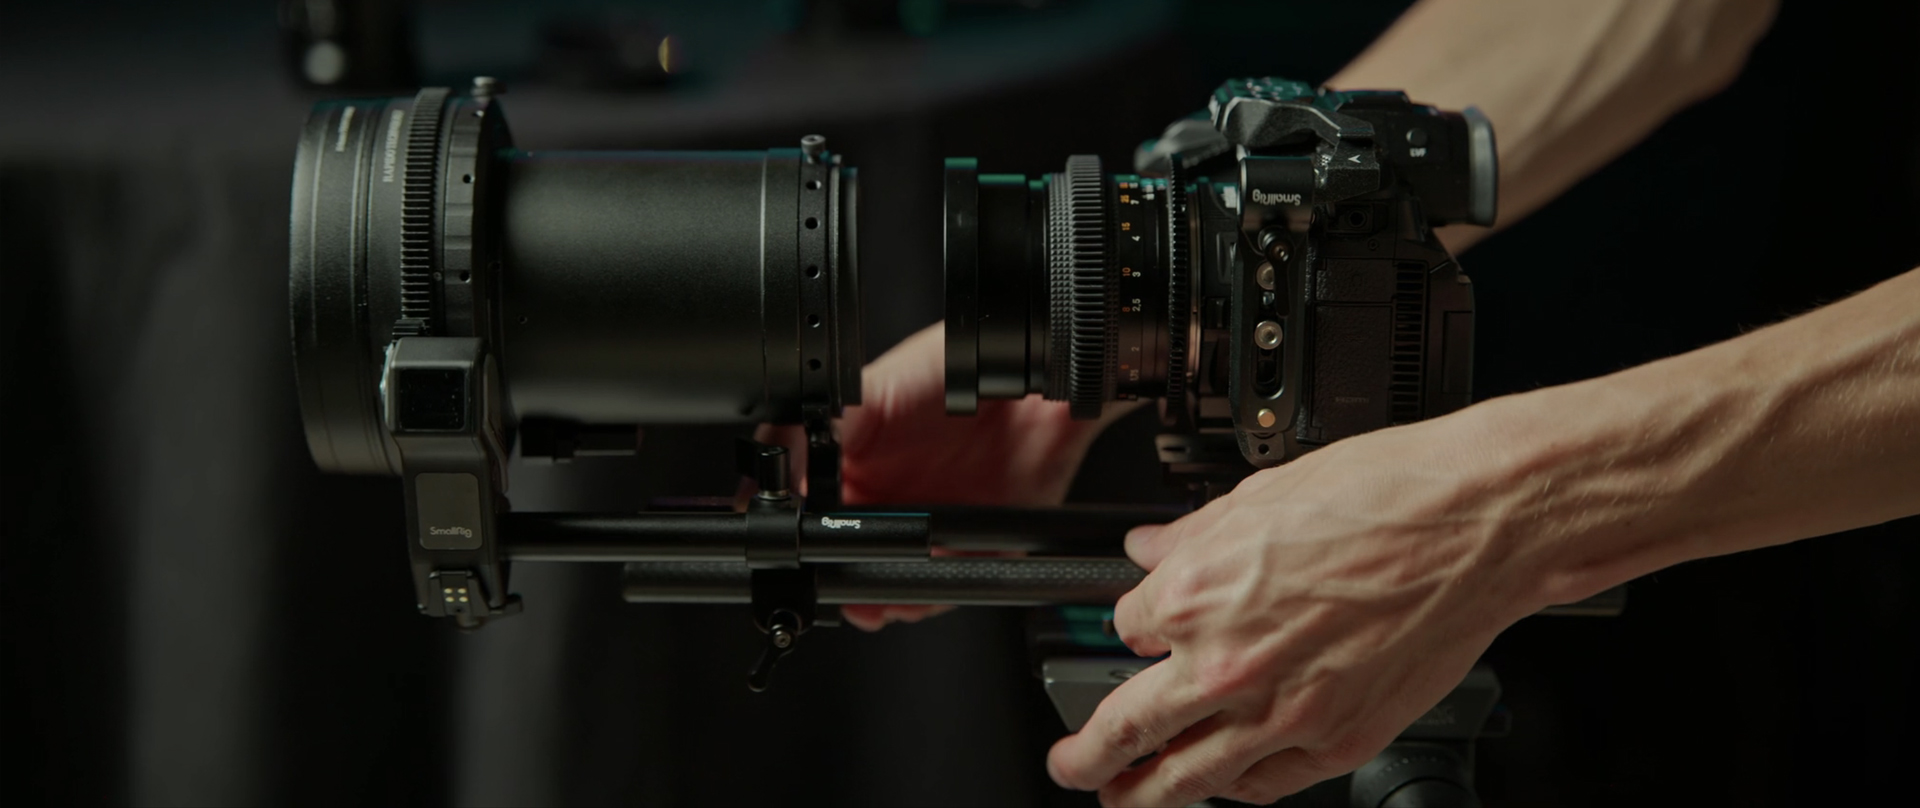
Of course, it is only one of the possibilities for custom rigging and just a handful of tips from Tito Ferradans. Yet it opens the door for infinite approaches and creative setups.
In Anamorphic Cookbook Part 2, you will also learn:
- About other initial parts for setups, like anamorphic adapter jackets;
- Everything you need to know about external monitors, wireless video, and follow focus units while shooting with anamorphic lenses;
- How to switch all the NPF batteries for one v-lock in your rig, and about the cable management;
- Expert tips on using anamorphic adapters and lenses on budget gimbals, like DJI’s RS 3 Pro;
- All the smallest bits and pieces that make your rigging journey easier.
Learn all that and much more in our latest MZed course – “Anamorphic Cookbook Part 2”.
What else do you get with MZed Pro?
As an MZed Pro member, you get access to over 465 hours of filmmaking education, plus we’re constantly adding more courses (several in production right now).
For just $30/month (billed annually at $349), here’s a breakdown of everything you’ll receive:
- 50+ courses, over 800+ high-quality lessons spanning over 465 hours of learning.
- Highly produced courses from educators who have decades of experience and awards, including a Pulitzer Prize and an Academy Award.
- Exclusive access to ARRI Academy online courses.
- Unlimited access to stream all the content during the 12 months.
- Offline download and viewing with the MZed iOS app.
- The majority of our courses provide an industry-recognized certificate upon completion.
- Purchasing the courses outright would cost over $9,000.
- Course topics include cinematography, directing, lighting, cameras, and lenses, producing, indie filmmaking, writing, editing, color grading, audio, stunt cinematography, wildlife filmmaking, and more.
- 7-day money-back guarantee if you decide it’s not for you.
- After the first year, the annual renewal price goes down to $199 per year.
Join MZed Pro now and start watching today!
Full disclosure: MZed is owned by CineD
Do you also use anamorphic lenses or adapters in your film and video projects? How do you rig all the gear? Have you found Tito’s tips useful? Let’s talk in the comments!
Feature image source: MZed.


