
Okay, I’m kidding. It’s much easier than 50 steps, and I reckon you can get involved in the world of headshot photography in as few as five steps. Maybe even three if you’ve got an easy stride.
Step 1: Why Headshots?
What draws you to taking pictures of people’s faces? What makes that feel like a more interesting pursuit than trying to snap a rare Scottish wildcat or immortalizing the streets of your local town in timeless black and white? Sit with that one for a while and see what you come up with.
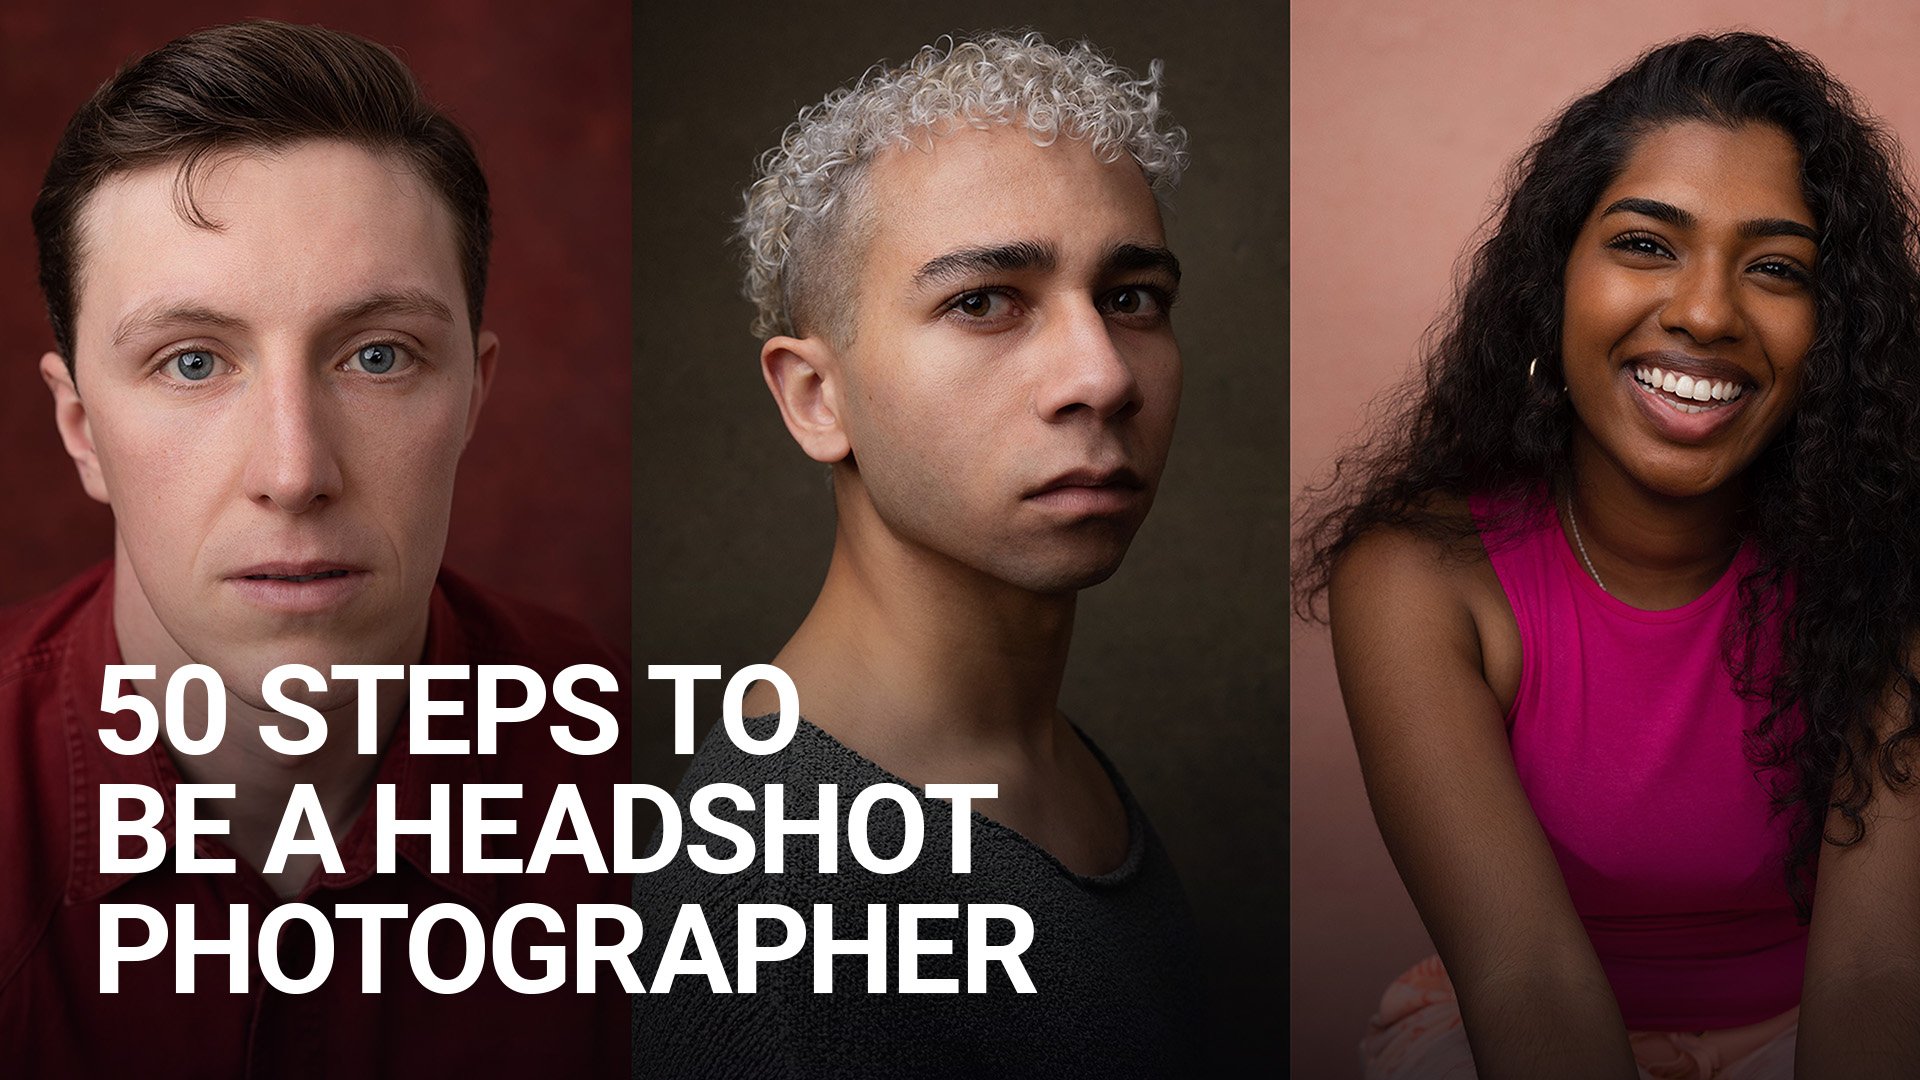
I worked as an actor for many years, so I was always very headshot-adjacent. I was used to hearing the standard grumble of “Oh, I hate having my headshot taken; it’s such a chore,” and I thought to myself: That doesn’t have to be that way. It can be a joyous, freeing, and creative experience. So, I set out to take actors’ headshots with a strong purpose to make it as fun and frolic-filled as possible. I’m also deeply fascinated by people’s faces and how much they can portray by doing so little. It’s quite extraordinary, really.
Step 2: What Kind of Headshots Do You Want to Take?


Do you want to shoot actors? Take pictures of lawyers? Follow the circus and take elaborate environmental portraits of the fire juggler? I think early on, it’s good to work out what kind of people you want to capture and then zero in on that. Now, you could do some research and find out what the most lucrative avenue for headshots is, but I think there’s more glory in following your nose. It was an easy choice for me as many of my friends were actors and artists, and they all needed photos of themselves.
It seemed like the obvious path for me. Get yourself on your social media platform of choice and start checking out the style of work you like. It could be you’re lured in by the bright, well-lit Peter Hurley-style work, or it may be you’re drawn into a moodier Dan Winter capture. Either way, look for some inspiration and find out who your subjects are going to be.
Step 3: It’s Camera Time…

You’ll be able to find a million articles on the finest camera for shooting headshots and portraits and another two million on the perfect lens. What’s the best camera for taking headshots? The one you’ve got, of course. I started many moons ago on a Canon 1300D ($289), and it was the rig I patrolled the parks and tunnels of London with in my quest to harness some natural light. You don’t need anything that breaks the bank to get started and learn the ropes. Just pick your current favorite shooter and get stuck in. You really don’t have to spend big bucks to take some really nice images.
You will hear lots about the “perfect” portrait lens as well. The 85mm will come up time and time again, and many photographers will like to shoot on something even longer for some sweet compression, but I shoot a ton of headshots on a 50mm. I don’t like to be too far away from my clients, and shooting on a 50mm keeps me at a good, gentle chatting distance. Communication is vital for getting real moments out of people, and I find if I’m halfway across the room on a 120mm, then I can lose contact.
So, let’s dive in on what gear I’m currently using for my headshot work. My weapon of choice at the moment is a Canon 5D Mark IV ($2,299). It’s got some weight to it, but as long as I don’t miss bicep day, it doesn’t cause me too many issues. I really like to use a robust rig like this when I’m hanging out in my studio, as I don’t have to worry too much about it getting the odd knock. Some clients can be more expressive than others, and the last thing you want is to be sweeping up the remains of your diamond-encrusted Leica.
My go-to lens for portraits is a Sigma Art 50mm f/1.4 lens ($849). It was the first “posh” lens I picked up when I upgraded from the classic Canon 50mm f/1.8 ($125). It’s super sharp, has plenty of contrast, and snappy autofocus. The people I work with tend to be in constant motion, so decent autofocus is essential.
Step 4: Lighting…

As mentioned, I got to grips with the world of headshots in the great outdoors. I can heartily recommend it as a training ground. Look out for bridges and underpasses (ideally without too many trolleys), and you’ll find yourself some soft light for your subjects. Good open shade will be your friend, too, so don’t shy away from leafier spots. Experiment as much as you can, and you’ll find the places that work best for you.
I used to use a lovely area in Crystal Palace with some high stone ruins that gave me some really nice negative fill and also doubled up as a cool backdrop. Just stay out of the harsh rays of the sun. That kind of hard light can be exciting for the right project, but with headshots, you’re generally going to be looking at using softer light.
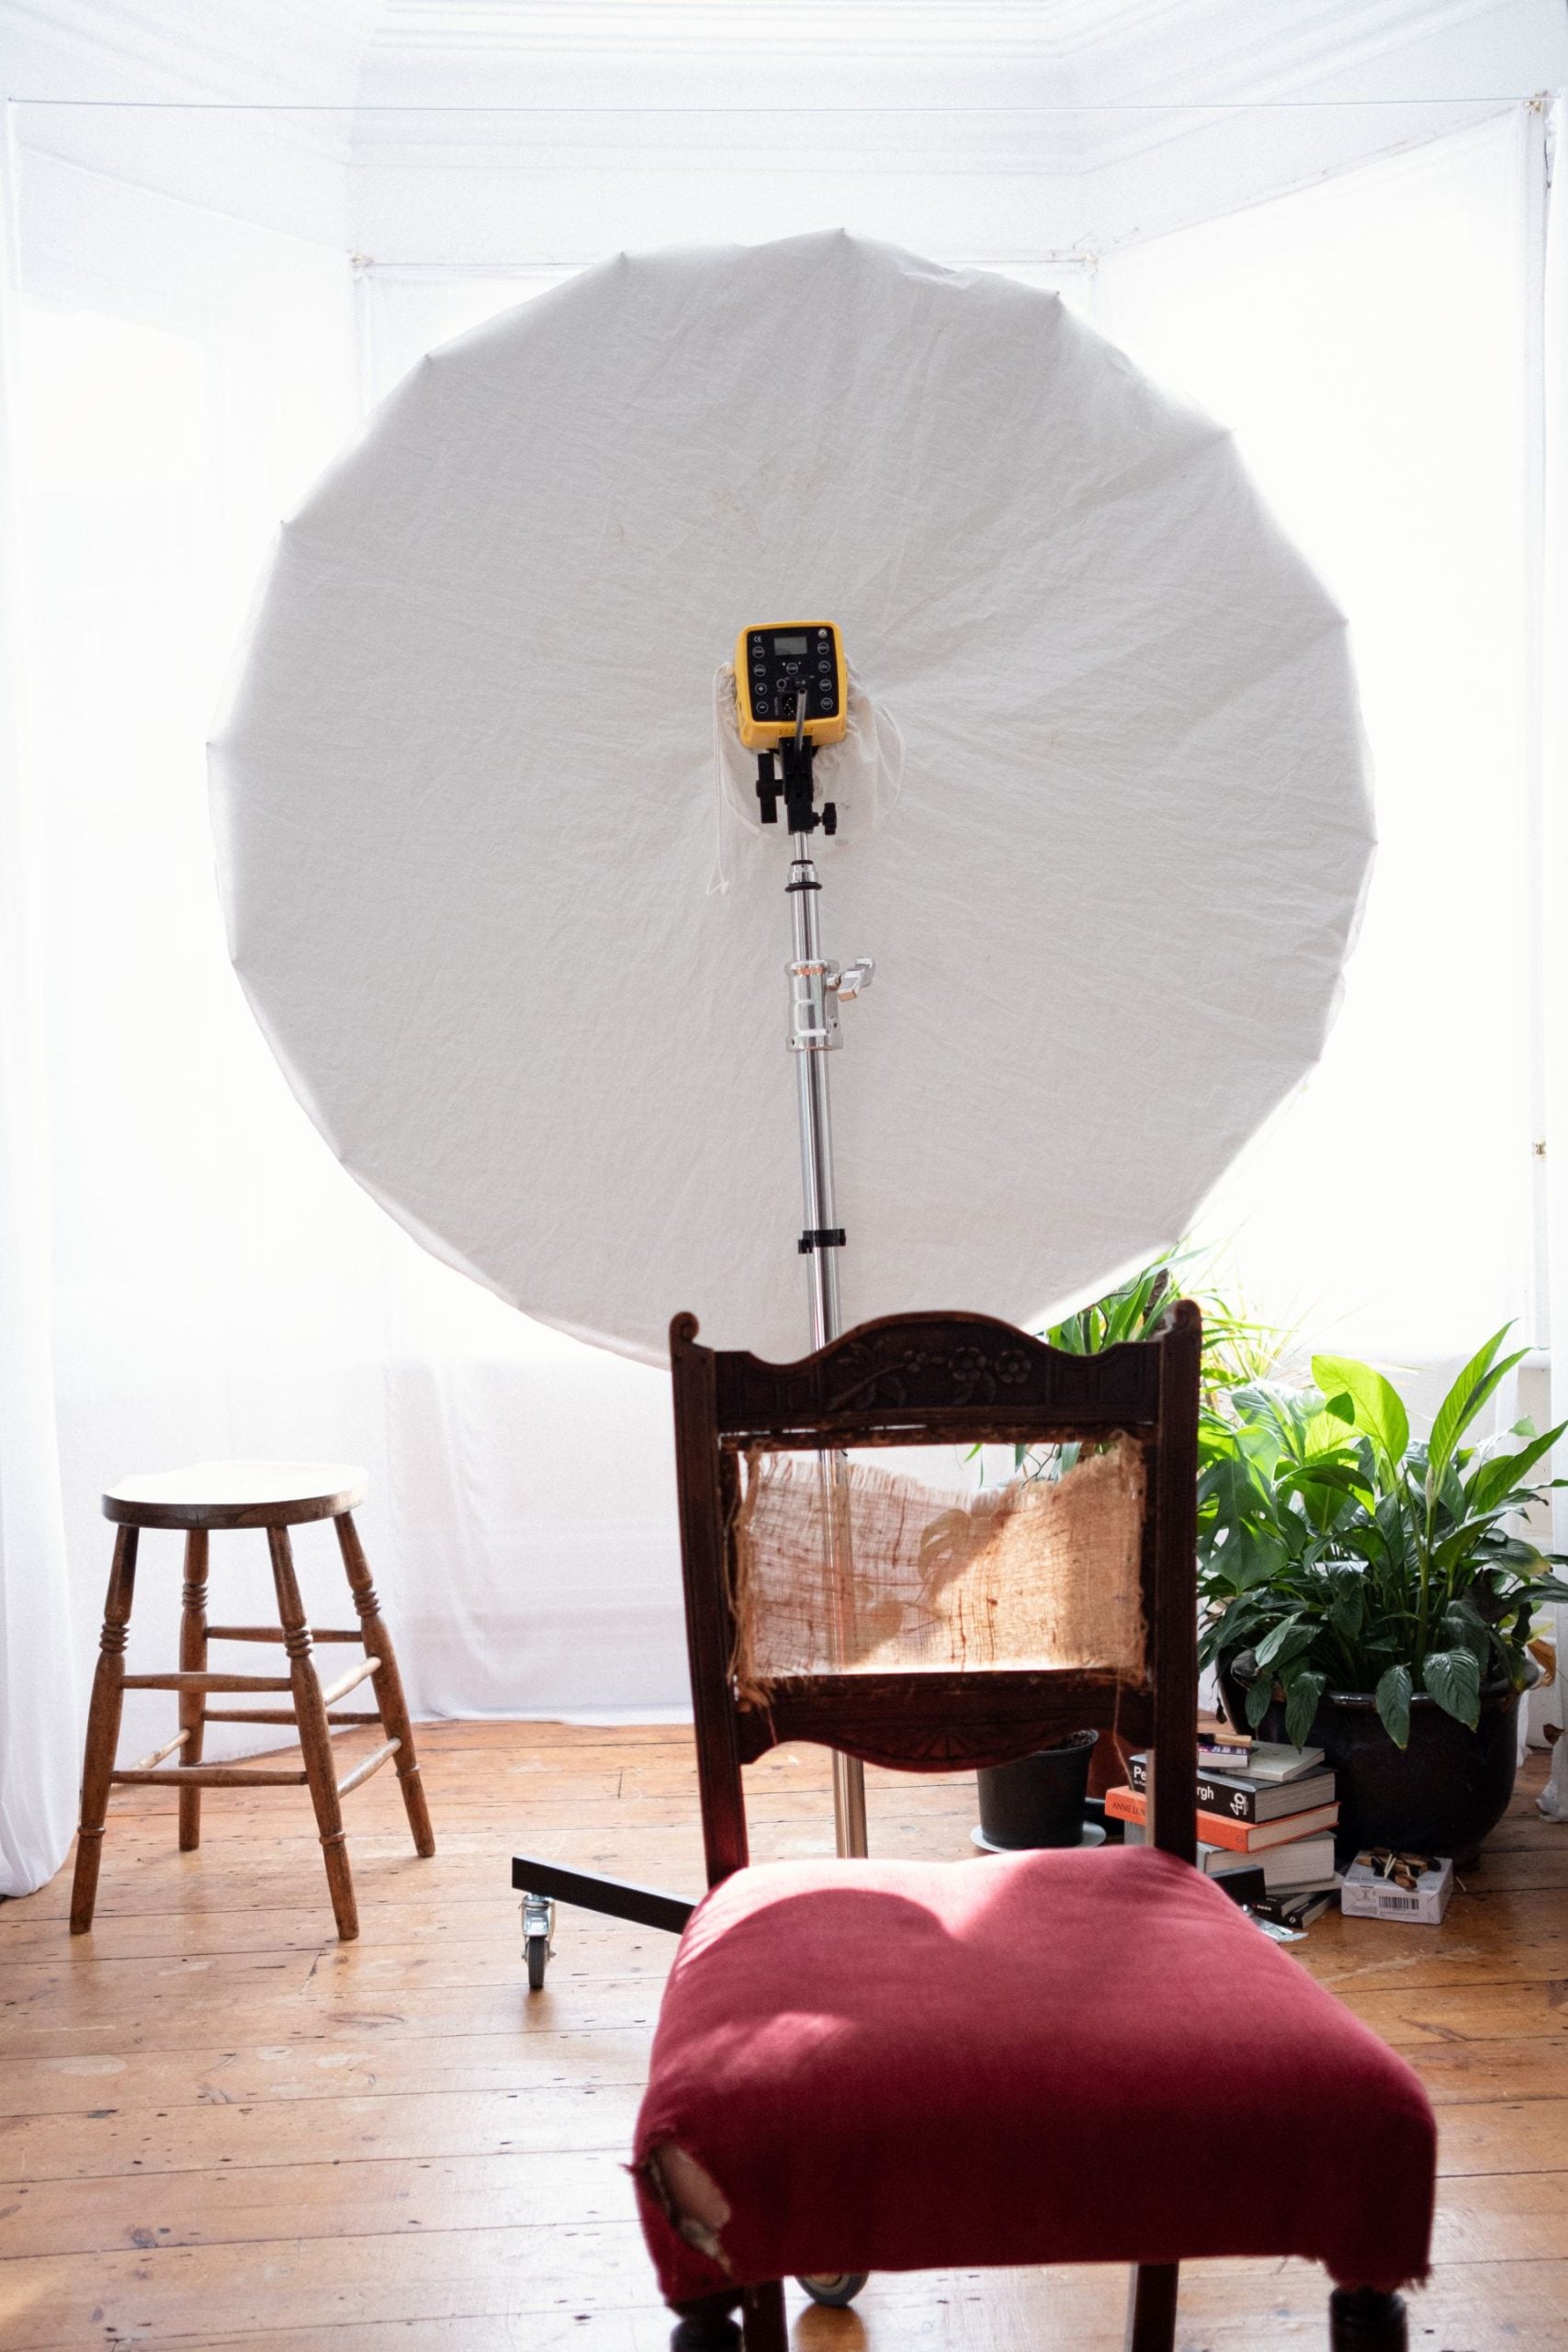
This brings me neatly to the delights of working with studio lights. I love them. I mainly use strobes for my headshot work (Inter-fit Honey Badgers [$329] to be precise), and once I got to grips with them, I haven’t looked back. I would say get yourself two lights to start off with. Two lights and then THE BIGGEST modifiers you can fit in your studio/living room/basement/converted attic space. A big 150cm octabox ($134) will make a lovely key light.
Set this up an arm’s reach away from your client and position it so the light is passing across their face. Resist the temptation to aim your strobe right at them. This can result in some hotspots, and that’s probably not what you’re after. Your second light will be your fill. Umbrellas are nice and cheap and great for a fill light. Again, the bigger the better. I use a 5-foot umbrella ($64.95) with a white lining and one layer of diffusion, and I find that works nicely. Position your fill light right behind you and keep it on a fairly low power. This strobe is to gently fill in your shadows and keep everything from getting too murky. My last piece of advice here is just to keep your key light as close to your subject as you can. Big and close equals SOFT. You deserve beautiful, soft light. Your clients deserve beautiful, soft light. Everyone deserves beautiful, soft light.
Step 5: To Pose or Not to Pose…


Posing for headshots and portraits and, let’s face it, for any kind of photo is MUCH harder than people realize. I suspect civilians think models just turn up and drape themselves over a few apple boxes, and it’s bob’s your uncle. It’s a skill and one that you can’t expect the average person/lion tamer/actor/Steve from accounts to have. So be gentle with people!
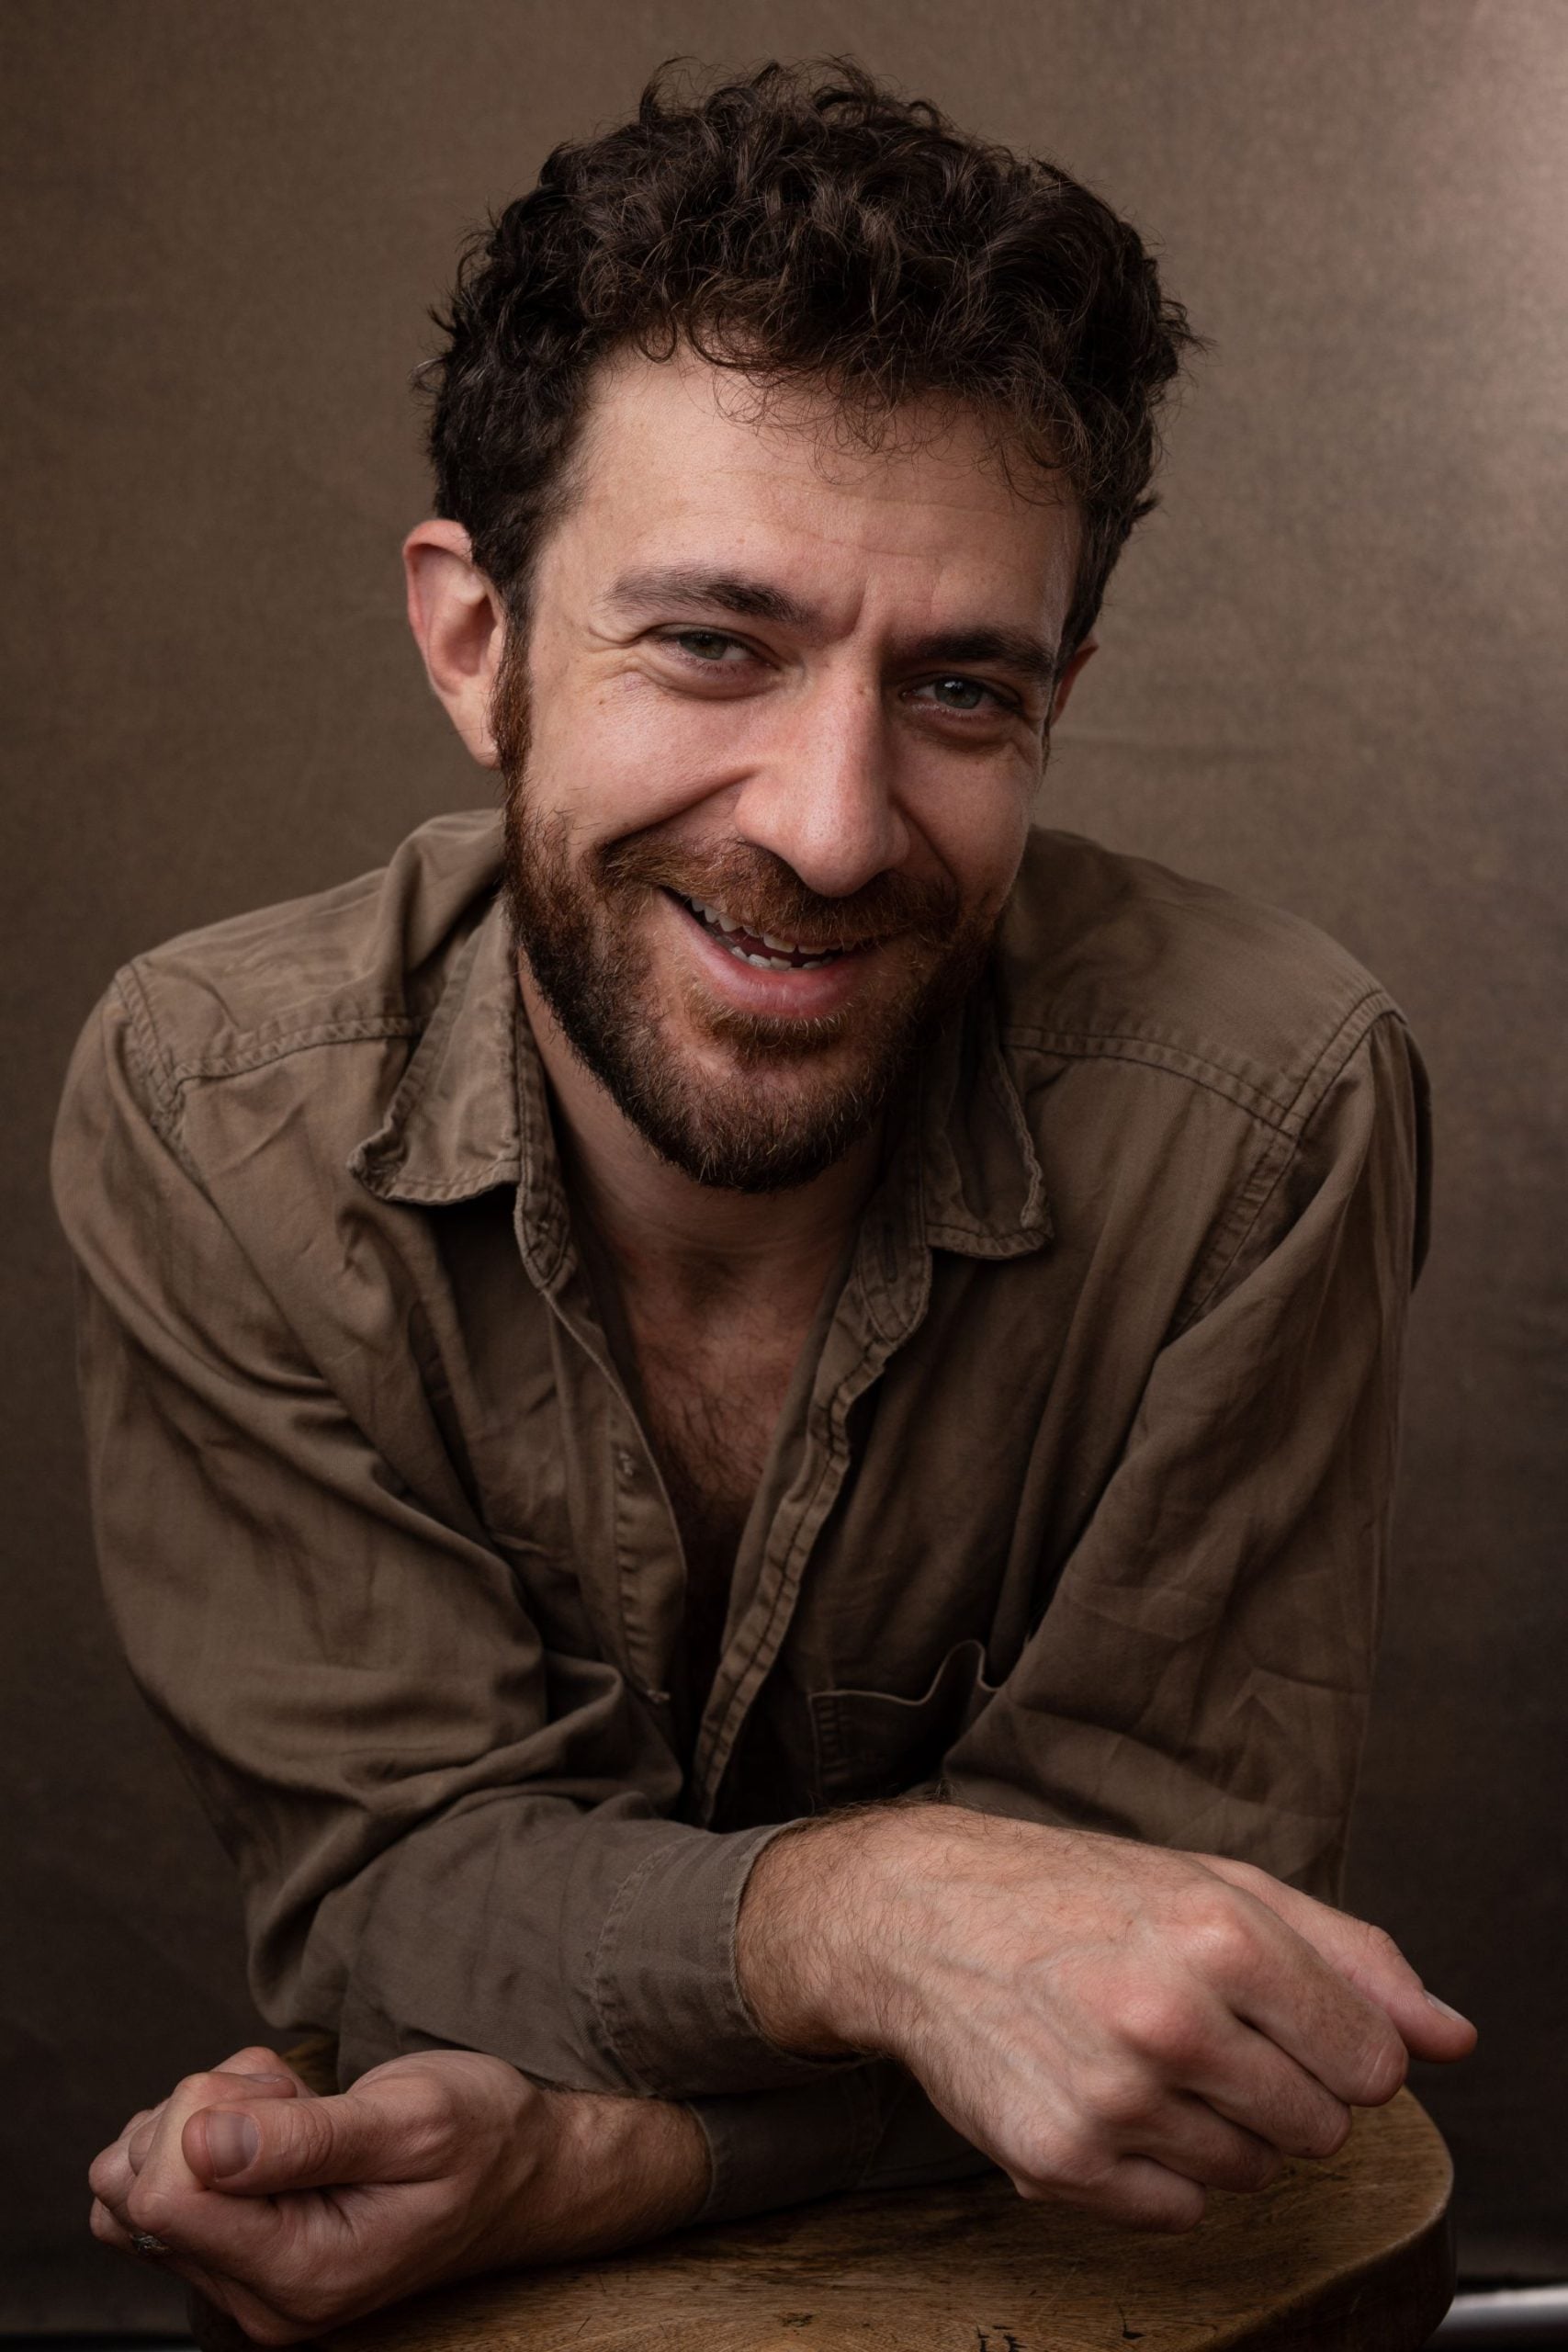
My main goal when I’m working with actors is to get them looking as natural and relaxed as possible and also to capture whatever magic it is that makes them individual. Rather than imposing positions and gestures on them, I wait to see what naturally appears, and then once an inspiring moment of individuality pops up, I pounce. I’ll let them know that a certain lean or facial expression is really working for them, and then we will riff around that.
When I’m working with actors, I’ll also sprinkle in moments of light direction. These can be as simple as “you’re expensive” to “so you’re a Welsh carpenter, you work long hours, but you’ve just finished a bespoke chest of drawers that you’re particularly proud of.” This kind of thing can really work for some people, so if your client seems to be enjoying it, dig in! Everyone is different. Some people need more love than others, so read your client’s energy as best you can and learn when they need to be led and when they need to be left to come up with their own triumphant victory pose.
A Couple of Bonus Thoughts…
I adore canvas backdrops. For me, they lend a certain gravitas to a headshot, and I don’t travel without at least one tucked under my arm. Now, they are expensive, depending on where you shop, but Gravity and Artery are both very affordable and will also make you any kind of custom backdrop that your heart desires. I tried making a few of my own, and a couple of them were okay, but one looked like the very stuff of nightmares, and no one wants to be shot on “waking nightmare.” Unless they work in the dark arts, of course.
The tip to end all tips.
This is the piece of advice you will hear dropped in almost every photography podcast. It’s not complex mathematics. It’s not a long-lost alien color wheel. It’s this humble sentence.
Take the pictures you like. Simple.
No pursuit is really sustainable if you don’t enjoy it. Don’t get drawn into the world of taking the pictures you THINK other people want. Take the pictures you like. Take the pictures you like, and the people will come to you. If you enjoy the dance of meeting people and quickly finding out what makes them tick and how their faces work, then shooting headshots could be a dream for you. I adore it, and I need to cease to be excited at the next face and how it’s going to turn out once I’ve lobbed some strobe at it and set it in a forest of canvas.


