
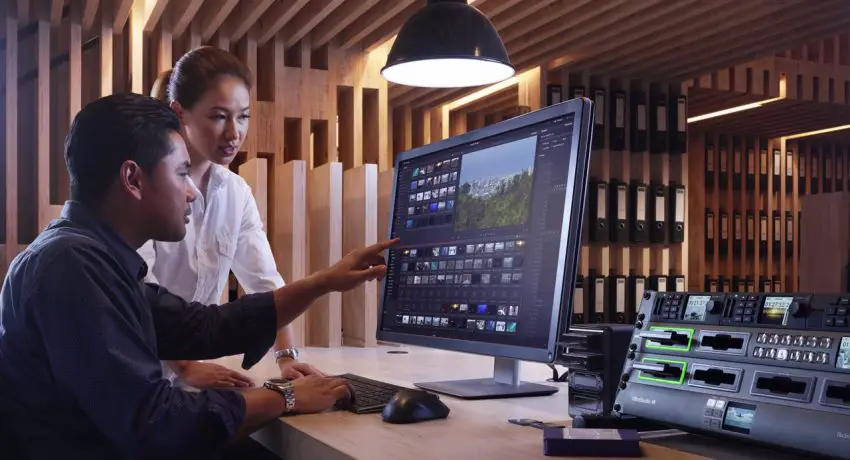
Color is a hugely important part of a film. Learning how to properly grade in software like DaVinci Resolve 18 is also a huge undertaking. There are pages and pages of tools with some even doing the same thing in a different way.
That’s what we are talking about today, specifically in regards to saturation. Changing saturation will impact the overall grading process, so you should learn the 10+ ways that you can control saturation in Resolve 18.
You might’ve guess that we are going to look to Alex Jordan from Learn Color Grading to find this knowledge. Here’s a deep dive on nailing saturation.
1. Saturation
The first and most obvious way to control saturation is the Saturation slider in the primaries color wheels section. Just click and drag and you can boost or reduce the saturation.
2. Color Boost
Next is very similar in location: the Color Boost slider. This functions a little different than the regular Saturation control. Saturation gives a very basic boost to all the colors in the image. This means it happens after other edits. Color Boost works by boosting the original colors. Color Boost will also increase color contrast and provide a more dramatic difference between adjacent objects.
3. HSV Color Space
Something we actually talked about a couple weeks ago is using the HSV color space. By changing the color space you change how your controls work as it remaps the RGB controls to HSV. Since S is saturation what ends up happening is all your Green channel controls are now controlling saturation. It is a good way to increase saturation without affecting brightness.
4. HSL Color Space
Same as the above, just use the HSL color space instead and continuing using the Green channel controls.
5. Curves — Hue Vs Saturation
In the Curves – Hue vs Saturation you can get more specific about what colors you want to adjust. You can set a point on the curve that you can then adjust to only work in that color range.

6. Curves — Luma Vs Saturation
Another curve option is Luma vs Saturation. This allows you to adjust saturation in the image based on the brightness. You can desaturate the shadows and give a boost to the highlights easily using these controls.
7. Curves — Saturation Vs Saturation
This is the most fun curve as it pits Saturation against itself. It’s also a useful tool as it allows you to control saturation based on the saturation of the image. This means you can adjust saturation only in the most or least saturated areas of an image. It is useful for equalizing saturation or emphasizing existing contrast in saturation.
8. Color Warper — Hue — Saturation
The Color Warper is another way to adjust saturation. The farthest dots from the center represent the most saturated parts of the image so by dragging them closer to the center you can reduce the saturation of that color in the image. You can add saturation by dragging a point farther from the center. You will adjust the hue if you move left or right though so be careful with this one.
The Color Warper is powerful. If you want to increase saturation across more than a single hue you can use the selection tool to select all points at the same location to create a circle of selected points. Now you can control the saturation across the entire frame at the same time.
9. RGB Mixer
Opening up the RGB mixer you have controls for each channel. If you increase the Red, Green, and Blue in their respective outputs then you will get a more saturated image.
10. HDR Color Wheels
Big difference between HDR wheels and the primaries is that each wheel has its own saturation controls. It’s another great option to affect a specific area of the image. There is a global wheel to affect the entire image.
11. Contrast
When in the primaries color wheels you can adjust contrast. Naturally, as you adjust contrast you are also affecting saturation. This doesn’t work the same if you are in the HDR wheels. Interestingly though, if you reduce contrast on the HDR wheels then it will actually increase saturation.
12. Color Presets
A simpler way of doing this is to head to the toolbar, find Color and then go to presets. In there you will see Chroma Light, Chroma Dark, and Chroma Light and Dark. These will have Resolve go and automatically select the respective part of the image (Light and/or Dark) using a qualifier and set the saturation to 0. Now you can control the bright and dark areas of the image separately.
That was a lot and it shows that there really isn’t a wrong way to go about doing things. Just find the tools that work best for you.
[source: Learn Color Grading]
Order Links:
Disclaimer: As an Amazon Associate partner and participant in B&H and Adorama Affiliate programmes, we earn a small comission from each purchase made through the affiliate links listed above at no additional cost to you.
Claim your copy of DAVINCI RESOLVE – SIMPLIFIED COURSE with 50% off! Get Instant Access!


