There are photos you want in your forever collection, and photo curation is the key to preserving them beautifully.
Have you ever looked at your vast library of digital photos lately, unsure where to even begin organizing them?
Editor’s Choice


Automated way to curate and edit thousands of photos in record time – invaluable for all photographers.
Use code SHOTKIT10 to save 10%.
This photo curation guide will help you sort your image collections and showcase unforgettable memories that tell unique stories.
What Is Photo Curation?


Credit: George Milton
Photo curation is putting together a stunning gallery by handpicking the best and most visually appealing photographs from a larger collection.
It’s all about selecting images that not only look great individually but also work well together as a collective narrative or visual story.
For brands or publications, photo curation aims to create a special mood or convey a specific message. You should find the balance between aesthetics, emotional impact, and storytelling.
Why Should You Curate Your Photos?
Whether for a personal collection or a special event, photo curation can transform a mish-mash of photos into a captivating story.
But why is image curation a must-have for brands?
Image curation is the art of selecting and using still or moving visuals to shape your brand’s style and online presence. A study shows that brand photography can make or break a company.
Let’s take a look at why brands should curate their photos:
- Build Trust: Selective image curation can lead to a loyal following. Customers learn to rely on you for consistently intriguing and valuable content.
- Establish Recognition: Users can easily connect your visual content with your brand.
- Boost Traffic: Research suggests that people remember visual information far better than text. Curated images can lead to more clicks and better engagement.
- Hook Audience: Sharing sneak peeks from behind the scenes can build up excitement and make your followers eager to return for more.
How Do You Curate a Photo Album?
Let me walk you through a simple way to curate your photo collection:
- Round up all the photos from your phone, computer, or those old prints tucked away in a box. Sort through them and stash your favorites in a specific folder.
- If you want things done quickly, find an aesthetic photo editor app that lets you make an album in a snap.
- Pick a theme that matches the vibe of your photo collection, whether it’s playful and vibrant or sleek and minimalistic.
- Once you’ve sorted your photos, consider how you want to arrange them. You can go with a chronological order or organize the album around key moments.
- Be bold and showcase different perspectives. Feature standout photos prominently, and don’t hesitate to dedicate an entire page to a breathtaking shot.
How to Curate Apple Photos on Your Mac
With the Memories feature on Apple Photos, you can turn your images into captivating digital photo collections.
Memories offer curated photos, highlighting your best shots from the year. It scans and groups them into meaningful collections you can revisit anytime.
Plus, it lets you play Memory Movies, complete with music, titles, and transitions that you can edit and share.
Best of all, you can create your own personalized memories. Here’s how:
- Open the Photos app.
- Hit the Memories tab in the sidebar.
- Click Add to Favorite Memories at the bottom.
- Access your favorites easily by clicking Favorite Memories in the toolbar.
- Rename the memories in the Info window.
Not a fan of certain types of memories? You can easily block specific memory types you’d rather not see.
- Click on the Memories tab, double-click the memory you wish to block, and navigate to Block Memory.
- Choose the memory type and click Block.
- If you change your mind, you can revisit the blocked memories and reset the Memories feature.
- Head to Photos > Preferences > General and click Reset Blocked Memories to open the door to all memory types again.
How to Curate Google Photos
Photo curation is a cinch with Google Photos. Check out these features that can help you organize your precious memories effortlessly:
1. Live Albums
Once you create a Live Album and set it to add photos automatically, you can sit back and relax while Google Photos takes care of the rest.
You’ll never miss a single snap of your favorite people or pets without lifting a finger.
2. Assistant
If you want to keep your photo collection looking sharp, don’t overlook the Assistant feature. The Assistant can archive redundant shots, create animations, and spruce up your pictures with stylish edits.
Just head over to the Utilities tab in the sidebar and follow the prompts to activate it.
3. Photo Stack
If you’re one to take plenty of snapshots, the upcoming Photo Stack feature will soon let you tidy up those look-alike photos.
4. Archive
Do you have some photos you don’t want to toss but also don’t want cluttering up your main library?
How Much Do You REALLY Know About Photography?! 🤔
Test your photography knowledge with this quick quiz!
See how much you really know about photography…


The Archive function comes in handy. It hides your photos from the main view, keeping your collection fresh and tidy.
How to Filter Out Bad Photos
You’ve amassed thousands of photos over the years, but it’s spring cleaning time! Now, how do you figure out which photos deserve the boot?
Consider this cheat sheet:
Take the HARD Photography Quiz! 🤯
Now it’s time to really test your photography knowledge!
(99% of people can’t get all the questions right…)


1. Duplicate or Redundant Photos
Opt for the sharpest, best-focused image from a series of similar shots. Examine closely to ensure the fine details pop and the colors shine.
As for the duplicates, on to the archival photo boxes they should go.
2. Low-Resolution Photos
Grainy, pixelated, or out-of-focus images don’t do justice to your memories.
Bid them farewell or tuck them away in your digital shoebox.
3. Boring Compositions
Watch out for shots without any sense of composition. Except for interesting portraits, straight-on shots are a snoozefest.
Embrace the rule of thirds, where you place points of interest at the intersections of a grid. Ditch the pictures that lack that visual spark.
4. Blown Highlights
Those overexposed, blinding white blobs? Not a good look.
That’s excessive blown highlights. It’s pretty common, especially when capturing shots of cloudy skies.
Sadly, you can’t recover much of that lost detail, so consider them for the chopping block.
Tip: Capture RAW files to salvage these photos during your next shoot.
5. Smeared Photos
This smudge effect, resembling lens flare, is often due to fingerprints on the lens cover. It causes a streak of light across the image and reduces contrast.
Wipe your lens and avoid eating snacks near your camera to prevent this.
6. Ghosting
Check for HDR ghosting when choosing from a series of photos. It happens when movement occurs between different exposures used in HDR images.
Select photos with the best focus and chuck ghosting artifacts in the bin.
Consider Professional Photo Curation Services
Got a bunch of family photos collecting dust in a corner? Well, it might be time to call in the pros!
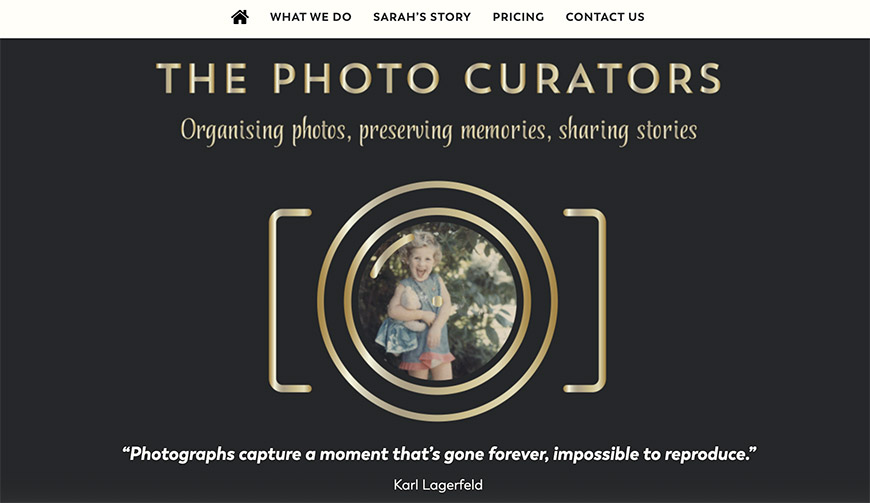
Services like The Photo Curator and The Photo Managers can digitize your old prints and share them in new, creative ways, from photo books to slideshows and personalized USB sticks.
Highly Recommended


Check out these 8 essential tools to help you succeed as a professional photographer.
Includes limited-time discounts.


